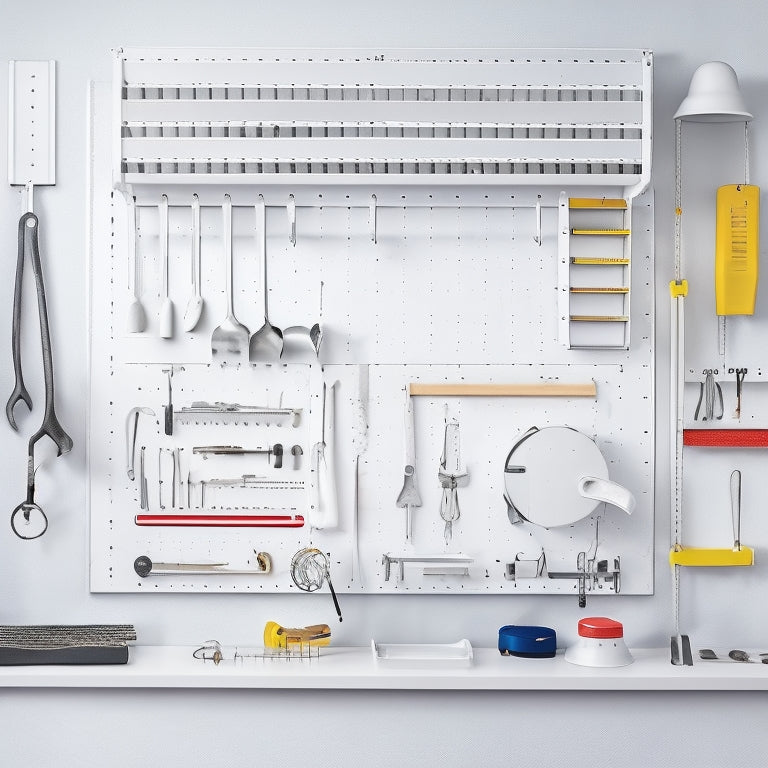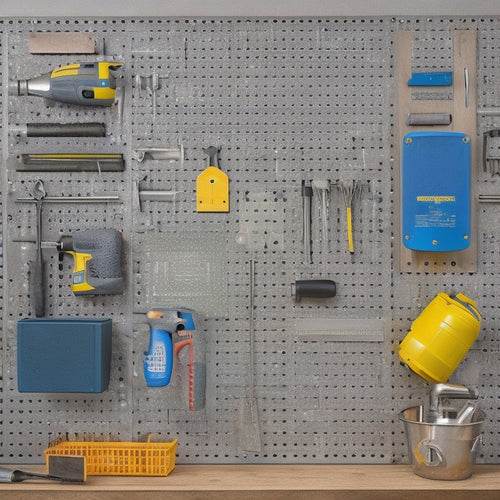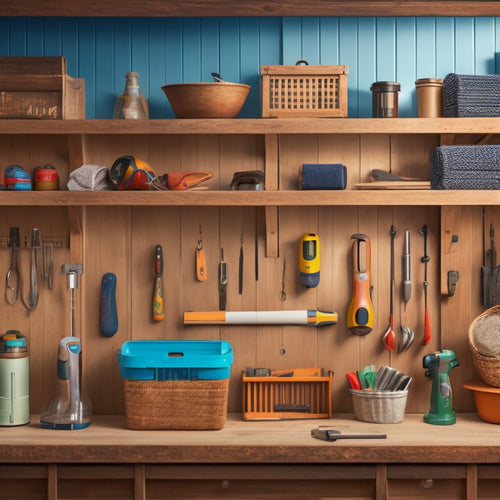
Tool Organizer Rack Wall Installation
Share
You're about to install a tool organizer rack on your wall, and you want to get it right. Start by choosing the right tool organizer that fits your tool types and frequency of use. Prepare your wall by checking its condition, identifying the material, and confirming it's straight and level. Gather essential installation tools like a drill, level, and stud finder, and measure the wall to mark the rack's width. Drill pilot holes correctly, mount the rack to the wall, and add shelves and accessories. Finally, organize your tools and accessories, secure heavy tools safely, and conduct a final inspection to confirm a sturdy and safe installation - and now you're ready to take your tool organization to the next level.
Key Takeaways
- Assess tool types and usage frequency to choose the right tool organizer with adjustable compartments, hooks, and bins for optimal storage.
- Prepare the wall for installation by checking its condition, identifying materials, and ensuring it's straight and level for secure mounting.
- Measure and mark the wall accurately, using a stud finder to locate wall studs and a level to verify straightness and levelness.
- Drill pilot holes correctly, using a drill bit slightly smaller than the screw, and mount the rack to the wall using wall anchors or screws.
- Conduct a final inspection to ensure the rack is level, securely fastened, and weight is evenly distributed to prevent hazards and accidents.
Choosing the Right Tool Organizer
Your tool organizer rack installation expedition begins with selecting the right tool organizer for your specific needs.
You'll want to take into account the type of tools you need to store and the available space in your workshop or garage. Think about the tool types you have, such as wrenches, pliers, screwdrivers, and hammers, and the frequency of use.
Choose a tool organizer that provides adequate storage solutions for your tools. Look for a system with adjustable compartments, hooks, and bins to keep your tools organized and within reach.
Contemplate a modular system that can be expanded as your tool collection grows.
Safety should also be a top priority when selecting a tool organizer. Opt for a system with a sturdy design and a secure mounting system to prevent accidents and injuries.
Verify the tool organizer is made from durable materials that can withstand the weight of your tools.
Prepare the Wall for Installation
You'll need to assess the wall's condition before installing your tool organizer rack.
Check for any cracks, holes, or water damage that may affect the rack's stability or the wall's structural integrity.
Depending on what you find, you may need to do some surface preparation to guarantee a secure installation.
Wall Condition Check
Before installing your tool organizer rack, it's vital to assess the condition of the wall where you plan to mount it. You need to verify the wall can hold the weight of the rack and the tools you'll be storing.
Check the wall materials - is it drywall, plywood, or concrete? Different materials have different load-bearing capacities, so it's important to know what you're working with.
Inspect the wall for any signs of damage, such as cracks, holes, or water spots. These can weaken the wall's stability, making it unsafe to hang your tool organizer rack.
Additionally, check if the wall is straight and level. If it's not, you may need to adjust your installation accordingly.
Surface Preparation Needed
The wall's surface needs some attention to guarantee a secure and sturdy installation of your tool organizer rack. Before you start drilling holes and hanging your rack, take a closer look at the wall's condition. Remove any dirt, grime, or old adhesive residue using surface cleaning techniques like gentle scrubbing with soap and water or a specialized cleaner. This guarantees a strong bond between the wall anchors and the wall itself.
Next, consider the wall texture. If you have a textured or porous wall, you may need to use wall anchors specifically designed for those surfaces. For example, hollow-wall anchors are ideal for drywall or plaster walls, while masonry anchors work best for concrete or brick walls.
Be certain to choose the right type of anchor to avoid any installation mishaps. By taking the time to properly prepare your wall, you'll guarantee a safe and secure installation of your tool organizer rack.
Gather Essential Installation Tools
With your tool organizer rack ready to be installed, it's alongside the necessary hardware that you'll find the right tools for the job.
To guarantee a successful and safe installation, gather the following essential tools: a drill, level, stud finder, wall anchors, screws, and a socket set.
Tool selection tips: choose a drill with sufficient power to handle the weight of your tool organizer rack and the type of wall you're working with.
A level will assure your rack is properly aligned, while a stud finder helps you locate the wall studs for secure installation.
Wall anchors and screws should be compatible with your wall type and the weight of your rack.
Measure and Mark the Wall
Accurately measuring and marking the wall is vital for a secure and level tool organizer rack installation. You'll want to guarantee your measurements are precise to avoid any mistakes during the installation process.
Start by determining the location of the wall studs using a stud finder. This will help you identify the best spot to install your tool organizer rack.
Next, take out your tape measure and measure the width of your tool organizer rack. Record this measurement and use it to mark the wall with a pencil. Use a level to verify your mark is straight and level. You can also use measurement techniques like measuring from the floor or ceiling to get an accurate reading.
When marking the wall, make sure to mark the spot where you'll be drilling the screws. This will give you a clear indication of where to place your drill bits.
Take your time and double-check your measurements to avoid any errors. Proper wall marking is essential for a successful installation, so don't rush through this step.
Drill Pilot Holes Correctly
You've marked the wall with precision, now it's time to create pilot holes for your tool organizer rack's screws. This step is essential to guarantee a secure and level installation.
Choose the right drill type for the job - a cordless drill or a drill press will work well. Set the drill to the correct speed and torque settings to avoid damaging the wall or the screws.
Here are some key considerations for drilling pilot holes:
-
Drill type: Use a drill bit that's slightly smaller than the screw to avoid splitting the wall material.
-
Pilot hole depth: Drill the hole to the same depth as the screw length to guarantee a snug fit.
-
Wall material: Adjust the drill speed and pressure according to the wall material - drywall, wood, or metal.
- Screw alignment: Double-check the screw alignment to guarantee they're straight and level.
Mount the Rack to the Wall
Mounting the rack to the wall is the final stage of installation, where all your preparation pays off. You've measured, marked, and drilled pilot holes correctly – now it's time to secure the rack to the wall.
Hold the rack against the wall, verifying it's level and aligned with the pilot holes. Use wall anchors or screws to attach the rack to the wall, following the manufacturer's installation techniques. Confirm they're tightened firmly, but avoid overtightening, which can damage the wall or strip the screws.
As you mount the rack, remember the tool rack benefits you're about to enjoy: increased storage, reduced clutter, and improved organization.
With the rack securely in place, you can start loading it with your tools and accessories. Keep in mind the weight capacity of the rack and distribute the weight evenly to guarantee stability and safety.
Add Shelves and Accessories
You'll now customize your tool organizer rack by configuring shelves to fit your specific needs.
You have options to choose from, such as fixed shelves, adjustable shelves, or a combination of both, depending on the types of tools you need to store.
As you add shelves, consider the accessories you'll need, like hooks, bins, or a pegboard, to maximize your rack's storage capacity.
Shelf Configuration Options
Several tool organizer racks come with adjustable shelves, allowing you to customize the configuration to fit your specific needs. This flexibility guarantees you can maximize your storage space and keep frequently used tools within easy reach.
When selecting a shelf configuration, reflect on the types of tools you'll be storing and their weights.
Choose from various shelf materials, such as durable steel or rust-resistant aluminum, to guarantee your rack can support the weight capacity of your tools. Some racks even offer customizable shelf dividers or bins to further organize your tools.
Here are some shelf configuration options to reflect on:
- Fixed shelves: Ideal for storing heavy tools or equipment that won't be moved frequently.
- Adjustable shelves: Allow you to customize the shelf height to fit tools of varying sizes.
- Sliding shelves: Provide easy access to tools stored in the back of the rack.
- Fold-down shelves: Offer additional storage space when not in use, helping to keep your workspace clutter-free.
Accessory Placement Tips
Typically, the key to maximizing your tool organizer rack's storage capacity lies in strategic accessory placement. You'll want to take into account the types of accessories you need to store and their frequency of use. This will help you determine the ideal spacing and arrangement of your accessories.
When deciding where to place your accessories, keep the following tips in mind:
| Accessory Type | Ideal Spacing | Placement Tips |
|---|---|---|
| Small Tools (e.g., screwdrivers, pliers) | 1-2 inches apart | Store near the front for easy access |
| Medium Tools (e.g., wrenches, hammers) | 2-4 inches apart | Place at eye level for convenient retrieval |
| Large Tools (e.g., power tools, equipment) | 4-6 inches apart | Store near the bottom or top for easy lifting |
Organize Tools and Accessories
Efficiency reigns when tools and accessories have a designated home, making it easier to find what you need when you need it.
With a well-organized tool storage solution, you'll reduce wasted time searching for misplaced items and create a safer work environment.
To maximize your tool organizer rack's potential, follow these steps:
-
Categorize tools by function: Group similar tools together, such as drilling, cutting, and measuring tools.
-
Assign a home for each tool: Designate a specific spot for each tool, making it easy to find and return items.
-
Store frequently used tools front and center: Place your most-used tools in easy-to-reach locations, saving you time and effort.
- Keep accessories organized: Use small bins or containers to store accessories like screws, nails, and other small parts.
Secure Heavy Tools Safely
When it comes to securing heavy tools, you need a solid plan to guarantee they're safely stored and easily accessible. Heavy tools can be hazardous if not stored properly, so it's vital to take into account tool weight distribution and storage safety tips.
To guarantee safe storage, follow these guidelines:
| Tool Type | Storage Tips | Weight Distribution |
|---|---|---|
| Power tools | Store on lower shelves for easy access | Distribute weight evenly on the shelf |
| Hand tools | Organize in separate compartments | Balance weight to prevent tipping |
| Large equipment | Install heavy-duty hooks or brackets | Securely attach to wall studs |
| Bulk items | Store in sturdy bins or containers | Place on floor or lower shelves |
Final Check and Adjustments
You've almost completed the tool organizer rack installation, but don't skip this vital step - it's time for a final inspection to guarantee everything is in order.
Go through your checklist to verify that all tools are securely stored, labels are readable, and the rack is level.
Make any necessary adjustments to achieve perfection and maximize the rack's functionality.
Final Inspection Checklist
Your tool organizer rack is now fully assembled, and it's time to give it a once-over to confirm everything is in working order.
Before you start loading it up with tools, take a few minutes to review your installation to verify it's safe and secure.
Here's a final inspection checklist to help you verify that everything is in place:
-
Check the wall anchors: Make certain they're securely fastened to the wall and can hold the weight of your tools and the rack itself.
-
Verify the level: Double-check that your rack is level and plumb to prevent it from tipping or falling.
-
Inspect the installation materials: Confirm that all screws, bolts, and other installation materials are securely in place and not loose.
- Review safety precautions: Take a step back and review your installation to verify you've taken all necessary safety precautions to prevent accidents or injuries.
Adjusting for Perfection
Five key areas require a final once-over to confirm your tool organizer rack is perfectly aligned and functional.
You've made it this far, but don't skip this vital step. Take a moment to review these critical areas to guarantee your rack is both safe and efficient.
First, double-check the rack's alignment techniques to verify they're square to the wall. Use a level to validate the rack is plumb and level.
Next, inspect the mounting screws and anchors to make certain they're securely fastened and won't come loose over time.
Verify that the shelves are evenly spaced and level, and that the tool holders are securely attached.
Frequently Asked Questions
Can I Install a Tool Organizer Rack on a Plaster Wall?
You can install a tool organizer rack on a plaster wall, but you'll need to choose the right anchors and screws that won't damage the plaster, and select tool rack materials that can support the weight of your tools.
How Do I Organize Tools of Varying Sizes on the Rack?
Oh, great, you've got a tool collection that's more jumbled than a teenager's emotions. Now, to organize those tools of varying sizes, you'll need to categorize by type, use dividers, and prioritize accessibility - safety first, remember, no one likes a hammer to the toe!
Can I Customize the Rack With Additional Shelves or Hooks?
You can customize your rack to fit your needs; consider adding shelves or hooks to maximize storage. Look for rack customization options with adjustable shelf options to guarantee a secure fit for your tools and equipment.
Are Tool Organizer Racks Suitable for Outdoor or Garage Use?
You'll want to contemplate tool organizers with weather resistance and durable materials for outdoor or garage use, as they'll withstand harsh conditions; look for rust-resistant coatings, heavy-duty hooks, and UV-stable plastics to guarantee your tools stay safe and organized.
Do I Need to Anchor the Rack to a Wall Stud for Stability?
Imagine your prized tools crashing to the floor; to avoid this, you'll want to anchor the rack to a wall stud, especially if it's heavy or you have weak wall materials, like drywall or plaster.
Conclusion
As you step back to admire your handiwork, you can't help but notice how eerily similar your newly organized tool collection looks to the one you saw in that magazine last week. Coincidence? Maybe. But one thing's for sure - you've got a tool organizer rack that's both functional and visually appealing. Double-check that everything is secure, make any necessary adjustments, and voila! You've got a workspace that's as efficient as it is impressive.
Related Posts
-

Best Organizing Tools for a Clutter-Free Space
You're on a mission to change your cluttered space into a peaceful oasis, and you're looking for the best organizing ...
-

How to Hang a Pegboard in 5 Easy Steps
You'll hang a pegboard in 5 easy steps by first preparing the wall, ensuring it's sturdy and free of obstructions. Ne...
-

What Tools Do I Need for a DIY Wall Organizer
You'll need a variety of tools to complete a DIY wall organizer project. Essential measuring tools include a tape mea...


