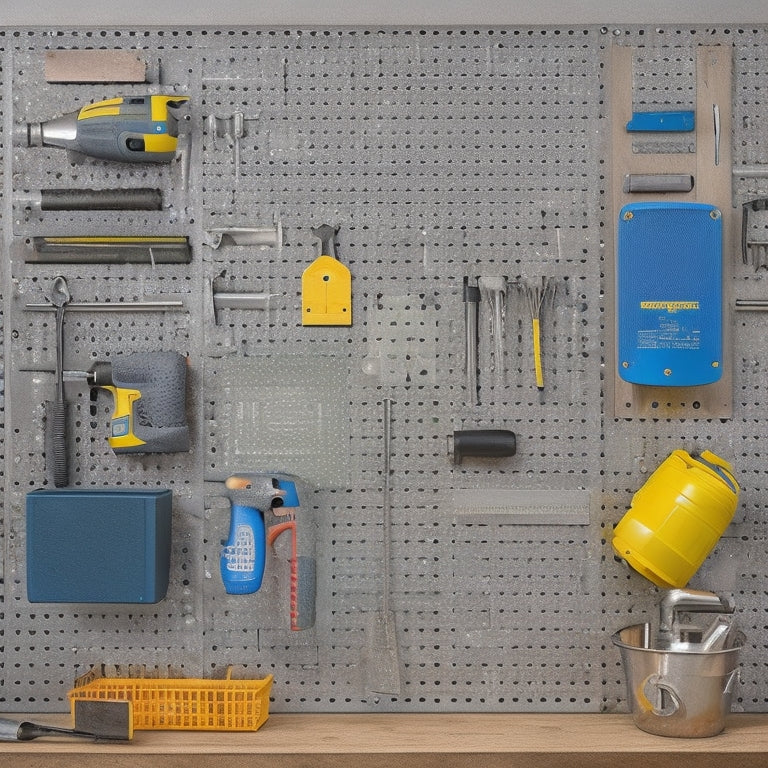
How to Hang a Pegboard in 5 Easy Steps
Share
You'll hang a pegboard in 5 easy steps by first preparing the wall, ensuring it's sturdy and free of obstructions. Next, choose the right fasteners for your wall type and pegboard material. Then, measure and mark the board, planning the layout to maximize space and accessibility. After that, drill pilot holes and hang the pegboard, maintaining a 90-degree angle and gentle pressure. Finally, add hooks and accessories, selecting the right types for your tools and organizing them for convenience. By following these steps, you'll be well on your way to creating a highly functional workspace that enhances your productivity.
Key Takeaways
- Prepare the wall by ensuring it's sturdy, cleaning the surface, and removing obstructions to create a secure bond with the pegboard.
- Choose the right fasteners based on weight capacity, wall type, and pegboard material to ensure a secure hold.
- Measure and mark the pegboard to determine the layout, center point, and hook locations, ensuring precise measurements.
- Drill pilot holes and hang the pegboard at a 90-degree angle, using gentle pressure and the appropriate drill type for the wall material.
- Add hooks and accessories, selecting the right types and organizing tools by weight, size, and frequency of use, following manufacturer's instructions.
Prepare the Wall for Mounting
Before you begin hanging your pegboard, confirm the wall is ready for mounting by checking its condition. Verify the wall is sturdy and can support the weight of the pegboard and the items you'll be hanging. Check for any cracks, holes, or weak spots that could compromise the wall's integrity.
Next, focus on wall preparation. Remove any switch plates, outlet covers, or other obstructions that might interfere with the pegboard's installation.
Clean the wall surface thoroughly to remove dirt, grime, or old adhesive residue. Use a mild detergent and water to wipe down the area, then dry it with a clean towel. This surface cleaning step is essential to guarantee a secure bond between the pegboard and the wall.
Choose the Right Fasteners
You've prepared your wall, removing obstructions and cleaning the surface, so now it's time to select the right fasteners for your pegboard installation. The type of fastener you choose will depend on the weight capacity you need and the type of wall you're working with.
For drywall or plaster walls, use anchors or molly bolts to provide extra holding power. For wood or metal studs, you can use screws or nails. Consider the weight of the pegboard and the items you'll be hanging on it, and choose fasteners with a weight capacity that exceeds that total.
Some common fastener types include machine screws, wood screws, and anchor screws. Be certain to choose fasteners that are compatible with your pegboard's material and the wall type.
Check the packaging or manufacturer's instructions for weight capacity ratings and installation guidelines. Don't compromise on safety – using the right fasteners will guarantee your pegboard is securely attached and can hold the weight you need it to.
Measure and Mark the Board
Now that you've selected the right fasteners, it's time to focus on the pegboard itself. Measure the pegboard to determine the best layout for your tools and accessories. Consider the wall space where you'll be hanging the pegboard and plan your layout accordingly. You want to guarantee that your most frequently used items are easily accessible and that the pegboard isn't overcrowded.
Using a tape measure, measure the length and width of your pegboard. Mark the center point of the board with a pencil. This will serve as a reference point for your layout.
Next, measure and mark the location of each hook or bin, considering the spacing and arrangement you've planned. Be precise and double-check your measurements to avoid mistakes.
A well-planned pegboard layout will make the most of your wall space and assure that your tools are organized and within reach.
Drill and Hang the Pegboard
With your pegboard layout planned and marked, the next step is to drill pilot holes for the screws that will secure it to the wall.
Choose the right drill type for your wall material. For drywall or plaster, use a drill bit with a countersink to avoid damaging the surrounding area. For wood or metal studs, use a twist drill bit.
- Hold the drill at a 90-degree angle to the wall to guarantee straight holes.
- Apply gentle to moderate pressure, depending on the drill type and wall material.
- Drill slowly and smoothly to avoid slipping or creating uneven holes.
- Stop drilling as soon as the pilot hole is complete to prevent over-drilling.
Once you've drilled the pilot holes, screw the pegboard into place using the marked layout as a guide.
Confirm the screws are securely tightened to prevent the pegboard from shifting or falling.
Add Hooks and Accessories
Your pegboard is taking shape, and it's time to add the hooks and accessories that will make it functional. First, choose the right hook types for your needs. You'll find single-prong, double-prong, and J-hooks, each designed for specific tool weights and sizes. Select hooks that match the weight and size of your tools to guarantee safe and secure storage.
Next, organize your accessories. Group similar items together, like hammers, screwdrivers, and pliers. This will make it easy to find what you need when you need it. Consider the frequency of use and place your most-used tools at eye level or near the front of the pegboard.
Mount the hooks and accessories according to the manufacturer's instructions. Make certain they're securely fastened to the pegboard to prevent tools from falling or getting damaged.
Frequently Asked Questions
Can I Hang a Pegboard on a Concrete or Brick Wall?
You can hang a pegboard on a concrete or brick wall, but you'll need to take extra precautions during wall preparation for a secure pegboard installation, using anchors or screws specifically designed for masonry to guarantee a safe hold.
How Do I Organize My Pegboard for Maximum Efficiency?
Surprisingly, you're not a pegboard prodigy... yet! To maximize efficiency, you'll organize your pegboard by creating layouts that group tool categories logically, ensuring frequently used items are easily accessible, and minimizing hazards by keeping sharp objects separate.
Can I Use a Pegboard in a Humid or Outdoor Environment?
You'll need to choose a pegboard specifically designed for humid or outdoor use, ensuring it's made with humidity-resistant materials and outdoor-rated components to withstand the elements and prevent damage or corrosion.
Are Pegboards Suitable for Heavy Tools and Equipment?
Don't risk a pegboard collapse! You'll need to evaluate heavy tool storage carefully, as pegboard weight limits vary. Check the manufacturer's specs for load capacity, and choose a pegboard designed for heavy-duty use to guarantee safe and reliable storage.
How Do I Clean and Maintain My Pegboard Over Time?
You'll maintain your pegboard's performance by establishing a regular cleaning routine, wiping it down with a soft cloth, and lubricating hooks; create a maintenance routine to guarantee safety and prevent wear, following these cleaning tips to extend its lifespan.
Conclusion
You've converted a blank wall into a functional storage space, swapping clutter for calm. Now, your pegboard is ready to tackle the chaos, armed with hooks and accessories that'll keep your tools, accessories, and gear organized and within reach. The juxtaposition of before and after is striking - from disarray to precision, you've engineered a space that's both functional and visually appealing.
Related Posts
-

Small Shelving Options for Tight Spaces
You're surrounded by tight spaces in your home, and you need clever shelving solutions that optimize storage without ...
-

Top 7 Parts Tray Organizers for Productivity
You can optimize your workspace and enhance productivity with the right parts tray organizer, which can help you cate...
-

Best Cheap Tool Boxes for Budget-Conscious Buyers
You need a reliable tool box that gets the job done without breaking the bank. Look for durable materials, rust-resis...


