Organizing Your Tools With 7 Stacked Tool Boxes
Share
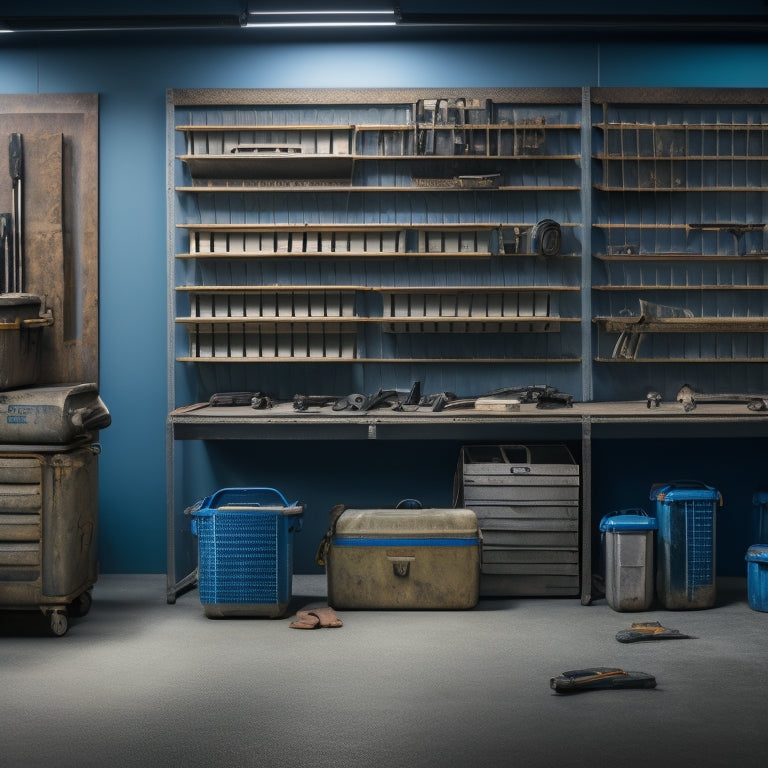
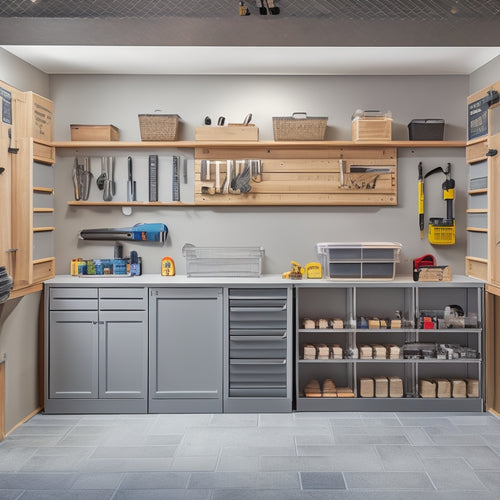
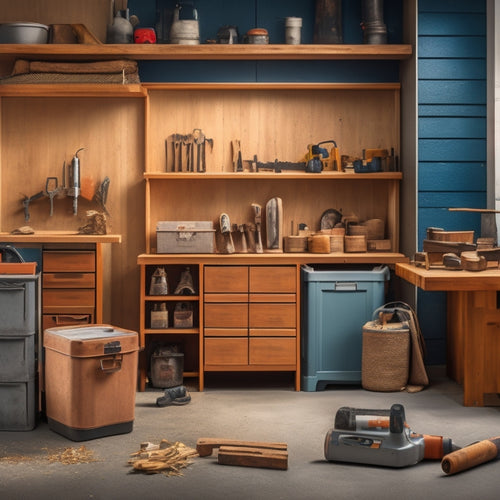
When organizing your tools with 7 stacked tool boxes, start by selecting the right boxes based on materials, size, budget, and brand reputation. Measure your tool storage needs by taking stock of your tools, measuring their dimensions, and considering accessories. Set up your stacking system by placing the largest and heaviest boxes at the bottom, arranging them for easy access, and ensuring stability. Categorize your tools by function, prioritize storage locations, and implement grouping strategies. As you get started, remember to maximize vertical storage space, use clear labels, and maintain a clutter-free workshop - and there's more to investigate to take your tool organization to the next level.
Key Takeaways
- Place the largest and heaviest tool boxes at the bottom of the stack for stability and easy access to frequently used tools.
- Arrange tool boxes in a way that allows for easy lid opening without obstruction, and maintain stacking stability to prevent damage.
- Consider modular and adjustable compartment designs to accommodate various tool sizes and maximize vertical storage space.
- Label each tool box and shelf to quickly identify contents, and prioritize storage locations based on tool usage frequency.
- Regularly assess and maintain the stacked tool box organization to ensure tools remain easily accessible and clutter-free.
Choosing the Right Tool Box
With a multitude of tool boxes on the market, selecting the right one can be an intimidating task. You need to take into account several factors to guarantee you get a tool box that meets your needs and keeps your tools organized and safe.
First, think about the tool box materials. Do you prefer durable metal or lightweight plastic? If you plan to move your tool box around frequently, portable options with wheels or handles are a must.
Reflect on the tool box sizes, too - do you need a compact box for small tools or a large one for bulky equipment?
Budget considerations are also vital. Set a price range and stick to it, but be aware that cheaper options may compromise on durability.
Research different brands and read reviews to find the best value for your money. Aesthetics may also play a role, as you'll likely be looking at your tool box every day.
Measuring Your Tool Storage Needs
Before you start shopping for a tool box, take stock of your tool collection to determine the storage space you'll need. You'll want to evaluate the tool dimensions, storage frequency, and how often you use each tool. This will help you decide on the size and type of tool box that's right for you.
Take out a measuring tape and record the length, width, and height of each tool. Don't forget to measure any accessories or attachments that come with the tools. You can use the following table to help you organize your measurements:
| Tool | Length | Width | Height |
|---|---|---|---|
| Hammer | 10 in | 2 in | 1 in |
| Pliers | 8 in | 1 in | 0.5 in |
| Screwdriver | 6 in | 0.5 in | 0.25 in |
| Wrench | 12 in | 2 in | 1.5 in |
| Tape measure | 20 in | 1 in | 0.25 in |
Setting Up the Stacking System
Now that you've taken stock of your tool collection and determined your storage needs, it's time to think vertically and maximize your tool box's capacity by setting up an efficient stacking system.
To achieve stacking stability, start by placing the largest and heaviest tool boxes at the bottom. This will provide a solid foundation for the rest of your stacking system.
Next, arrange the boxes in a way that allows you to access the tools you use most frequently. You want to be able to grab what you need quickly and easily, without having to dig through multiple layers of boxes.
As you stack the boxes, make certain they're aligned properly and the lids can open fully without hitting the box above or below it. This will guarantee tool accessibility and prevent damage to the boxes or tools.
Categorizing Tools for Easy Access
You'll want to categorize your tools into groups that make sense for your workflow, such as separating hand tools from power tools or organizing by project type.
You'll also need to prioritize which tools to store in easy-to-reach locations and which can be stored out of the way.
Tool Grouping Strategies
A well-stocked toolbox can quickly become overwhelming if you don't have a system in place to keep your tools organized. To avoid this, you'll want to implement tool grouping strategies that make sense for your specific needs.
Start by categorizing your tools based on their frequency of use. You'll likely find that you use certain tools daily, while others only come out for specific projects. Store your most frequently used tools in easy-to-reach locations, and reserve harder-to-reach areas for less commonly used items.
Next, group your tools by function or type. For example, keep all your screwdrivers together, followed by your pliers, wrenches, and so on. This will make it easier to find the tool you need when you need it.
Additionally, consider implementing tool maintenance tips, such as cleaning and lubricating your tools regularly, to extend their lifespan and guarantee they're always in good working condition.
Tool Storage Priorities
By categorizing your tools according to their storage priority, you can ascertain that the tools you need most are always easily accessible. This is a vital step in effective tool organization, as it guarantees that you're not wasting time searching for the right tool when you need it most.
Start by identifying the tools you use most frequently and categorize them as high-priority tools. These should be stored in the top or front-most compartments of your stacked tool boxes for quick access.
Next, categorize your tools based on their function or the projects they're used for. For example, you might've a category for woodworking tools, another for automotive tools, and so on. This will help you to store tools that are used together in the same project in the same compartment, making it easier to find what you need when you need it.
Labeling and Signage for Clarity
Clarity is the cornerstone of a well-organized toolbox, and labeling and signage play an essential role in achieving it. You'll want to create a system that's easy to understand and follow, ensuring you can quickly find the tools you need.
To get started, consider the following guidelines for effective labeling and signage:
| Label Type | Description | Best Practice |
|---|---|---|
| Category Labels | Identify broad tool categories (e.g., "Hand Tools" or "Power Tools") | Use clear fonts and color coding to differentiate categories |
| Subcategory Labels | Identify specific tool types within a category (e.g., "Wrenches" or "Drills") | Use a consistent font style and size throughout the toolbox |
| Tool Labels | Identify individual tools (e.g., "Socket Wrench" or "Cordless Drill") | Include a brief description or icon to aid recognition |
| Safety Labels | Warn of potential hazards or safety precautions | Use bold, contrasting colors to grab attention |
| Instructional Signs | Provide guidance on tool usage or maintenance | Keep text concise and use simple language |
Maximizing Vertical Storage Space
You can greatly increase your tool storage capacity by making the most of your workshop's vertical space.
To do this, consider stackable design options that allow you to pile items like bins and containers on top of each other.
Stackable Design Options
When it comes to maximizing vertical storage space, stackable design options are a revolutionary innovation. By choosing the right stackable design, you can create a customized storage system that fits your specific needs. Look for modular designs that allow you to add or remove units as needed, ensuring you can adapt to changing storage requirements.
| Feature | Advantage | Benefit |
|---|---|---|
| Durable Materials | Resists wear and tear | Long-lasting storage solution |
| Modular Designs | Customizable and adaptable | Meets changing storage needs |
| Adjustable Compartments | Flexible storage options | Accommodates various tool sizes |
| Locking Mechanism | Secures essential tools | Prevents theft and unauthorized access |
When selecting a stackable design, consider the materials used, the modularity of the design, and any additional features that enhance security and flexibility. By doing so, you'll create an efficient and effective storage system that keeps your tools organized and within reach.
Vertical Shelving Units
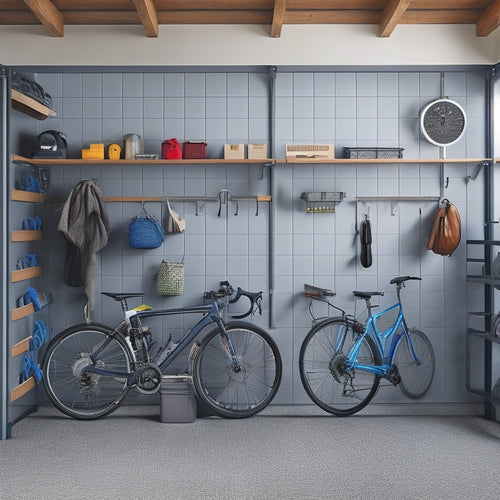
Optimizing your tool storage setup often requires making the most of the available space, and vertical shelving units are a great way to do just that. By installing shelving units that go up instead of out, you can maximize your vertical storage space and keep your tools organized and within reach.
When selecting shelving materials, consider durable and heavy-duty options that can support the weight of your tools. Metal or heavy-duty plastic shelves are great choices, as they're sturdy and can withstand the demands of a busy workspace.
To guarantee safe and efficient vertical organization, make sure to install shelves at comfortable heights that allow you to easily access your tools without straining or overreaching.
Label each shelf to help you quickly identify where specific tools are stored, and consider adding dividers or bins to further categorize and contain your tools.
Space-Saving Arrangements
With limited floor space, making the most of your walls is essential in maximizing vertical storage space. You can do this by installing compact storage solutions that optimize your wall's potential. Consider using wall-mounted pegboards, hooks, or bins to store frequently used tools and accessories. This will keep them within easy reach while keeping your floors and workbenches clear.
When arranging your tools, prioritize the most frequently used items and place them at eye level or below. Less frequently used tools can be stored higher up or lower down, making the most of your vertical space.
Use stackable bins or containers to store smaller items, and label each one so you can quickly identify what's inside. This efficient organization will save you time and reduce frustration when searching for a specific tool.
Maintaining a Clutter-Free Workshop
You've invested time and money in your tool collection, but a cluttered workshop can quickly render them useless.
A well-organized workspace is essential for tool organization and workspace efficiency. To maintain a clutter-free workshop, follow these simple steps:
-
Designate a home for each tool: Assign a specific place for each tool, making it easy to find what you need when you need it.
-
Clean as you go: Take a few minutes after each project to clean and organize your tools, preventing clutter from building up.
-
Schedule regular maintenance: Set aside time each week to thoroughly clean and organize your workshop, ensuring everything is in its designated place.
- Implement a "one in, one out" policy: Get rid of old or broken tools when you bring new ones into your workshop, maintaining a balanced and functional tool collection.
Frequently Asked Questions
Can I Use Stacked Tool Boxes in a Small Workshop or Garage?
You can definitely use stacked tool boxes in a small workshop or garage, as they're perfect for maximizing space efficiency; just make certain you can easily access the tools you need, and consider labeling each box for quick identification.
Are Plastic or Metal Tool Boxes Better for a Humid Workshop?
When choosing between plastic and metal tool boxes for your humid workshop, you'll want to prioritize humidity resistance and durability comparison; metal boxes are more durable, but plastic ones are often more resistant to moisture and corrosion.
How Do I Secure Stacked Tool Boxes to Prevent Them From Tipping?
For foolproof stacked stability, you'll fasten firmly, focusing on toolbox safety. Secure each box to the wall with sturdy straps or anti-tip brackets, ensuring a snug, stable stack that won't topple, even in a chaotic workshop.
Can I Customize the Interior of a Stacked Tool Box?
You can customize the interior of a stacked tool box by creating your own interior organization system, using custom dividers to separate tools, and allocating specific spaces for each item, ensuring easy access and visibility.
Are Stacked Tool Boxes Suitable for Heavy Machinery and Equipment?
You might worry that stacked tool boxes won't hold up to heavy machinery, but don't; they're designed with a heavy load capacity and durability considerations in mind, ensuring your equipment stays secure and protected.
Conclusion
You've successfully set up your 7-stacked tool box system! According to the National Association of Professional Organizers, 80% of clutter is due to disorganization, not lack of space. By implementing this system, you've not only saved space but also reduced clutter. Now, you can quickly find the tools you need, increasing your productivity and efficiency. With your tools organized, you can tackle any project that comes your way.
Related Posts
-

Essential Steps for Garage Storage System Design
You're about to change your cluttered garage into an organized haven by following a structured approach to garage sto...
-

Key Features of a Garage Wall Hanging System
You're looking for a garage wall hanging system that's built to last and adapts to your needs. Look for systems made ...
-

Tool Storage Chests for a More Organized Workspace
You're looking to enhance productivity and reduce stress in your workspace by getting your tools organized, and that'...


