Why a Clutter-Free Pegboard Boosts Workshop Productivity
Share
You optimize your workshop's productivity by maintaining a clutter-free pegboard, which streamlines tool access and reduces time-wasting searches. By categorizing tools into zones, prioritizing frequently used items, and storing heavier ones near the bottom, you'll work more efficiently. Customize your layout to mirror your workflow, and implement organizers for small parts and accessories. Regularly return tools to their assigned slots and dedicate time for maintenance. A well-planned pegboard design can increase your efficiency by up to 30%. Now that you've organized your tools, what's next?
Key Takeaways
• A clutter-free pegboard enables quick tool access, reducing search time and increasing productivity in the workshop.
• Organized tools by category and frequency of use streamline workflow and minimize distractions.
• A well-planned pegboard layout enhances workspace efficiency, allowing workers to focus on tasks rather than searching for tools.
• Regular maintenance of the pegboard prevents tool misplacement, breakage, and loss, saving time and resources.
• A clutter-free pegboard promotes a sense of accountability, encouraging workers to return tools to their assigned slots after each use.
Tool Pegboard Organization Ideas
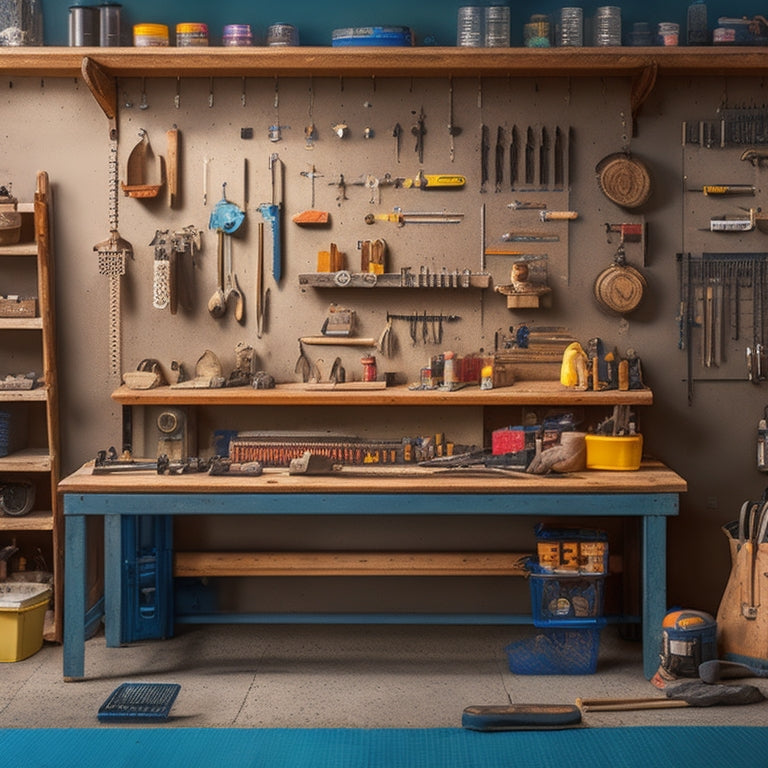
Organize your pegboard into zones, assigning specific areas to frequently used tools, such as hammers, screwdrivers, and pliers, to streamline your workflow and reduce downtime. This tool arrangement strategy allows you to quickly locate the tools you need, saving you time and frustration.
Consider color coding your pegboard by grouping similar tools together or using labels to identify specific zones. This visual system will help you navigate your pegboard with ease, even in the midst of a chaotic DIY project.
When arranging your tools, prioritize the ones you use most frequently. Place them in easy-to-reach areas, reducing the need to stretch or climb for them. Consider the weight and size of your tools, too, and store heavier items near the bottom to prevent your pegboard from becoming top-heavy.
Key Holder and Organizer Essentials
By incorporating a fundamental holder and necessary organizers into your pegboard design, you'll be able to efficiently store small parts, accessories, and fasteners, keeping them within easy reach and preventing them from getting lost or misplaced. This is particularly important for frequently used items, such as drill bits, screws, and nuts.
Consider adding a mail organizer-inspired slot for storing small envelopes or paperwork, similar to an entryway organization system. This will help keep your workspace tidy and make sure that important documents are easily accessible.
In addition to a key holder, incorporate organizers that resemble kitchen storage solutions, such as a pot rack, to store cylindrical items like spray cans, paintbrushes, or even small power tools. These organizers will keep your pegboard clutter-free, allowing you to focus on your projects without distractions.
Maximizing Vertical Storage Space
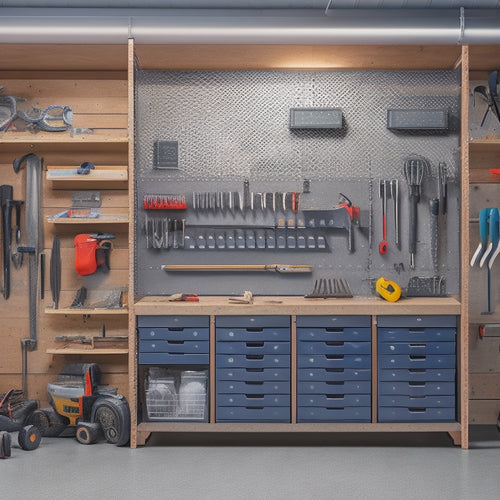
You can boost your pegboard's storage capacity by taking advantage of its vertical space, going beyond the standard hooks and bins to create a more efficient and clutter-free workshop. By installing garage shelving above your pegboard, you can store less frequently used items, freeing up space on the board for your most essential tools and accessories.
Wall-mounted hooks can also be used to hang items like bikes, lawn equipment, or other bulky items, keeping them off the floor and out of the way.
To maximize your pegboard's vertical storage, consider adding DIY storage solutions like hanging baskets or bins. These can be used to store small parts, accessories, or other items that are often hard to find a place for. By using hanging baskets, you can keep these items organized and easily accessible, while keeping your pegboard surface clear and clutter-free.
With a little creativity and planning, you can create a pegboard that makes the most of your workshop's vertical space, helping you work more efficiently and stay organized.
Customizing Your Pegboard Layout
Designing a pegboard layout that mirrors your workflow helps streamline tool access and reduces downtime spent searching for misplaced items. A well-planned pegboard design can notably enhance workspace efficiency by minimizing the time spent searching for tools and maximizing the time spent on actual work.
To create an efficient layout, consider the tools you use most frequently and group them by category. This will help you identify the most convenient locations for each tool. For example, you can allocate the top row for frequently used hand tools, the second row for power tools, and so on.
| Tool Category | Pegboard Location |
|---|---|
| Hand tools | Top row |
| Power tools | Second row |
| Measuring tools | Third row |
| Specialized tools | Fourth row |
Maintaining a Clutter-Free Pegboard
To prevent your pegboard from devolving into clutter, establish a routine of regularly returning tools to their assigned slots after each use. This habit will help you maintain a clutter-free pegboard, ensuring that everything remains organized and easily accessible.
Incorporate pegboard maintenance tips into your daily routine, such as dedicating a few minutes at the end of each work session to putting away tools and supplies. Implement decluttering techniques, like categorizing similar items together and storing them in designated zones, to keep your pegboard organized.
Organizing tools by frequency of use or type can also help you quickly locate what you need, saving time and effort. This will allow you to reap the benefits of increased productivity and reduced stress.
Frequently Asked Questions
Can I Use a Pegboard in a Non-Workshop Setting, Like a Garage or Home Office?
You can definitely use a pegboard in a non-workshop setting, like your garage for organization, home office for storage, craft room for display, or even kitchen for organization, to maximize space and efficiency.
Are Pegboards Suitable for Heavy-Duty or Industrial Workshop Environments?
You'll find pegboards suitable for heavy-duty or industrial workshop environments, offering durability and functionality to withstand demanding conditions, while prioritizing safety and organization through strategic tool placement and easy access.
Can I Mount a Pegboard on a Concrete or Brick Wall?
'You're not building on shaky ground, literally! When mounting a pegboard on a concrete or brick wall, guarantee a sturdy anchor, like a molly bolt or anchor screw, to secure it for heavy-duty outdoor installation, considering weight and torque mounting considerations.'
How Do I Clean and Maintain a Pegboard With Metal Hooks?
You'll prevent rust on metal hooks by wiping them with a dry cloth after each use and applying a rust-inhibiting coating annually; organize tools by frequency of use, and clean the pegboard with a soft brush and mild detergent.
Are Pegboards Compatible With Non-Standard or Metric-Sized Tools and Accessories?
'Congratulations, you've joined the rebellion against standardization! Yes, you can adapt pegboards to fit non-standard or metric-sized tools and accessories using custom tooling or organization options, ensuring space efficiency and best-fit metric tooling integration.'
Related Posts
-

Building a Wall Tool Storage System
You're about to create a customized wall tool storage system that streamlines your workflow. Start by clearing your w...
-

Top 7 Parts Tray Organizers for Productivity
You can optimize your workspace and enhance productivity with the right parts tray organizer, which can help you cate...
-

Must-Try Bike Storage Ideas in Small Spaces
You're tired of sacrificing precious living space to store your bike, especially in small homes where every square fo...


