Wall-Mounted Tool Organizers to Maximize Your Workshop Space
Share
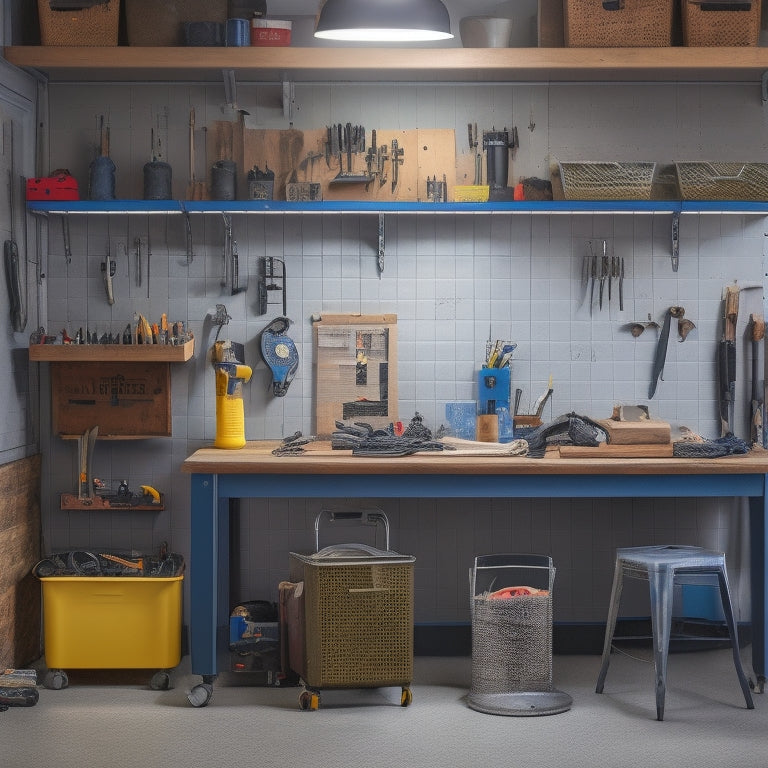
You can markedly enhance your workshop's productivity and efficiency by utilizing wall-mounted tool organizers, which not only reclaim useful floor and bench space but also provide easy accessibility to your tools, reducing downtime and increasing workflow. By choosing the right tool holder, maximizing vertical storage space, and customizing your workshop layout, you'll be able to minimize clutter, reduce tripping hazards, and enhance safety. With the right installation and maintenance, you'll be well on your way to creating a clean, organized, and professional workshop environment - and by exploring the world of wall-mounted tool organizers, you'll uncover even more ways to optimize your workspace.
Key Takeaways
- Choose wall-mounted tool organizers that maximize vertical storage space and keep frequently used tools within easy reach.
- Select tool holders based on specific toolset compatibility, material durability, and weight capacity to ensure secure storage.
- Install shelves, pegboards, and bins to categorize and group similar tools, promoting an efficient workflow and reducing clutter.
- Strategically place tools and supplies to minimize walking distances and implement a "one in, one out" policy to maintain organization.
- Regularly clean and maintain tool organizers to prevent dust accumulation, rust, and corrosion, ensuring optimal performance and longevity.
Benefits of Wall-Mounted Organizers
By installing wall-mounted organizers in your workshop, you're taking the first step towards maximizing your space and enhancing productivity.
You'll create a more organized and efficient work environment, allowing you to focus on the task at hand. Wall-mounted organizers provide time-saving solutions by keeping frequently used tools within easy reach, reducing the time spent searching for misplaced items.
Additionally, they contribute to clutter reduction by storing items off the floor and workbench, keeping them out of the way but still accessible. This, in turn, reduces tripping hazards and creates a safer workspace.
With wall-mounted organizers, you can optimize your workshop's layout, making the most of available space. By doing so, you'll experience increased efficiency, reduced stress, and improved overall performance.
Choosing the Right Tool Holder
With your workshop's layout optimized through wall-mounted organizers, it's time to focus on selecting the right tool holders to maximize their potential.
To guarantee efficient storage and easy access, you'll want to choose holders that accommodate your specific toolset. Consider the tool compatibility of each holder, verifying it can securely store your tools without compromising their performance or safety.
Material durability is also vital, as it directly impacts the holder's ability to withstand heavy use and harsh workshop conditions.
Look for holders made from high-quality materials, such as heavy-duty steel or durable plastics, that can resist corrosion and damage. Additionally, consider the holder's weight capacity to confirm it can handle the weight of your tools.
Maximizing Vertical Storage Space
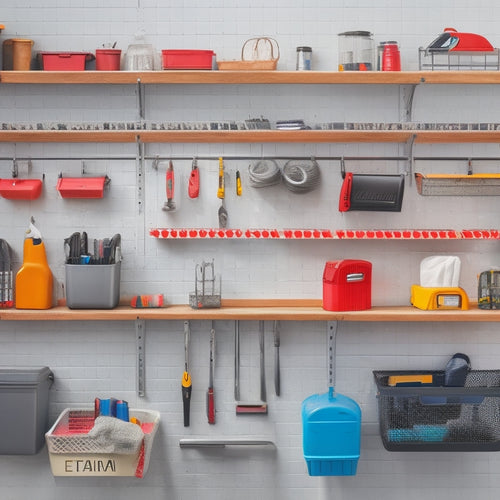
Frequently, workshop spaces face the challenge of limited floor space, making it essential to maximize vertical storage capacity. You can optimize your workshop's efficiency by utilizing wall-mounted tool organizers to free up precious floor space. This allows you to focus on more critical tasks, such as completing projects and meeting deadlines.
To maximize your vertical storage space, consider the following strategies:
-
Install shelves: Add shelves to store less frequently used tools and materials, keeping them out of the way but still accessible.
-
Use pegboards: Mount pegboards to hang frequently used tools, making them easily accessible and saving time.
-
Mount bins and containers: Attach bins and containers to store small parts, fasteners, and other materials, keeping them organized and within reach.
- Hang tool organizers: Suspend tool organizers from the ceiling or walls to store bulky tools, such as saws and drills, keeping them off the floor and out of the way.
Customizing Your Workshop Layout
You'll want to optimize your storage space by strategically placing tools and supplies to reduce walking distances and increase accessibility.
Next, design an efficient workflow by positioning your most frequently used tools and workstations in a logical sequence.
Optimize Storage Space
Your workshop's layout is a reflection of your workflow, and a well-organized space can greatly enhance productivity. To enhance storage space, you'll want to focus on space efficiency and clutter reduction. This means allocating specific areas for different tools and supplies, ensuring everything has a designated home.
To achieve ideal storage, consider the following strategies:
-
Categorize and group similar tools: Store tools with similar functions or uses together, making it easier to find what you need when you need it.
-
Assign a home for each item: Designate a specific spot for each tool or supply, reducing clutter and preventing lost or misplaced items.
-
Utilize vertical space: Maximize wall-mounted storage to keep frequently used items within easy reach, while less frequently used items can be stored on higher or lower shelves.
- Implement a "one in, one out" policy: Regularly purge unnecessary or duplicate items to maintain a clutter-free workspace and prevent overcrowding.
Design Efficient Workflow
A well-designed workshop layout is vital to maximizing productivity and efficiency. You'll want to create a workflow that minimizes walking distances, reduces clutter, and guarantees easy access to frequently used tools.
Start by identifying your most common tasks and prioritizing them based on frequency and importance. This will help you determine the best placement of your wall-mounted tool organizers.
Next, consider the workflow efficiency of your layout. Think about the sequence of tasks you perform and how you can arrange your tools to support that sequence. For instance, if you're working on a project that requires frequent trips to the workbench, place your most frequently used tools nearby to reduce walking distances.
Task prioritization is also significant in designing an efficient workflow. Identify the tasks that require the most attention and allocate your most accessible storage space to the tools needed for those tasks.
Top Tool Organizer Brands Reviewed
While setting up an efficient workshop space, selecting the right tool organizer brand can be an essential decision. You want a brand that offers high-quality products, durability, and functionality to guarantee your tools are safely stored and easily accessible.
To help you make an informed decision, we've compiled a list of top tool organizer brands reviewed based on brand comparisons and user reviews.
-
DeWalt: Known for their high-quality power tools, DeWalt's tool organizers are designed to withstand heavy use and harsh environments. Their products feature durable construction, adjustable compartments, and a sleek design.
-
Milwaukee: Milwaukee's tool organizers are built to last, with heavy-duty materials and a focus on ergonomics. Their products are designed to reduce fatigue and improve productivity.
-
Kobalt: Kobalt's tool organizers offer a range of innovative features, including customizable compartments and adjustable shelving. Their products are designed to maximize storage space and improve workshop organization.
- Rubbermaid: Rubbermaid's tool organizers are designed for versatility and durability. Their products feature modular designs, adjustable compartments, and a focus on safety and security.
Measuring for a Perfect Fit
Selecting the right tool organizer brand is just the first step in creating an efficient workshop space. Now, it's crucial to measure your workspace dimensions accurately to guarantee a perfect fit.
Take precise measurements of the wall area where you plan to install the tool organizer, considering any obstructions like pipes, outlets, or windows. Record the width, height, and depth of the space to determine the ideal organizer size.
Next, assess the tool accessibility you need. Consider the types and sizes of tools you'll be storing, their frequency of use, and the ease of access required. Will you need to store heavy or bulky tools, or prioritize frequently used hand tools? This information will help you choose the right organizer configuration, such as a pegboard, slatwall, or cabinet-style system.
When measuring, use a level to guarantee accurate readings, and double-check your calculations to avoid mistakes.
Installation and Maintenance Tips
You'll want to guarantee a secure and level installation of your tool organizer by following the manufacturer's instructions for mounting it to the wall or floor.
Next, establish a regular cleaning schedule to prevent dust and debris from accumulating and affecting the organizer's performance.
Mounting the Organizer
Mounting the Organizer
Three key considerations come into play when mounting your tool organizer: the type of wall or surface, the weight and size of the organizer, and the tools you plan to store. These factors will determine the type of mounting materials you'll need and the overall stability of your organizer.
When selecting mounting materials, keep the following in mind:
-
Anchors: Use wall anchors that can support the weight of your tools and organizer, especially if you're mounting on drywall or plaster.
-
Screws: Choose screws that are designed for your wall type, such as wood screws for wooden walls or self-drilling screws for metal studs.
-
Adhesives: Consider using adhesives like epoxy or hot glue for added stability, especially for heavier organizers.
- Leveling: Verify your organizer is level to prevent tools from falling or becoming disorganized.
Regular Cleaning Schedules
With your tool organizer securely mounted, it's now time to focus on maintaining its functionality and organization. Regular cleaning schedules are essential to ascertain your tools remain in good condition and easily accessible.
You'll need basic cleaning supplies like a soft-bristled brush, microfiber cloths, and a gentle cleaning solution. Set a schedule to clean your tool organizer every 1-2 weeks, or more frequently if you work with messy materials.
During each cleaning session, remove any debris or dust from the organizer's surface and bins. Use your brush to sweep away dirt and dust from the tool holders and hooks.
Dampen a microfiber cloth with your cleaning solution and wipe down the entire organizer, paying attention to any areas with visible stains or buildup. This will prevent rust and corrosion from forming on your tools.
Frequently Asked Questions
Can I Use Wall-Mounted Organizers in a Small Workshop or Garage?
You can definitely use wall-mounted organizers in a small workshop or garage to optimize space and enhance efficiency. By leveraging space-saving solutions, you'll improve workshop efficiency and reduce clutter, ensuring a safer working environment.
Are Wall-Mounted Tool Holders Suitable for Heavy Machinery?
When storing heavy machinery, you'll need industrial wall mounts designed for heavy tool storage, ensuring the weight capacity matches your equipment's requirements; always check the manufacturer's specifications to guarantee a safe and secure installation.
Can I Install Wall-Mounted Organizers on a Plaster or Drywall Surface?
As you envision a tidy workshop, you wonder if you can trust your walls to hold the weight. Yes, you can install wall-mounted organizers on plaster or drywall surfaces, but use drywall anchors for a secure plaster installation to guarantee your tools stay put.
Are Wall-Mounted Tool Organizers Compatible With All Tool Brands?
You'll find that most wall-mounted tool organizers are designed for tool compatibility, offering brand versatility to accommodate various tool sizes and styles from top manufacturers, ensuring a safe and efficient workshop setup.
Do Wall-Mounted Organizers Come With a Warranty or Guarantee?
You'll typically find that manufacturers offer warranty terms ranging from 1-5 years, covering defects and guaranteeing your wall-mounted organizer performs as promised; be certain to follow installation tips to maintain warranty validity and confirm safe, secure tool storage.
Conclusion
You've optimized your workshop space with wall-mounted tool organizers, freeing up precious floor space and enhancing productivity. Now, take satisfaction in your well-organized workshop, where every tool has its designated spot. Did you know that a cluttered workspace can lead to a 40% decrease in productivity? By implementing wall-mounted organizers, you've not only increased efficiency but also reduced the risk of lost or damaged tools, saving you time and money in the long run.
Related Posts
-

Open Storage Bins for Shelving Units
You need open storage bins that integrate seamlessly with your shelving units to boost your organization, productivit...
-

3 Simple Steps to a Garage Tool Wall You'll Love
To create a garage tool wall you'll love, start by planning the space, taking inventory of your tools, and measuring ...
-

Bin Garage Storage Ideas for Maximizing Space
You can greatly maximize your garage's storage space by utilizing vertical space with ceiling storage bins, stacking ...


