3 Simple Steps to a Garage Tool Wall You'll Love
Share
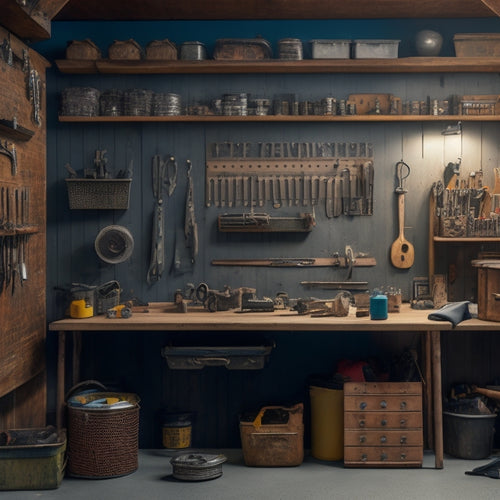
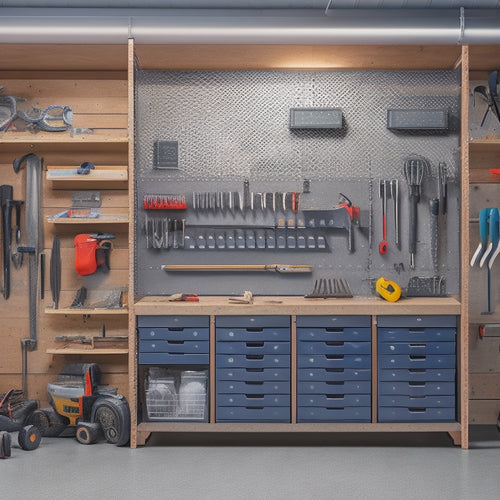
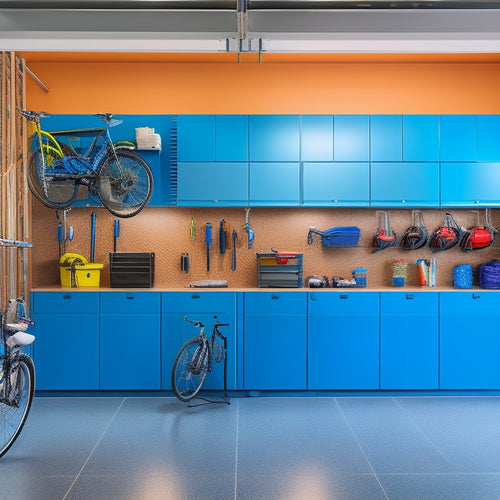
To create a garage tool wall you'll love, start by planning the space, taking inventory of your tools, and measuring the wall to calculate the maximum square footage. Then, choose the right storage solutions, considering the types of tools and available space, and opting for easy access and durable materials. Finally, install and organize your tools, grouping similar types together, placing heavier tools at the bottom, and utilizing bins and baskets for small items. By following these three simple steps, you'll be well on your way to a functional and visually appealing tool wall that enhances your productivity - and there's more to investigate to make it perfect for your needs.
Key Takeaways
- Take inventory of tools and measure available wall space to calculate maximum square footage for an optimal layout.
- Choose the right storage solutions based on tool types and available space, opting for easy access and durable materials.
- Group similar tools together, placing heavier ones at the bottom, and install storage solutions securely according to manufacturer's instructions.
- Utilize bins and baskets for small items, labeling compartments for quick identification, and position frequently used tools at eye level.
- Consider adjustable storage options and pegboard or slatwall for hanging smaller tools and accessories to maximize wall space efficiency.
Plan Your Tool Wall Space
Simple Steps to a Garage Tool Wall You'll Love
Plan Your Tool Wall Space
First, take stock of the tools you want to hang on your wall. Make a list of the essentials, such as hammers, screwdrivers, and pliers. Consider the frequency of use and prioritize the most-used tools. This will help you determine the ideal layout for your tool wall design.
Next, measure the available wall space in your garage. Take into account any obstacles, like windows, doors, or electrical outlets. Calculate the maximum square footage you have to work with. This will enable you to maximize space and guarantee a clutter-free zone.
Now, visualize the layout. Group similar tools together, and allocate space for larger items, like power tools or ladders. Consider a pegboard or slatwall for hanging smaller tools and accessories.
Choose the Right Storage
With your tool wall space planned, it's time to select the perfect storage solutions. Consider the tool types you need to store and the available space on your wall. Think about the frequency of use, size, and weight of each tool. This will help you decide on the most suitable storage solutions.
For frequently used tools, opt for easy-to-access storage solutions like hooks, bins, or baskets. These allow for quick retrieval and can be mounted at a comfortable height.
For less frequently used tools, consider closed storage solutions like cabinets or drawers. These keep tools dust-free and out of the way, but still provide easy access when needed.
Choose storage solutions that can hold the weight of your tools. Look for products with durable materials, sturdy construction, and secure mounting options.
Consider adjustable storage solutions that can adapt to different tool sizes and types. By selecting the right storage solutions, you'll create a safe and efficient tool wall that makes your work easier and more enjoyable.
Install and Organize Tools
You've selected the perfect storage solutions for your tool wall. Now it's time to install and organize your tools. Start by grouping similar tool types together, such as hammers, screwdrivers, and pliers. This will make it easier to find what you need when you need it.
Next, consider the weight and size of each tool when deciding where to place it on the wall. Heavier tools should be placed at the bottom to prevent them from falling and causing damage or injury. Use wall anchors or screws that match your wall materials to guarantee a secure hold.
Begin installing your storage solutions, following the manufacturer's instructions. Place frequently used tools at eye level, and less frequently used tools above or below.
Use bins and baskets to store small items like nuts, bolts, and screws. Label each storage compartment so you can quickly identify what's inside.
Frequently Asked Questions
How Do I Keep My Tool Wall Organized Over Time?
To keep your tool wall organized over time, you'll need a regular maintenance routine. Set aside time each month to tidy up, implement organizing strategies like categorizing and labeling, and make certain everything has a designated place on your tool wall.
Can I Customize My Tool Wall to Fit Unique Tools?
You can customize your tool wall to fit unique tools by adapting your tool wall design to incorporate unique tool storage solutions, like slotted bins or magnetic strips, to keep your tools organized and within reach.
Are Tool Walls Suitable for Small or Narrow Garages?
You can still create a functional tool wall in a small or narrow garage by opting for space-saving solutions like wall-mounted storage, which will help maximize your available space while keeping tools organized and within reach.
Can I Add a Pegboard to an Existing Tool Wall?
You can easily add a pegboard to an existing tool wall, increasing storage and organization. Start by measuring the wall, choosing a pegboard size, and marking drill holes; then, drill and install the pegboard, ensuring secure screws to prevent accidents.
How Do I Secure Valuable Tools on the Wall?
As you fortify your treasure chest of tools, prioritize tool safety by anchoring precious items to the wall with sturdy hooks or bins, ensuring the wall materials can support the weight, and keeping frequently used tools within easy reach.
Conclusion
You've finally got your garage tool wall up and running! Now, it's like having your own personal Batman's utility belt at your fingertips. With a solid plan, the right storage, and a sprinkle of organizational flair, you've created a space that's both functional and aesthetically pleasing. Remember, a well-maintained tool wall is like a well-oiled machine - it'll keep you efficient, effective, and ready to tackle any project that comes your way.
Related Posts
-

Design Considerations for a Custom Pegboard
When designing a custom pegboard, you'll want to start by evaluating your storage needs, considering factors like too...
-

Building a Wall Tool Storage System
You're about to create a customized wall tool storage system that streamlines your workflow. Start by clearing your w...
-

Top Garage Storage Bins for Organization and Style
You can enhance your garage's style and organization with the right storage bins. Top brands like Rubbermaid, Suncast...


