Transform Your Garage With These DIY Storage Hacks
Share
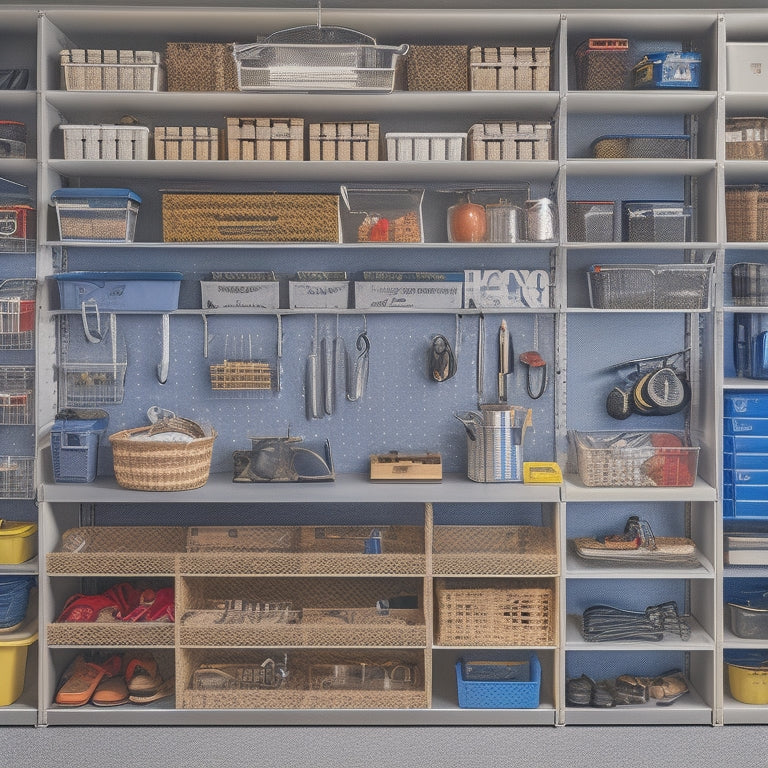
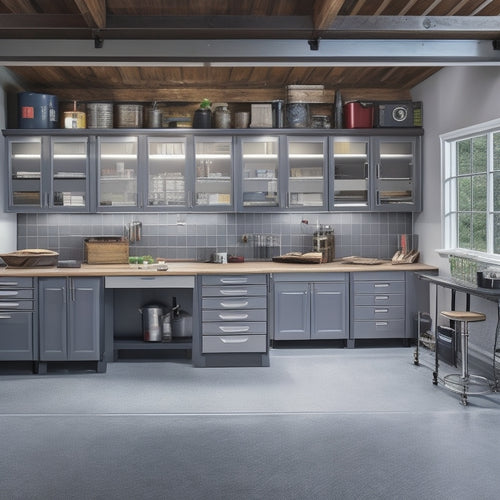
You're about to transform your garage into a productivity hub with these innovative DIY storage hacks. Start by maximizing vertical storage space with shelves, hooks, and bins. Repurpose old pallets and plastic containers to create functional shelving units and organize small items. Create a tool station with cord organizers and pegboards for easy tool retrieval. Utilize ceiling storage options like overhead racks and pulleys to free up floor space. Finally, designate specific zones for tasks like gardening tools and sports equipment. With these hacks, you'll be well on your way to a clutter-free garage - and that's just the beginning of your journey to a supremely organized space.
Key Takeaways
• Utilize vertical storage space by installing shelves, hooks, and bins to maximize garage organization and reduce clutter.
• Repurpose everyday items like old pallets and plastic containers to create functional shelving units and storage solutions.
• Create a tool station with cord organizers, pegboards, and labels to keep tools organized, accessible, and easy to identify.
• Take advantage of ceiling storage options like overhead racks and pulleys to store seasonal items, luggage, and heavy equipment.
• Establish storage zones by categorizing items by function, frequency of use, or type, and use labels to maintain organization and prevent clutter.
Maximizing Vertical Storage Space
You can access a wealth of hidden storage space in your home by making the most of your walls and ceilings. By utilizing shelves, hooks, and bins, you can keep clutter at bay and create a more organized living space.
To get started, identify areas where you can utilize vertical storage. Consider using wall anchors to hang shelves or bins, especially in areas like the garage or laundry room where heavy items need to be stored.
Next, think about how you can maximize your shelves to increase storage capacity. Shelf dividers can help keep similar items organized and prevent clutter from building up. For example, you can use dividers to separate cleaning supplies, tools, or sports equipment on a single shelf. By creating separate compartments, you can easily find what you need and prevent items from getting jumbled together.
Repurposing Everyday Items
As you start repurposing everyday items, you'll be amazed at how easily you can transform them into clever storage solutions.
You'll soon discover that items like old pallets can be upcycled into functional shelving units, and plastic containers can be reused to store a variety of items.
Old Pallet Shelving Units
Repurposing old pallets into shelving units is a clever way to breathe new life into discarded materials and create functional storage solutions that add a touch of rustic charm to any room.
You can easily upcycle pallets into shelving units that fit your garage's unique style. Start by collecting pallets and disassembling them into individual planks. Sand the planks to smooth out any rough edges and remove any dirt or debris. Then, use screws or nails to reassemble the planks into a shelving unit that fits your needs.
You can add a rustic aesthetic to your shelves by leaving the wood in its natural state or by adding a distressed finish. Add some decorative brackets or hardware to give your shelves a personalized touch.
Once you've built your pallet shelving unit, you can use it to store bins, tools, or other garage essentials. With a little creativity, you can turn discarded pallets into functional and stylish storage solutions that add character to your garage.
Reuse Plastic Containers
From rustic wooden planks to humble plastic containers, your creative storage solutions know no bounds, and with a little imagination, those mundane containers can be transformed into clever storage hacks that'll keep your garage organized and clutter-free. You can reuse plastic containers to store small items like nuts and bolts, screws, or even paintbrushes. Labeling Strategies are essential here, so don't forget to identify what's inside each container.
| Container Type | Ideal Storage Use |
|---|---|
| Large Tote Bins | Storing seasonal decorations or out-of-season clothing |
| Small Plastic Bins | Organizing small tools or hardware |
| Stackable Containers | Storing paint cans or other heavy items |
| Clear Storage Bins | Displaying small toys or craft supplies |
| Under-Shelf Baskets | Storing items like bags, accessories, or cleaning supplies |
Creating a Tool Station
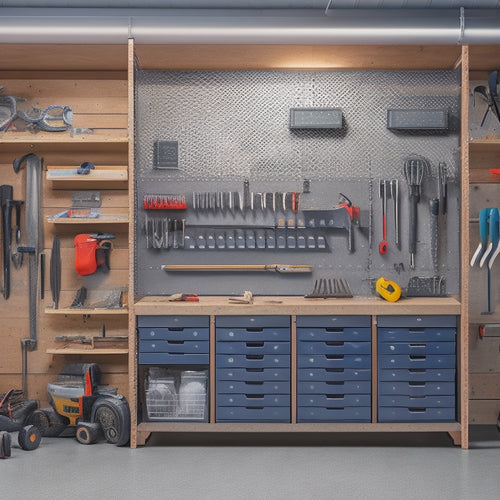
Designate a specific area in your garage or workshop as a tool station, where you can systematically organize and store your tools, making them easily accessible and saving you time and effort. This dedicated space will become your go-to spot for tackling projects and repairs.
To maximize its functionality, consider the following essentials:
-
Cord management: Install a cord organizer or a pegboard with hooks to keep cords and hoses tidy, preventing tangles and tripping hazards.
-
Station ergonomics: Position your tool station at a comfortable height, allowing you to stand or sit without straining your back or neck.
-
Tool categorization: Group similar tools together, such as hand tools, power tools, or automotive tools, to facilitate quick retrieval.
-
Labeling and signage: Use labels and signs to identify tool categories and storage locations, making it easy to find what you need at a glance.
-
Flexible storage: Incorporate shelves, drawers, or cabinets with adjustable compartments to accommodate tools of various sizes and shapes.
Utilizing Ceiling Storage Options
Your garage or workshop's often-overlooked ceiling space can be transformed into a valuable storage hub, freeing up floor and wall areas for more pressing needs. By utilizing overhead storage options, you'll be amazed at how much clutter you can clear out.
Install overhead racks to store items like seasonal decorations, luggage, or even out-of-season sports equipment. These racks are easy to install and can hold a surprising amount of weight.
If you need to store heavier or bulkier items, consider using ceiling pulleys. These pulleys allow you to lift and lower items with ease, making it simple to store and retrieve items like bikes, kayaks, or even a small boat. Just make sure to follow the manufacturer's weight limits and installation instructions to guarantee safe and secure storage.
Building a Pegboard System
When constructing a pegboard system, you're poised to access a world of customized storage and organization.
You'll start by selecting the perfect pegboard panel for your needs, considering factors like size, material, and hook compatibility.
Next, you'll optimize tool placement to maximize efficiency, and finally, you'll customize your layout to fit your unique workflow and style.
Pegboard Panel Selection
You'll likely find yourself surrounded by a multitude of pegboard panel options, each varying in material, size, and hole pattern, as you start creating your pegboard system. The choices can be overwhelming, but don't worry, we're here to help.
When it comes to panel materials, you'll want to take into account durability, weight capacity, and aesthetics.
Here are some key factors to take into account when selecting your pegboard panel:
-
Panel materials: Metal, wood, or plastic? Each has its pros and cons. Metal is sturdy, but may be noisy; wood is stylish, but can be prone to warping; and plastic is lightweight, but may lack durability.
-
Panel aesthetics: Think about the overall look you want to achieve. Do you prefer a sleek, modern design or a more rustic, wooden feel?
-
Hole pattern: Will you need a standard grid pattern or something more customized?
-
Size: How much wall space do you have available? Do you need a compact panel or a larger one to accommodate all your tools?
-
Brand and quality: Research different brands and read reviews to make sure you're getting a high-quality panel that will withstand the test of time.
Optimizing Tool Placement
With your pegboard panel in place, it's time to strategically arrange your tools to maximize efficiency and accessibility, ensuring that every item has a designated home that makes sense for your workflow.
You'll want to create a layout that minimizes Tool Shadows – those dark areas where tools hide behind others, making them hard to find. To achieve this, group similar tools together, like all your hammers or screwdrivers, and place them at eye level for easy access.
Next, tackle Corner Clutter by using pegboard accessories like hooks, bins, and baskets to corral small items like nuts, bolts, or safety gear. This will keep them organized and prevent them from getting lost in the depths of your garage.
Consider the frequency of use when placing your tools – the most frequently used items should be front and center, while less-used tools can be placed towards the bottom or top of your pegboard.
Customizing Your Layout
Now that you've optimized your tool placement, it's time to build a pegboard system that's tailored to your specific needs and workflow, allowing you to customize your layout for maximum efficiency. A well-designed pegboard system will help you stay organized, increase productivity, and free up valuable floor space.
To create a layout blueprint, start by mapping out your garage's floor planning. Consider the 'zones' you want to create, such as a workstation, storage area, and parking space. Then, think about the types of tools and accessories you need to store and how you can group them logically.
Here are some tips to keep in mind when building your pegboard system:
-
Choose the right pegboard material: Consider durability, weight capacity, and ease of installation.
-
Plan for flexibility: Leave some space between pegs to accommodate future additions or changes.
-
Group similar items together: Store tools of the same type, such as hammers or screwdrivers, in the same area.
-
Label your pegs: Use labels or signs to identify what's stored in each spot.
-
Keep it visually appealing: Balance your pegboard with a mix of short and long pegs, and consider adding decorative trim or accessories.
Designating Zones for Clarity
Furthermore, by dividing your storage space into distinct zones, you can categorize items by function, frequency of use, or type, instantly bringing clarity to your organizational system.
This task segregation approach allows you to allocate specific areas for specific tasks, resulting in a more efficient use of space. For instance, designate a zone for gardening tools, another for sports equipment, and another for seasonal decorations. This way, you'll know exactly where to find what you need when you need it.
To further enhance this system, use zone labels to identify each area. You can use colorful stickers, labels, or even paint to create visual cues. This visual organization will help you and others quickly understand the purpose of each zone.
Additionally, it'll prevent clutter from building up in the future, as you'll be more likely to put things back in their designated spot. By implementing zone labels and task segregation, you'll be able to maintain a sense of calm and control in your garage, making it a more enjoyable space to spend time in.
Frequently Asked Questions
Can I Use DIY Storage Hacks for a Small Garage?
"You're not alone in wondering if DIY storage hacks can tame your tiny garage. Think of it as a puzzle - with strategic space optimization and a well-planned garage layout, you'll be amazed at how much you can fit in a small space!"
Are DIY Storage Hacks Expensive to Implement?
"You're likely worried that DIY storage hacks will break the bank, but with some planning, you can overcome budget constraints. Material costs can add up, but repurposing items and shopping smart can help you stay within your means."
Do I Need Professional Help for DIY Storage Hacks?
You don't necessarily need professional help, but if you're short on personal skills or time, consider hiring handyman services to make sure your DIY storage hacks turn out perfectly and efficiently.
Can I Customize DIY Storage Hacks to Fit My Needs?
"You can absolutely customize DIY storage hacks to fit your needs, considering your personal preferences and space constraints, allowing you to maximize functionality and create a tailored system that works seamlessly for you."
How Long Does It Take to Complete a DIY Storage Hack?
You're wondering how long it takes to complete a DIY storage hack? Typically, a project timeline ranges from a few hours to a whole weekend, depending on the complexity of the hack you're tackling, so plan accordingly for your weekend projects.
Related Posts
-

Best Tool Chests for Home Garage Options
When selecting the best tool chest for your home garage, you'll want to evaluate top brands like DeWalt, Milwaukee, a...
-

Building a Wall Tool Storage System
You're about to create a customized wall tool storage system that streamlines your workflow. Start by clearing your w...
-

Portable Tool Chest Essentials
When stocking your portable tool chest, you'll want to prioritize essential hand tools like hammers, tape measures, a...


