Tool Organization Made Easy
Share
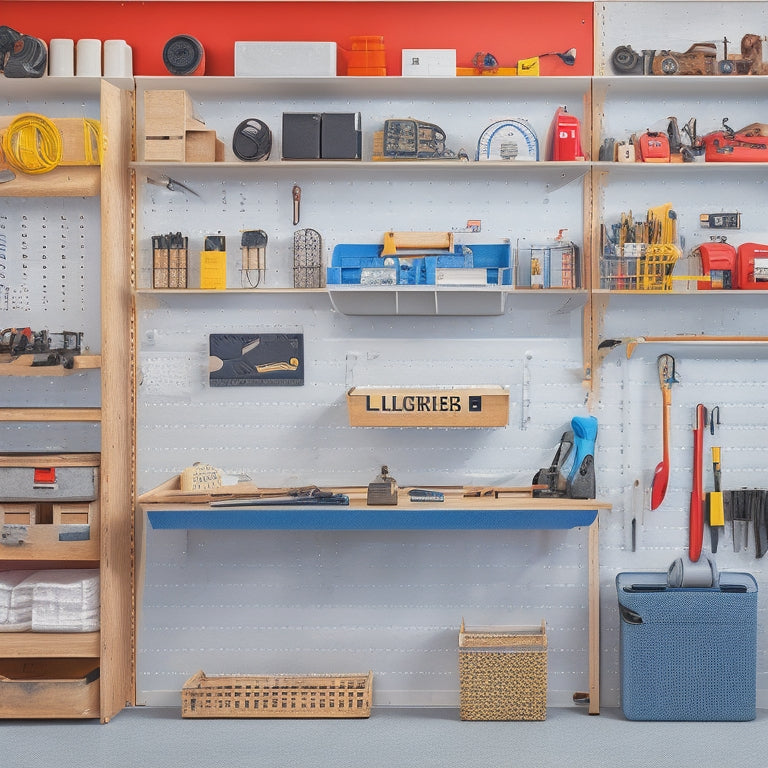
You can take the first step towards a more efficient workspace by implementing a tool organization system that works for you. Start by categorizing your tools by type and prioritizing them based on frequency of use, and then choose the right storage options such as tool chests, pegboards, or wall-mounted racks to keep them within easy reach. Clear labels and signage can help you quickly identify what you need, and a well-designed workstation can streamline your workflow. By putting these strategies in place, you'll be well on your way to reducing downtime and increasing productivity - and there's even more you can do to take your tool organization to the next level.
Key Takeaways
- Categorize tools by type, prioritize by frequency of use, and store accordingly to optimize workflow and reduce downtime.
- Designate specific zones for tasks, such as assembly and supply areas, to maximize efficiency and promote safety.
- Implement a labeling and signage strategy using clear fonts, durable labels, and icons to enhance quick recognition and accessibility.
- Establish daily cleaning routines, regular tool sharpening, and scheduled inspections to maintain tool performance and safety.
- Regularly reassess and adjust tool organization systems to ensure they remain relevant, efficient, and effective for specific project needs.
Tool Storage Options
How do you currently store your tools? Are they scattered all over your workshop or garage, making it difficult to find what you need when you need it?
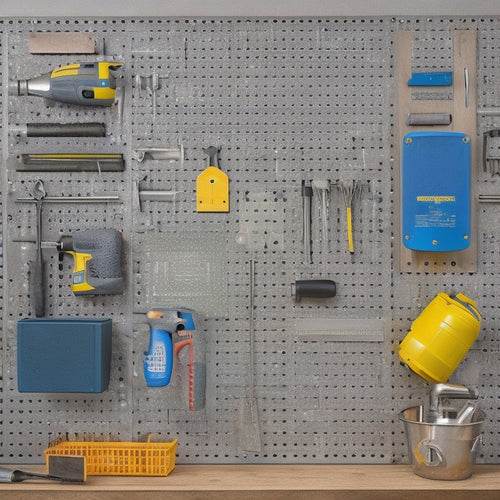
Effective tool storage is essential for a safe and efficient workspace. Consider investing in a tool chest or a pegboard system to keep your frequently used tools within easy reach.
Drawer dividers can help you maximize storage space and keep similar tools organized. Wall-mounted racks and magnetic strips are great for storing smaller items like wrenches, pliers, and screwdrivers.
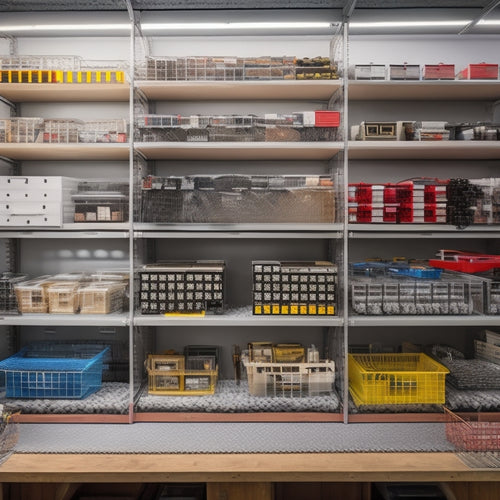
Toolbox organizers and clear containers can help you keep your tools dust-free and protected from the elements. If you have a lot of heavy tools or equipment, consider using rolling carts to make it easier to move them around.
Categorizing and Prioritizing Tools
You've invested in a tool storage system, and now it's time to organize your tools in a way that makes sense for your workflow. Categorizing and prioritizing your tools will help you quickly find what you need, reduce downtime, and improve overall efficiency.
To categorize your tools, separate them into groups based on their types, such as hand tools, power tools, and specialty tools. Within each group, prioritize your tools based on their usage frequency.
| Tool Type | Usage Frequency |
|---|---|
| Hammer | High |
| Drill | High |
| Socket Set | Medium |
| Level | Medium |
| Wire Stripper | Low |
Labeling and Signage Strategies
As you've categorized and prioritized your tools, the next step is to verify you can quickly identify where each tool belongs and locate it when needed. Effective labeling and signage strategies are vital for tool organization.
Implement color coding to differentiate between tool categories or material types. For instance, use red labels for power tools and blue labels for hand tools.
Select font choices that are clear and easy to read, even from a distance. Ascertain label durability by using high-quality materials that can withstand environmental conditions like moisture or extreme temperatures.
Strategically place signs at eye level, near the corresponding tool storage area, to provide visual cues. Consider using images or icons in addition to text to facilitate quick recognition.
Additionally, use signs to indicate the contents of storage containers or bins, making it easier to find what you need. By incorporating these labeling and signage strategies, you'll be able to efficiently manage your tool collection and minimize time spent searching for misplaced tools.
Workstation Setup and Design
Design your workstation to maximize efficiency and productivity by allocating specific zones for different tasks. This will help you stay focused and avoid distractions, ensuring a safer work environment. A well-designed workstation also reduces the risk of injuries and fatigue by promoting good workstation ergonomics.
When setting up your workstation, consider the following zones and their corresponding tasks:
| Zone | Task | Tools/Equipment |
|---|---|---|
| Work Area | Assembly, repair, and maintenance | Tools, parts, and materials |
| Supply Zone | Storage and retrieval of tools and materials | Toolboxes, shelves, and cabinets |
| Information Zone | Reference and documentation | Manuals, diagrams, and computer |
Tool Maintenance and Inspection
You'll prolong the life of your tools and guarantee they're always ready for use by establishing a daily cleaning routine, regularly sharpening them, and following a scheduled inspection checklist.
This maintenance ritual will help you identify potential problems before they become major issues.
Daily Cleaning Routine
Efficiency begins with a clean slate, and for tool organization, that means implementing a daily cleaning routine that sets the tone for a well-maintained workspace.
By dedicating a few minutes each day to cleaning, you'll prevent dirt and grime from building up and reduce the risk of accidents.
To make cleaning a habit, remember to:
- Set a regular cleaning frequency, such as at the end of each workday or shift.
- Gather essential cleaning supplies, like a soft-bristled brush, microfiber cloths, and mild soap.
- Focus on high-touch areas, like tool handles and work surfaces, where dirt and germs tend to accumulate.
- Quickly wipe down tools and equipment, removing any debris or residue that can affect performance or safety.
Regular Tool Sharpening
As you maintain a clean workspace, it's equally important to keep your tools in top condition. Regular tool sharpening is a vital aspect of tool maintenance and inspection. Dull tools not only reduce productivity but also increase the risk of accidents. You can't afford to compromise on safety, so make sharpening a priority.
Develop a routine to regularly inspect and sharpen your tools. Familiarize yourself with various sharpening techniques and invest in good-quality sharpening tools. For instance, use a whetstone for knives and a diamond stone for chisels. Learn how to sharpen each tool correctly to maintain its edge.
Keep in mind that different tools require different sharpening frequencies. Some may need daily sharpening, while others can go weeks without needing a touch-up. Create a schedule that works for you and stick to it.
Scheduled Inspection Checklist
Establishing a scheduled inspection checklist is essential for tool maintenance and inspection. This guarantees that your tools are in good working condition, reducing the risk of accidents and injuries.
You'll be able to identify potential issues before they become major problems, saving you time and money in the long run.
To create an effective inspection checklist, consider the following:
-
Determine inspection frequency: Decide how often you'll inspect each tool based on usage and manufacturer recommendations.
-
Customize your checklist: Tailor your checklist to your specific tools and equipment, including any unique features or requirements.
-
Check for wear and tear: Inspect tools for signs of wear, damage, or corrosion, and replace or repair them as needed.
- Document and track results: Keep a record of your inspections, including any issues found and actions taken to address them.
Ongoing Organization and Adjustments
Ongoing Organization and Adjustments
Regularly, you'll find yourself reassessing your tool organization system to confirm it continues to meet your developing needs. As you work on projects, you'll identify what's working and what's not, and make adjustments accordingly. This ongoing process guarantees your system remains efficient and safe.
To maintain your tool organization system, consider the following strategies:
| Season | Tool Rotation | Tips |
|---|---|---|
| Spring | Rotate winter tools to storage, bring out gardening tools | Clean and inspect tools before storage |
| Summer | Rotate gardening tools to forefront, store summer tools | Check expiration dates of chemicals and supplies |
| Fall | Rotate summer tools to storage, bring out winter tools | Prepare winter tools for cold weather |
| Winter | Rotate winter tools to forefront, store fall tools | Inspect tools for damage before storing |
Frequently Asked Questions
How Do I Handle Tools With Different Voltage Requirements?
When handling tools with different voltage requirements, you'll want to verify voltage compatibility by identifying the required power source for each tool and using adapters or converters only as needed, always double-checking the manufacturer's guidelines for safe operation.
Can I Use Tool Organization Systems in Small Workspaces?
You can optimize your small workspace by utilizing compact storage and vertical solutions, ensuring easy access to your tools while maintaining a safe and clutter-free environment, even with limited square footage.
What Are Some Creative Ways to Repurpose Old Tool Storage?
You can breathe new life into old tool storage by upcycling them into unique shelves or repurposing vintage toolboxes as organizers, creating a functional and eco-friendly solution that keeps your workspace safe and clutter-free.
How Often Should I Reorganize My Tool Collection?
Think of your tool collection like a garden, needing regular pruning to stay healthy. You should reorganize your tool inventory every 3-6 months, or as part of seasonal maintenance, to guarantee everything's easily accessible and safe to use.
Are There Any Tool Organization Methods for Left-Handed People?
You'll find that left-handed storage solutions prioritize ergonomic organization, catering to your unique needs. Look for modular systems with adjustable compartments, allowing you to customize your tool arrangement for maximum comfort and accessibility.
Conclusion
You've got your tools organized, and it's a transformative shift! According to the National Association of Professional Organizers, the average person spends about 1 hour per day searching for misplaced items - that's 15 days a year! With your new system in place, you'll be saving time and reducing frustration. Remember to maintain your setup, and don't be afraid to make adjustments as needed. Your newly organized workspace is now a hub of productivity, and you're ready to tackle any project that comes your way!
Related Posts
-

Best Organizing Tools for a Clutter-Free Space
You're on a mission to change your cluttered space into a peaceful oasis, and you're looking for the best organizing ...
-

10 Essential Steps for Small Parts Bin Storage
To optimize your small parts bin storage, start by defining your storage needs and goals, considering factors like av...
-

How to Hang a Pegboard in 5 Easy Steps
You'll hang a pegboard in 5 easy steps by first preparing the wall, ensuring it's sturdy and free of obstructions. Ne...


