Hanging a Pegboard on the Wall in 7 Easy Steps
Share
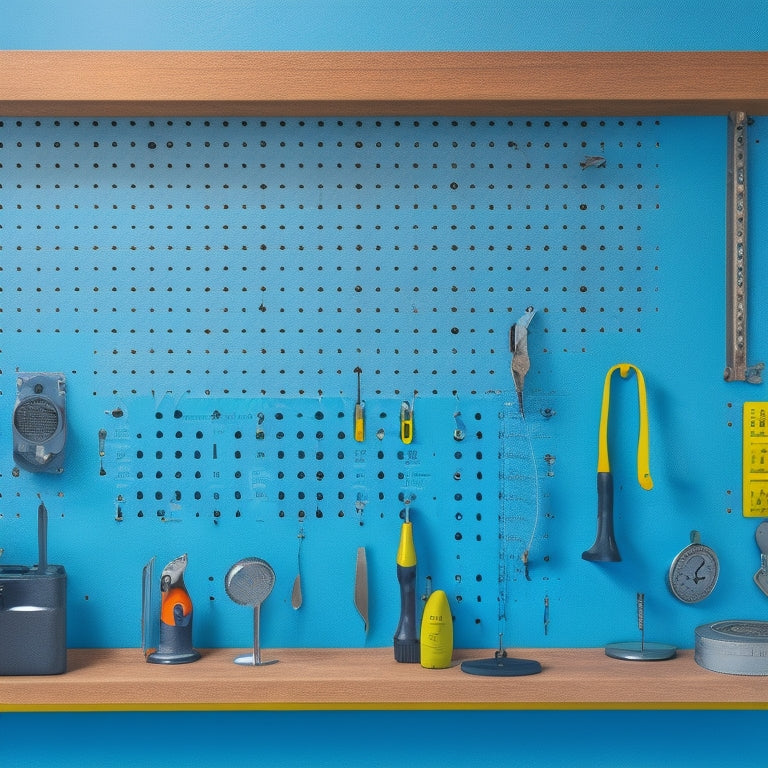
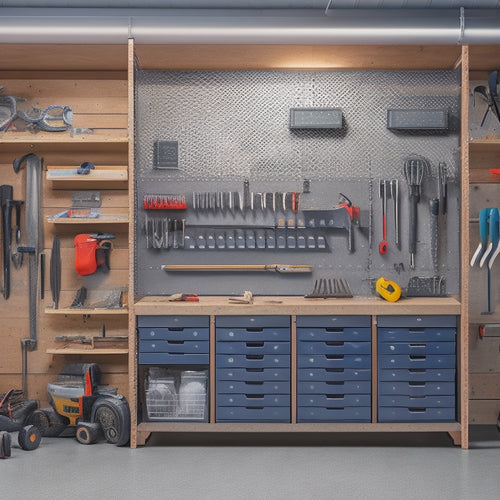
To hang a pegboard on the wall in 7 easy steps, start by preparing the wall surface by cleaning and inspecting it for any debris or uneven areas. Choose the right anchors based on the pegboard's weight and wall type, and measure the wall to determine the pegboard's position. Mark the screw locations with a fine-tip pen, then drill pilot holes for the screws. Mount the pegboard frame, verifying it's level and aligned with the marks. Add hooks and accessories, categorizing tools for best use. Finally, conduct a safety check to prevent accidents and guarantee durability - and that's just the beginning of creating your ultimate organizational hub.
Key Takeaways
- Ensure the wall surface is clean, dry, and free of debris before installing the pegboard to prevent damage or uneven hanging.
- Choose the right anchors based on pegboard weight and wall type, and make sure their weight capacity exceeds the combined weight of the pegboard and items.
- Measure the wall width and height accurately to determine the pegboard's position, and use a level to draw straight lines marking its placement.
- Drill pilot holes slowly and steadily, applying gentle pressure, to prevent drywall cracking and ensure secure screwing of the pegboard frame.
- Verify all hooks are securely attached to the pegboard and ensure accessories are properly aligned for optimal use after installation.
Prepare the Wall for Mounting
Readiness is key when it comes to preparing your wall for mounting a pegboard. You'll want to verify the surface is clean, dry, and free of any debris that could interfere with the installation process.
Start by inspecting the wall for any cracks, holes, or uneven areas. If you find any, fill them with spackling compound and sand smooth.
Next, clean the wall using a gentle wall cleaning technique to remove dirt, grime, or grease. A mixture of mild soap and warm water should do the trick. Avoid using harsh chemicals or abrasive cleaners, as they can damage the wall or leave residues that affect the pegboard's adhesion.
Once the wall is clean, wipe it down with a dry cloth to remove any excess moisture.
Now, take a step back and visually inspect the wall again. Make certain it's dry, even, and free of any obstacles that could impede the pegboard's installation.
Choose the Right Anchors
You'll need to select the right anchors for your pegboard to guarantee a secure and sturdy installation. The type of anchor you choose depends on the weight of your pegboard and the type of wall you're working with. For instance, if you have a heavy pegboard or a hollow wall, you'll need anchors that can support more weight.
There are several types of anchors available, including plastic wall anchors, metal anchors, and molly bolts. Plastic wall anchors are suitable for lighter pegboards and drywall, while metal anchors are better for heavier pegboards and solid walls. Molly bolts are ideal for hollow walls and can support heavier weights.
When choosing an anchor, consider the anchor weight, which is the weight the anchor can hold. Make certain the anchor weight is greater than the combined weight of your pegboard and the items you plan to hang on it.
Always follow the manufacturer's instructions for installing the anchors, and test their hold before hanging your pegboard. By selecting the right anchors, you'll guarantee a safe and secure installation.
Measure and Mark the Wall
You'll need a few tools to measure your wall, including a tape measure, level, and pencil.
Take precise measurements of the wall's width and height to guarantee your pegboard fits perfectly.
Next, use a level to draw straight lines on the wall, marking the spot where you'll hang your pegboard.
Wall Measurement Tools
With your pegboard and wall anchors in hand, measuring the wall is the next essential step in the process. You'll need the right tools to guarantee accurate measurements and a secure installation.
To get started, gather the following wall measurement tools:
| Tool | Description |
|---|---|
| Tape Measure | A flexible ruler for measuring the wall's width and height |
| Level | Guarantees the wall is straight and even |
| Laser Level | Projects a level line or dot on the wall for precise measurements |
| Stud Finder | Locates wall studs behind the drywall for secure anchor placement |
Choose the right tool for the task, and take your measurements carefully. Remember to double-check your measurements to avoid errors. With these tools, you'll be able to identify the perfect spot for your pegboard and guarantee a safe and secure installation.
Wall Marking Techniques
One essential step in hanging a pegboard is accurately measuring and marking the wall. To guarantee a secure and level installation, you'll need to use effective marking techniques.
Start by holding the pegboard against the wall, centered at the desired location. Use a pencil to lightly mark the wall along the top and bottom edges of the pegboard. This will give you a clear outline of the wall layout.
Next, use a level to draw a straight line along the marks you made. This line will serve as a guide for your screws or anchors. Be certain to double-check your measurements and marks to avoid any errors. You can also use a laser level to project a level line onto the wall, making it easier to mark the spot.
Now, use a marker or a fine-tip pen to create small marks at the screw or anchor locations. These marks should be small and precise, as they'll guide your drilling or screwing process.
With your wall accurately marked, you're ready to move on to the next step: drilling pilot holes and installing your pegboard.
Drill Pilot Holes Accurately
You'll need to drill pilot holes in the wall where you've marked the spot for your pegboard's screws.
To guarantee precise hole placement, hold your drill straight and level, keeping it perpendicular to the wall.
Choose the right drill bit for the job, selecting one that's the same diameter as your screws to prevent the surrounding drywall from cracking.
Precise Hole Placement
To guarantee a secure hold, your pegboard demands precise hole placement, and that starts with drilling accurate pilot holes. Measure the hole spacing on your pegboard to determine the correct distance between holes. Typically, this spacing is 1 inch or 2 inches on center. Use a level to confirm you're drilling straight holes, and a ruler or measuring tape to mark the spot.
For drywall or plaster walls, use a drill bit with a coarse thread to provide a secure hold. For wood or metal studs, a fine-threaded bit is sufficient.
When drilling, apply gentle to moderate pressure, depending on the wall material. Avoid applying too much pressure, which can cause the drill bit to slip or the wall material to crack.
Drill slowly and steadily, maintaining a consistent angle. This will help you create clean, accurate holes. If you're unsure about the wall material or feel uncertain about drilling, consider consulting a professional or seeking additional guidance.
Drill Bit Selection
Since precise pilot holes are vital for a secure pegboard installation, selecting the right drill bit is important. You'll want to choose a bit that can accurately drill into the wall material you're working with. There are various drill types and bit materials to take into account, each suited for specific tasks.
| Drill Type | Bit Material |
|---|---|
| Cordless drill | High-speed steel (HSS) |
| Hammer drill | Tungsten carbide (TC) |
| Right-angle drill | Cobalt steel |
For most pegboard installations, a cordless drill with an HSS bit will suffice. However, if you're working with concrete or brick, you'll need a hammer drill with a TC bit. For tight spaces, a right-angle drill with a cobalt steel bit is ideal. Remember to always wear safety goggles and a dust mask when drilling to prevent injury and exposure to debris. By selecting the right drill bit, you'll guarantee accurate pilot holes and a secure pegboard installation.
Mount the Pegboard Frame
Mounting the pegboard frame is an important step that requires precision and patience. You've selected the right drill bits, now it's time to attach the frame to the wall.
Begin by holding the frame against the wall, ensuring it's level and aligned with the marks you made earlier. Use a pencil to mark the screw holes on the wall. Remove the frame and drill pilot holes into the marked spots.
Next, hold the frame in place and screw it into the wall using the anchors and screws provided with your pegboard materials. Make sure they're securely fastened to support the weight of the pegboard and its contents.
Consider the frame design and weight capacity when mounting, as a sturdy frame is essential for a safe and functional pegboard. Double-check that the frame is level and plumb before moving on to the next step.
Take your time, and don't rush this process – a securely mounted frame is critical for a successful pegboard installation.
Add Hooks and Accessories
You've successfully mounted your pegboard frame, and now it's time to add the hooks and accessories that will make your pegboard functional.
This is where you get to customize your pegboard to fit your specific needs and tool storage requirements.
To get started, consider the types of tools and accessories you'll be storing on your pegboard. You'll want to choose hook types that fit your needs, such as bins for small parts, hooks for hanging tools, and trays for organizing accessories.
Here's a checklist to help you get started:
-
Organize your accessories: Sort your tools and accessories into categories, such as hand tools, power tools, and DIY accessories.
-
Choose the right hooks: Select hooks that fit your tool storage needs, considering factors like weight capacity and durability.
-
Consider decorative options: If you're creating a decorative pegboard, choose accessories that fit your design aesthetic, such as custom bins or decorative hooks.
- Plan for maintenance: Think about how you'll maintain your pegboard, including how you'll clean it and keep it organized over time.
Final Check and Adjustments
As you step back to admire your newly accessorized pegboard, take a moment to conduct a final check, confirming everything is securely in place and functioning as intended. This is your chance to add those final touches and make any necessary adjustments to your design customization.
Review the following checklist to verify your pegboard is safe and functional:
| Category | Check | Action |
|---|---|---|
| Hooks | Are they securely attached? | Tighten any loose hooks |
| Accessories | Are they properly aligned? | Adjust accessories for best use |
| Wall Mount | Is the pegboard level? | Adjust the pegboard's position on the wall |
Make any necessary adjustments to confirm your pegboard is both functional and visually appealing. Double-check that all hooks and accessories are securely attached to prevent any accidents or damage. With these final checks complete, you can confidently use your pegboard, knowing it's safe and customized to your needs.
Frequently Asked Questions
Can I Hang a Pegboard on a Plaster or Drywall Ceiling?
You can hang a pegboard on a plaster or drywall ceiling, but consider the weight capacity and choose the right installation techniques. Ascertain you have the correct anchors and screws for your ceiling type to avoid damage or collapse.
How Do I Organize My Tools and Accessories on the Pegboard?
You'll be overwhelmed with a million tool options, but don't worry! Start by categorizing tools by type, then group similar items together. Assign a home for each tool and accessory, ensuring easy access and organized storage, and finally, label each section for a stress-free workspace.
Can I Mount a Pegboard on a Wall With a Large Window?
When mounting a pegboard near a large window, you'll want to take into account window placement and light evaluation. Measure carefully to avoid obstructing natural light, and secure the pegboard tightly to guarantee it doesn't fall or shift over time.
Will a Pegboard Damage My Wall or Paint Over Time?
When you install a pegboard, you're right to wonder if it'll damage your wall or paint over time. Take precautions to guarantee wall protection during pegboard installation by using anchors, spacers, and a level to distribute weight evenly and avoid scratches or dents.
Can I Use a Pegboard in a Humid or Outdoor Environment?
You'll be surprised to know that 70% of homeowners consider humidity a major concern when choosing storage solutions. When it comes to pegboards, look for materials with built-in humidity resistance, such as rust-resistant hooks and treated wood, to guarantee your board withstands outdoor or humid environments.
Conclusion
You've successfully hung your pegboard, and it's now a guide of organization in your workshop or garage. Think of it as a map, guiding you through the chaos of tools and accessories. Just as a map needs a steady anchor to remain useful, your pegboard needs a secure mounting to keep everything in its place. By following these 7 easy steps, you've anchored your pegboard firmly, ensuring a clutter-free and productive work environment.
Related Posts
-

Building a Wall Tool Storage System
You're about to create a customized wall tool storage system that streamlines your workflow. Start by clearing your w...
-

10 Essential Steps for Small Parts Bin Storage
To optimize your small parts bin storage, start by defining your storage needs and goals, considering factors like av...
-

Top 7 Parts Tray Organizers for Productivity
You can optimize your workspace and enhance productivity with the right parts tray organizer, which can help you cate...


