DIY Peg Wall Easel: Space-Saving Painting Solution
Share
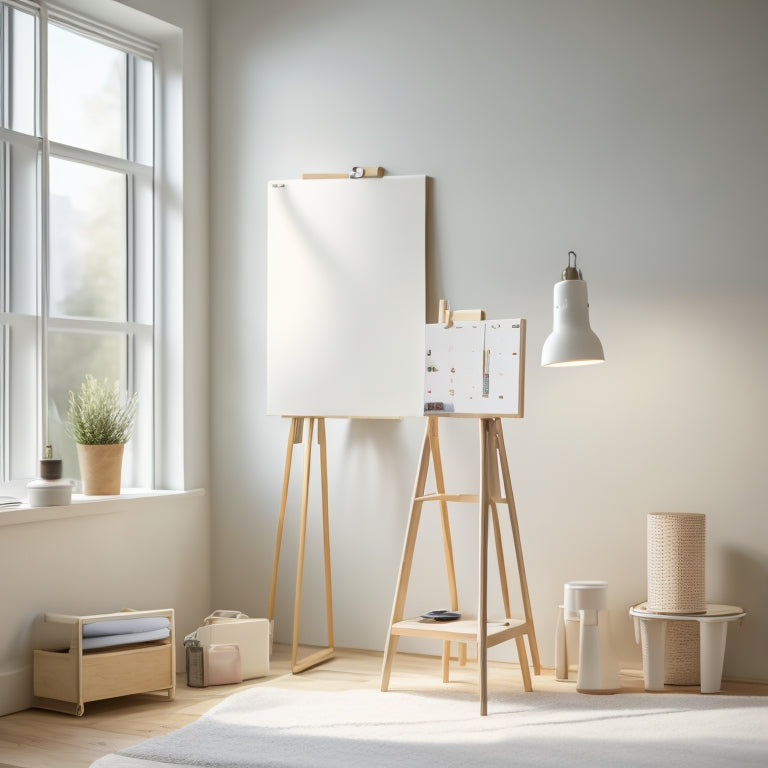
I've discovered that building a DIY peg wall easel is a brilliant space-saving solution for artists like me. It takes up zero floor space, is economical, and lets me paint the top, sides, and bottom of my canvas simultaneously. Plus, it's adjustable and allows multiple paintings to dry at once. After assembling mine using 1 x 3 x 8 boards, a 1/2 dowel, and some basic tools, I was up and running for under $90. While it does require some installation effort, the benefits far outweigh the drawbacks. Now that I've got my peg wall easel set up, I'm excited to explore its full potential - and I'm just getting started.
Key Takeaways
• A DIY peg wall easel takes up no floor space, making it an economic and space-saving painting solution for artists.
• The easel allows for simultaneous painting of top, sides, and bottom of canvas and is adjustable in size to accommodate various canvas sizes.
• Despite some drawbacks, the peg wall easel is a valuable solution for artists with limited studio space, providing a reasonable investment of $89.60.
• With some tools, such as a drill and tape measure, the easel can be assembled by trimming boards, drilling holes, and cutting dowel into pegs.
• Beyond painting, the peg wall easel can be repurposed as a photo display, tool organizer, drying rack, art gallery, or storage solution for maximizing vertical space.
Benefits of Peg Wall Easels
Five significant advantages make a peg wall easel an attractive option for artists:
- It takes up no floor space.
- It is economic and less expensive than traditional easels.
- It enables painting of the top, sides, and bottom of the canvas simultaneously.
- It is adjustable in size.
- It allows for multiple paintings to dry on the wall simultaneously.
As an artist, I appreciate the time-saving solutions this easel offers. I can work on multiple projects at once, and the adjustable size feature guarantees I can accommodate canvases of varying sizes.
While it's true that ergonomic concerns arise when working with a vertical surface, I've found that with a little creativity, I can adapt to this new way of working.
Drawbacks of Peg Wall Easels
While I've grown to appreciate the benefits of a peg wall easel, I've also encountered some notable drawbacks that are worth considering. One major concern is the ergonomic issues that come with painting on a vertically hung canvas. It can be uncomfortable and even lead to strain on my back and neck.
Another drawback is the installation process, which requires a full day of work and can be quite tedious. Additionally, the peg wall easel isn't portable once installed, which can be a limitation for artists who work in different locations.
Lastly, I've noticed that the composite wood material can splinter when drilling peg holes, which can be frustrating. Despite these drawbacks, I still believe that the peg wall easel is a valuable space-saving solution for artists.
Building Supplies and Costs
After considering the drawbacks, I'm excited to move on to the fun part - gathering the necessary supplies to bring my peg wall easel to life.
For this project, I'll need a few essential items. My Supplies List includes 1 x 3 x 8 boards, a 1/2 dowel, and wall anchors. I'll also need a drill, small drill bit, 1/2 drill bit, stepstool, tape measure, level, and sandpaper. Thankfully, I already own some of these tools, which will help reduce the overall cost.
My Cost Breakdown comes out to $89.60, which is a reasonable investment for a space-saving painting solution. With these supplies, I'll be ready to start building my peg wall easel and enjoying the benefits it has to offer.
Assembling the Peg Wall Easel
I begin assembling my peg wall easel by trimming the 1 x 3 x 8 boards to fit my ceiling height, guaranteeing a snug and secure fit. With precise measurements, I mark and drill holes for screws and pegs, taking into consideration ergonomic concerns to secure comfortable painting sessions.
Assembly tips: use a level to confirm straight boards and a tape measure to maintain consistent spacing.
Here are the essential steps to assemble the peg wall easel:
-
Determine board spacing and mark the wall for screws and anchors
-
Install wall anchors and attach boards to the wall
-
Cut dowel into pegs for hanging canvases
- Hang canvases, experimenting with creative displays and painting techniques
Beyond Painting: Alternative Uses
Beyond serving as a space-saving painting station, my peg wall easel has proven to be a versatile display system, allowing me to showcase an entire collection of artworks, perfect for photo ops or efficient drying of multiple pieces.
Here are some alternative uses I've discovered for my peg wall easel:
| Use Case | Description | Benefits |
|---|---|---|
| Photo Display | Hang framed photos or artwork | Adds visual interest to any room |
| Tool Organizer | Store painting tools and supplies | Keeps workspace organized and clutter-free |
| Drying Rack | Dry multiple paintings simultaneously | Saves time and space |
| Art Gallery | Showcase a collection of artwork | Perfect for art exhibitions or open houses |
| Storage Solution | Hang other items like bags or accessories | Maximizes vertical storage space |
I'm excited to explore more uses for my peg wall easel and discover its full potential.
Frequently Asked Questions
Can a Peg Wall Easel Hold Heavy or Large Canvases?
"I carefully consider canvas weight limits and art piece constraints when using my peg wall easel, ensuring I don't exceed the recommended weight to prevent damage or collapse, and adjust my art pieces accordingly."
How Often Should I Clean and Maintain the Peg Wall Easel?
"When life gets dusty, I don't let it settle - I regularly inspect my peg wall easel to prevent dust accumulation, ensuring it remains in top shape and my artistic vision stays crystal clear."
Can I Install a Peg Wall Easel on a Plaster or Concrete Wall?
I successfully installed my peg wall easel on a plaster wall by using specialized wall anchors and drill bits designed for masonry; I meticulously followed the manufacturer's instructions to guarantee a secure and sturdy hold.
Are There Any Safety Precautions When Using a Peg Wall Easel?
As I ascend to my creative heights, I prioritize ergonomic considerations by positioning my peg wall easel at a comfortable painting angle, and I prioritize cable management to avoid tripping hazards, guaranteeing a safe and focused artistic experience.
Can I Customize the Peg Wall Easel Design to Fit My Decor?
"I can easily customize my peg wall easel design to fit my decor by selecting boards that match my color schemes and incorporating design elements, like trim or molding, to blend seamlessly with my studio's aesthetic."
Related Posts
-

What Size Rolling Storage Bin Do I Need
To determine the ideal size of your rolling storage bin, you'll need to measure your storage space accurately, consid...
-

Top Wrench Tool Box Sets for Every Mechanic
You're looking for high-quality wrench tool box sets that cater to your specific needs as a mechanic. From top-rated ...
-

What Tools Do I Need for a DIY Wall Organizer
You'll need a variety of tools to complete a DIY wall organizer project. Essential measuring tools include a tape mea...


