
DIY Guide: Build Your Ultimate Tool Cabinet
I'm building the ultimate tool cabinet that'll revolutionize my workspace, and I'm about to show you exactly how to do the same. First, I prep essential materials like birch plywood, metal peg board sliders, and screws. Next, I assemble the cabinet structure using a Ridgid drill/impact combo and attach shelves and dividers for a robust framework. Then, I add functional components like drawer slides and doors, ensuring smooth operation and secure attachments. With these basics covered, I'm ready to customize my storage features and finalize the project with a protective polyurethane coat and stylish hardware - and you can too, just like I'm about to.
Key Takeaways
• Prepare essential materials, including birch plywood, metal peg board sliders, and hardware, to ensure a smooth building process.
• Assemble the cabinet structure using wood glue and screws, following a precise cut diagram and pocket hole drilling.
• Add functional components, such as drawer slides, doors, and hinges, to create a robust and efficient storage system.
• Customize storage features, including adjustable shelves and dividers, to accommodate your specific tool collection and maximize storage capacity.
• Finish and finalize the cabinet with a protective polyurethane coating, smooth finishes, and stylish hardware for a durable and organized tool cabinet.
Prepare Essential Materials
Gathering all the necessary materials beforehand saves time and guarantees a smooth construction process. So, I'm collecting 6 sheets of 3/4 birch plywood, 21 x 2 x 8 boards for metal peg board sliders, and various screws, drawer slides, hinges, wood glue, and sandpaper.
This meticulous approach makes sure I have everything I need for efficient tool organization. As a woodworking enthusiast, I appreciate the importance of having the right materials for effective woodworking techniques.
With all my materials in hand, I can focus on building a sturdy cabinet that will keep my tools organized and within reach. By doing so, I'll be able to maximize my workspace and streamline my workflow.
Now that I have all the necessary materials, I'm ready to start constructing my ultimate tool cabinet.
Assemble Cabinet Structure
I begin assembling the cabinet structure by cutting the 3/4 birch plywood according to the cut diagram, using my trusty table saw or circular saw to guarantee accurate cuts.
Next, I drill pocket holes as per the provided sketch, utilizing my portable pocket hole jig for convenience. With my joinery techniques in mind, I assemble the cabinet using wood glue and screws, making sure to apply even pressure for a sturdy wood assembly.
I utilize my Ridgid drill/impact combo to efficiently drive the screws, ensuring structural stability and cabinet durability. As I assemble the cabinet, I add shelves and dividers, carefully aligning them to create a robust framework.
With the cabinet structure taking shape, I'm excited to move on to the next step.
Add Functional Components
With the cabinet structure solidly in place, it's time to add the functional components that will bring this tool cabinet to life, starting with the installation of drawer slides and doors.
I'll align and install the drawer slides, making sure they're secure and smooth. Next, I'll attach the doors using euro concealed hinges, maximizing functionality and optimizing efficiency. I'll mark and drill holes for the hinges and screws, adjusting as needed.
With these components in place, I'll be able to store my tools and accessories with ease, making the most of the available space. By adding these functional components, I'll create a tool cabinet that's both practical and efficient, perfect for any DIY enthusiast or professional.
Customize Storage Features
Next, I'll focus on customizing the storage features to fit my specific tool collection and workflow, starting with the installation of adjustable shelves and dividers that will help me maximize the cabinet's storage capacity.
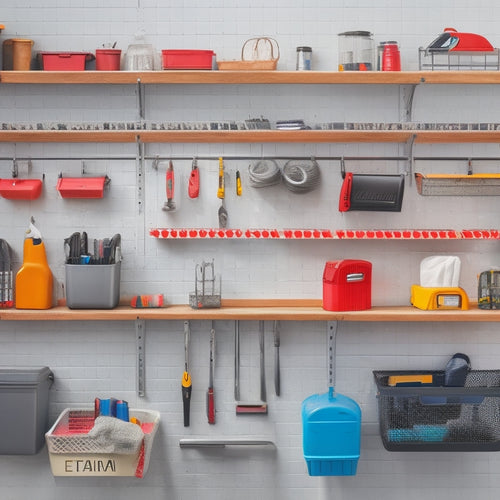
This will allow me to personalize the design and create a tailored space for my tools. I'll use the Wall Control metal pegboard pieces to create a versatile organization system, ensuring that everything has its designated spot.
Finish and Finalize Cabinet
Finishing touches are now applied to the cabinet, as I coat the plywood with Minwax polyurethane to protect it from wear and tear. I carefully apply finishes to guarantee a smooth, even surface.
Next, I attach the doors, making sure they're properly aligned and securely fastened with euro concealed hinges. I add the final touches, installing chrome bar pulls and aluminum finger pulls for a sleek, modern look.
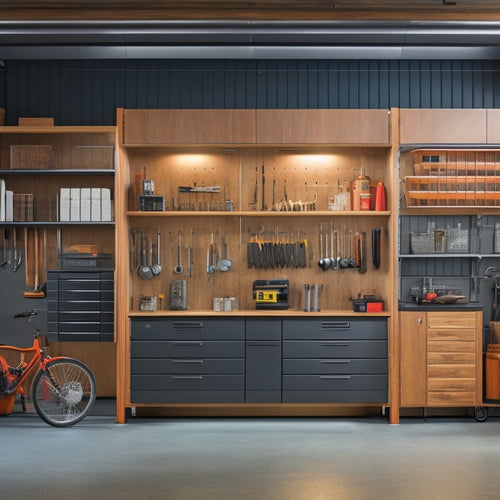
With the cabinet fully assembled, I step back to admire my handiwork. The result is a sturdy, functional tool cabinet that's both stylish and practical. I've added the perfect finishing touches to create a truly ultimate tool cabinet.
Frequently Asked Questions
Can I Use a Different Type of Plywood for the Cabinet?
I can opt for alternative plywood types, considering factors like budget, durability, and aesthetics. I'll explore Plywood Grades, such as Baltic birch or Russian birch, or Plywood Alternatives like MDF or oriented strand board (OSB) for my cabinet build.
How Do I Ensure Accurate Measurements During the Construction Process?
When constructing anything, I always investigate the importance of accurate measurements, and I guarantee precision by using reliable measurement tools, like a digital caliper, and precision techniques, such as double-checking calculations and marking cuts carefully.
Are There Any Alternative Options for the Wall Control Metal Pegboard?
When searching for pegboard alternatives, I consider custom designs like slatwall panels or modular grid systems, which offer flexibility and versatility, allowing me to create a tailored storage solution that suits my specific tool organization needs.
Can I Add a Lock to the Cabinet for Added Security?
'When it rains, it pours' - and I'm pouring my heart into securing my tool cabinet! For added security, I'll explore lock options like magnetic catches, cam locks, or even biometric locks to guarantee my valuable tools are safely locked away.
Is It Necessary to Sand the Entire Cabinet Before Applying a Finish?
'I always make sure to sand my entire cabinet before applying a finish, as it guarantees a smooth finish quality and reveals any imperfections. Sanding benefits include a stronger bond between wood and finish, and a professional-looking result.'
Related Posts
-

Adjustable Modular Shoe Racks for Versatility
Adjustable modular shoe racks are your go-to solution for versatile and organized footwear storage. These racks maxim...
-
3 Simple Steps to a Garage Tool Wall You'll Love
To create a garage tool wall you'll love, start by planning the space, taking inventory of your tools, and measuring ...
-
Best Materials for Garage Wall-Mounted Cabinets
When selecting materials for your garage wall-mounted cabinets, you'll want to evaluate options that balance durabili...


