Custom Tool Pegboard Designs for Garage Efficiency
Share
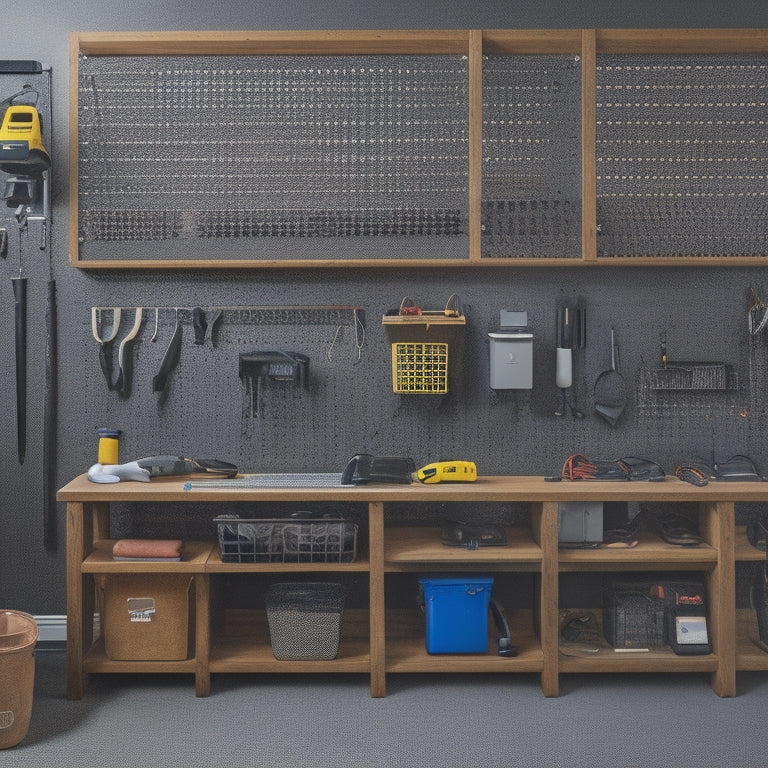
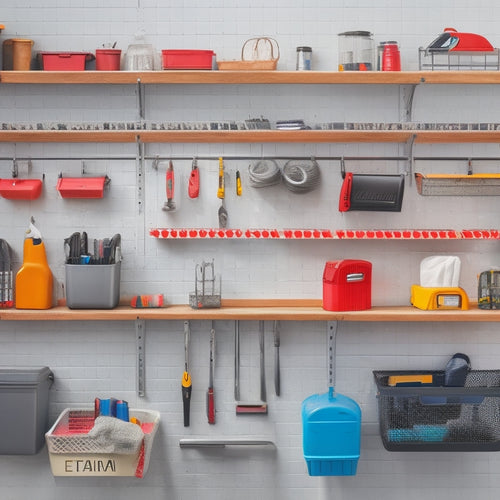
You're designing a custom tool pegboard for your garage to boost efficiency. Start by maximizing vertical storage space with adjustable pegs and bins, and customize the layout to fit your unique tool set. Optimize hook placement by grouping similar tools and prioritizing frequently used ones. Add labels and color-coding for easy identification. Consider ergonomic accessibility by placing hand tools at waist-level and positioning power tools accordingly. By incorporating these elements, you'll create a streamlined workflow and increase productivity. Now, explore how to take your pegboard design to the next level with space-saving solutions and visual organization systems.
Key Takeaways
• Design a pegboard around your specific tool set, using adjustable pegs and bins to maximize storage and accessibility.
• Arrange hooks efficiently, grouping similar tools and prioritizing frequently used ones to reduce downtime.
• Incorporate magnetic strips, hanging baskets, and color-coded labels to enhance visual organization and quick tool location.
• Position hand tools at waist-level and power tools accordingly to reduce strain and improve workflow.
• Consider tool size and shape when designing the pegboard to ensure a customized and efficient storage solution.
Maximizing Vertical Storage Space
By installing a pegboard on a wall or the back of a door, you can effectively maximize your vertical storage space and keep frequently used tools within easy reach. This tool organization strategy is a space-saving solution that helps declutter your garage or workshop.
With a pegboard, you can hang tools such as hammers, screwdrivers, and wrenches, freeing up floor and bench space for other tasks. DIY pegboard designs offer flexibility, allowing you to customize the layout to fit your specific tool set and available space.
When planning your pegboard design, consider the tools you use most frequently and group them by category. This will make it easier to find what you need quickly. You can also add labels or signs to identify each tool's location, further streamlining your workflow.
Customizing for Unique Tool Sets
Design your pegboard around your specific tool set by mapping out the particular hooks, bins, and accessories needed to store and organize each item efficiently. This customized approach guarantees that every tool has a designated spot, making it simple to find what you need when you need it.
Consider the following tool customization options to optimize your unique toolset organization:
-
Adjustable pegs for different tool lengths and sizes
-
Rotating bins for storing small components and accessories
-
Magnetic strips for holding metal tools and scraps
-
Hanging baskets for large items like power tools and cords
-
Labeling system for straightforward identification and categorization
Optimizing Pegboard Hook Placement
When optimizing pegboard hook placement, you'll want to focus on efficient hook arrangement to maximize your board's real estate.
By strategically placing hooks, you can create a layout that mirrors your workflow, allowing you to quickly access the tools you need.
Efficient Hook Arrangement
You'll enhance your pegboard's storage capacity by strategically positioning hooks to minimize wasted space and reduce tool congestion. Efficient hook arrangement is essential for a well-organized workspace, allowing you to quickly access the tools you need while keeping your garage clutter-free.
To achieve best hook placement, consider the following:
-
Group similar tools together: Store tools of the same type or function in close proximity to reduce walking distances and increase workflow efficiency.
-
Prioritize frequently used tools: Place your most-used tools in easy-to-reach locations, saving you time and energy.
-
Consider tool size and shape: Arrange hooks to accommodate tools of varying sizes, ensuring a snug fit to prevent tools from falling or getting damaged.
-
Leave space for future additions: Don't overcrowd your pegboard – leave some room for new tools or accessories you might acquire in the future.
-
Label your hooks: Identify each hook with its corresponding tool, making it easier to find what you need at a glance.
Optimized Tool Placement
Optimized Tool Placement
By strategically placing tools on your pegboard, you can maximize storage capacity and reduce retrieval time, ensuring that your most essential tools are always within easy reach. A well-organized pegboard is vital for maintaining an efficient workspace. Here are some tips to optimize your tool placement:
| Tool Type | Frequency of Use | Pegboard Location |
|---|---|---|
| Hammer | High | Center, eye-level |
| Pliers | Medium | Top-left, easy access |
| Screwdriver | Low | Bottom-right, less frequent use |
| Wrench | High | Center, eye-level |
| Tape Measure | Medium | Top-right, easy access |
Place your most frequently used tools in the center of the pegboard at eye-level, making them easily accessible. Less frequently used tools can be placed at the bottom or top of the board, freeing up prime space for your go-to tools. Consider the size and weight of each tool when determining its placement, ensuring that heavier tools are placed at the bottom to prevent the board from becoming top-heavy. By optimizing your tool placement, you'll improve your workspace efficiency and reduce the time spent searching for tools.
Incorporating Additional Storage Bins
In tight spaces, adding storage bins to your pegboard design helps maximize vertical storage capacity and keeps frequently used tools and supplies within easy reach. This is especially important in garages where every inch counts.
By incorporating additional storage bins, you can keep your workspace organized and clutter-free.
Here are some tips to keep in mind when adding storage bins to your pegboard design:
- Use color coding and labeling bins to categorize and identify contents quickly
- Install adjustable shelving to accommodate bins of different sizes
- Incorporate portable organizers for small items like nuts, bolts, and screws
- Choose bins with transparent or mesh panels for easy visibility
- Think about adding bins with lids or doors to keep contents dust-free and secure
Designing for Ergonomic Accessibility
As you optimize your pegboard design for maximum storage capacity, don't forget to prioritize ergonomic accessibility, ensuring that your most frequently used tools are positioned at a comfortable height and distance to reduce strain and improve workflow efficiency. This is essential for maintaining productivity and preventing fatigue.
| Tool Category | Ideal Placement |
|---|---|
| Frequently used hand tools | Waist-level, within easy reach |
| Less frequent power tools | Slightly above or below waist-level, still accessible |
| Infrequently used items | Higher or lower shelves, minimizing obstruction |
Utilizing Wall-Mounted Pegboards Effectively
When you're utilizing a wall-mounted pegboard, you'll want to optimize your storage space by grouping similar tools together and reserving prime real estate for your most frequently used items.
By doing so, you'll be able to quickly identify and access the tools you need, saving time and increasing productivity.
Optimize Storage Space
Your workshop's available wall space is a valuable asset, and strategically placing pegboards on it can greatly enhance your storage capacity. By optimizing your wall space with pegboards, you can create a more efficient and organized workspace. This allows you to focus on your projects instead of wasting time searching for tools.
Here are some tips to optimize your storage space with pegboards:
-
Maximize vertical space: Use wall-mounted pegboards to take advantage of your workshop's vertical space, keeping frequently used tools within easy reach.
-
Group similar tools together: Organize your tools by category or function, making it easier to find what you need when you need it.
-
Label your pegboard: Use labels or signs to identify the tools stored on each pegboard, saving you time and reducing frustration.
-
Adjustable pegs: Consider using pegboards with adjustable pegs to accommodate tools of different sizes and shapes.
-
Keep it tidy: Regularly clean and maintain your pegboard to guarantee it remains a valuable tool organization system.
Organize Essential Tools
By strategically placing essential tools on a wall-mounted pegboard, you can ensure they're always within easy reach, saving time and increasing productivity. This effective tool organization method allows you to maximize your garage's space, creating a more efficient workspace.
To achieve optimal results, start by identifying the tools you use most frequently and grouping them according to function or category. Then, arrange them on the pegboard in a logical and accessible manner, ensuring that the most frequently used tools are at eye level.
A custom design for your pegboard can further enhance your tool organization. Consider the size and shape of your tools, as well as your personal preferences, to create a personalized efficiency system. By doing so, you'll be able to quickly locate the tools you need, reducing downtime and increasing your overall productivity.
With a well-designed pegboard, you'll be able to tackle projects more efficiently, making the most of your garage space. By implementing space-saving solutions like this, you'll be able to focus on what matters most – getting the job done.
Creating a Visual Organization System
Establishing a clear visual organization system allows you to quickly identify the tools you need, reducing downtime and increasing productivity in your workspace. This is especially important when creating a custom tool pegboard design.
A well-designed visual system helps you locate tools instantly, saving you time and energy.
Here are some essential elements to include in your visual organization system:
-
Color coded organization: Use different colors to categorize tools by type or function, making it easy to spot what you need.
-
Tool shadowing: Outline the shape of each tool on the pegboard, creating a visual reminder of where each tool belongs.
-
Labeling system: Use clear and concise labels to identify each tool, reducing confusion and misplacement.
-
Tool grouping: Group similar tools together, making it easy to access related tools simultaneously.
-
Contrasting background: Use a contrasting background to make your tools stand out, making it easier to identify them at a glance.
Frequently Asked Questions
Can I Use a Pegboard in a Small Garage or Workshop?
You can definitely use a pegboard in a small garage or workshop, as it helps you maximize vertical space and organize small tools efficiently, freeing up floor space for more important tasks.
How Do I Prevent Tools From Falling off the Pegboard?
To prevent tools from falling off the pegboard, you'll want to guarantee secure installation and utilize pegboard accessories like clips, bins, and holders that keep tools organized and safe, maintaining ideal tool organization and safety.
Are Pegboards Suitable for Heavy-Duty or Industrial Use?
You think pegboards are only for DIY enthusiasts, but surprise! They're more than capable of handling heavy-duty applications, with durability that can withstand industrial settings, as long as you choose one with a suitable weight capacity.
Can I Customize a Pegboard for Left-Handed Users?
You can customize a pegboard for left-handed users by creating mirrored, reversed, or flipped layouts to guarantee maximum usability and ergonomic tool organization, accommodating their unique needs and workflow preferences.
Are Pegboards Compatible With Different Wall Types, Like Drywall or Concrete?
"Measure twice, cut once" is key when installing pegboards. You'll find pegboards are compatible with different wall types; for drywall, use anchors or screws, while concrete requires specialized anchors or a concrete drill bit for secure installation.
Related Posts
-

What to Look for in a Pegboard Tool Storage Kit
When shopping for a pegboard tool storage kit, you need a system that combines customized organization, sturdy durabi...
-

3 Simple Steps to a Garage Tool Wall You'll Love
To create a garage tool wall you'll love, start by planning the space, taking inventory of your tools, and measuring ...
-

Heavy-Duty Commercial Rolling Shelving Racks
You need heavy-duty commercial rolling shelving racks that optimize your storage capacity, streamline operations, and...


