Create a Custom Tool Organizer for Your Shed
Share
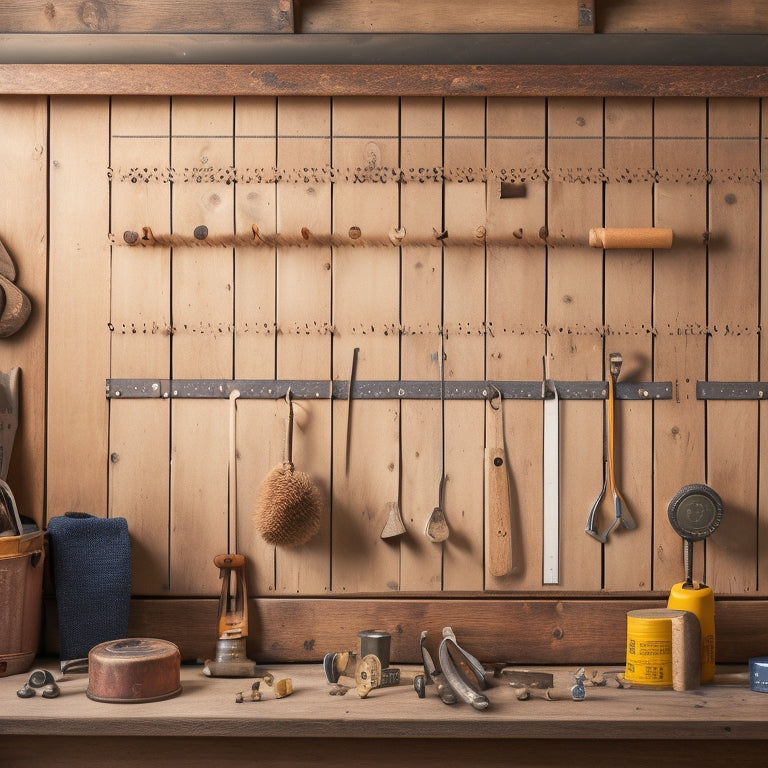
You'll save time and improve your workspace productivity by creating a custom tool organizer that fits your shed's unique layout and tool collection. Start by calculating the pegboard size, grouping similar tools, and choosing a color scheme for easy identification. Next, select materials that are resistant to decay and insects, and evaluate their strength for weight capacity and durability. Prepare the shed wall by cleaning and priming it, and then assemble the pegboard frame with sturdy materials. With a solid foundation in place, you'll be ready to mount the pegboard securely and add hooks and accessories to maximize storage capacity - and that's just the beginning of your customized tool organization system.
Key Takeaways
• Calculate the pegboard size based on available wall space to ensure a proper fit in your shed.
• Group similar tools together for a logical layout and visualization of your tool organizer.
• Choose a color scheme for easy tool identification and select materials resistant to decay and insects.
• Mount the pegboard securely to the wall with evenly spaced screws, avoiding over-tightening for maximum holding power.
• Assign specific spots for each tool, labeling sections for easy identification and maximizing storage capacity with strategic hook placement.
Plan Your Pegboard Design
Calculate the size of your pegboard by measuring the wall space in your shed where you plan to install it, taking into account any obstructions like windows, doors, or existing shelving. Consider the size options that'll fit your space and the tools you need to organize. You want to make sure your pegboard isn't too small or too large for your shed.
Think about your tool arrangement and how you'll group similar tools together. This will help you visualize the layout and maximize tool accessibility. You'll also want to choose a color scheme that complements your shed's interior and makes it easy to identify the tools.
As you plan your design, consider the frequency of use for each tool. Place the most frequently used tools in easy-to-reach spots, and reserve higher or lower spots for less frequently used items. By doing so, you'll create a functional and efficient tool organizer that saves you time and hassle.
With a well-planned design, you'll be able to locate what you need quickly and get back to your projects.
Choose the Right Materials
As you start constructing your custom tool organizer, selecting the correct materials is crucial for guaranteeing durability and functionality.
You'll need to take into account the type of wood to use, considering its strength, durability, and resistance to moisture.
Wood Type Considerations
When constructing a custom tool organizer for your shed, you'll want to select wood varieties that can withstand the challenges of outdoor storage and frequent use.
You'll need wood that's sturdy, resilient to decay and insect damage, and can handle moisture fluctuations. Consider using pressure-treated lumber, cedar, or redwood, as they're naturally resistant to decay and insects.
If you choose a softer wood, like pine or fir, be sure to apply a waterproof sealant to safeguard it from the elements.
When choosing a wood type, think about the wood finish options you'll require. Will you stain or paint the wood, or leave it natural? This will impact the type of wood you select and how it's prepared.
Furthermore, think about the custom tool holder designs you'll be crafting. Will you need wood with a smooth finish for sliding bins, or a rougher texture for hanging tools?
Material Strength Analysis
You'll need to evaluate the material strength of your selected wood type to guarantee it can support the weight and stress of your tools and organizer design. This is essential, especially if you plan to mount your organizer on the wall, as it will need to withstand the weight of the tools and the installation process.
To determine the material strength, you'll need to conduct a durability analysis. Here are some key factors to contemplate:
-
Weight capacity: Calculate the total weight of your tools and verify the wood can support it.
-
Moisture resistance: If your shed is prone to dampness, choose a wood type that's resilient to moisture damage.
-
Load-bearing capacity: Take into account the weight distribution of your tools and make sure the wood can handle the pressure.
-
Structural integrity: Evaluate the wood's ability to maintain its shape and structure over time.
-
Impact resistance: Consider the potential for accidental knocks or drops and select a wood type that can endure them.
Tool Storage Requirements
With your material strength analysis complete, now identify the specific tool storage needs to make sure you choose the right materials for your custom organizer. You'll want to assess the types of tools you need to store, their sizes, and the frequency of use. This will help you determine the ideal storage solutions for your shed.
Think about the tool organization systems you'll need, such as bins, baskets, or hooks, and how they'll fit into your space.
Optimize your space by grouping similar tools together and reserving prime real estate for your most frequently used items. Tool rack ideas, like pegboards or slat walls, can help maximize your storage capacity while keeping your tools within easy reach.
Don't forget to plan for adjustable storage options to accommodate tools of varying sizes. By carefully evaluating your tool storage needs, you'll be able to create a custom organizer that meets your unique requirements and keeps your shed tidy and efficient.
Prepare the Shed Wall
Calculate the wall area where you plan to install the custom tool organizer to guarantee a proper fit and identify any obstacles, such as electrical outlets or windows. This step is pivotal to secure a smooth installation process and avoid any costly mistakes. Take note of the wall's dimensions, material, and any existing features that may affect the installation.
Before you start assembling the tool organizer, prepare the shed wall by:
-
Cleaning the wall thoroughly to remove dirt, grime, or old adhesives
-
Filling any holes or gaps with spackling compound and sanding it smooth
-
Taping off areas you don't want to paint, such as electrical outlets or windows
-
Applying a coat of primer to ensure better paint adhesion
-
Painting the wall with a color that complements your tool organizer and shed's interior
Proper painting preparation will secure a strong bond between the wall and the tool organizer.
Additionally, consider shelving options that fit your tool storage requirements and the shed's layout. By preparing the shed wall, you'll create a solid foundation for your custom tool organizer.
Assemble the Pegboard Frame
Now that you've prepared your shed wall, it's time to assemble the pegboard frame that'll hold your tools.
You'll need to gather the necessary materials, including the frame's wooden slats, screws, and a drill.
Next, you'll follow a series of steps to assemble the frame, which will ultimately be mounted with the pegboard to create your custom tool organizer.
Pegboard Frame Materials
You'll need a sturdy pegboard frame to hold your tools, and that starts with selecting the right materials for the job. When it comes to building a pegboard frame, you have several options to choose from.
Here are some materials to take into account:
-
Metal options: Aluminum or steel frames are durable and can hold a lot of weight. They're also resistant to rust and corrosion. Take into account powder-coated metal frames for added durability and a stylish finish.
-
Wooden frames: Wooden frames can add a rustic touch to your shed. Look for durable woods like cedar or redwood, and take into account adding a waterproof coating to protect against moisture.
-
Composite frames: Composite frames are made from a mix of materials, such as wood and plastic. They're eco-friendly, durable, and low-maintenance.
-
PVC frames: PVC frames are lightweight, waterproof, and easy to clean. They're a great option if you're looking for a budget-friendly option.
-
Upcycled materials: Take into account repurposing old pallets or crates to create a unique and eco-friendly pegboard frame.
Remember to choose a material that fits your budget, skill level, and personal style.
With the right materials, you'll be able to create a sturdy pegboard frame that will hold your tools securely and look great in your shed.
Frame Assembly Steps
With your selected material in hand, begin constructing your pegboard frame by cutting the frame's top and bottom rails to the desired length, using a miter saw or a circular saw to ensure precise cuts. These rails will serve as the foundation for your custom tool organizer, providing a sturdy structure for your shed's arrangement.
Next, cut the vertical stiles to the desired height, making sure they're slightly taller than your pegboard. Assemble the frame by connecting the stiles to the rails using screws or nails, forming a rectangular shape. Ensure the corners are secure and the frame is level.
While assembling the frame, keep in mind your shed's organization and layout. Think about the tools you'll store and the available space you have. A well-designed frame will offer ample customized storage for your tools, keeping them organized and easily accessible.
With your frame put together, you'll be one step closer to achieving a clutter-free shed with efficient tool organization.
Mounting the Pegboard
Attach the pegboard to the frame by screwing it onto the vertical stiles, guaranteeing a snug fit and a sturdy foundation for your custom tool organizer. This is a critical step in creating a functional and efficient tool organization system for your shed.
When mounting the pegboard, make sure to:
- Level the pegboard to secure it's straight and even
- Use screws that are specifically designed for pegboards to prevent damaging the material
- Space the screws evenly to provide maximum holding power
- Avoid over-tightening the screws, which can harm the pegboard or strip the screws
- Double-check the pegboard's alignment with the frame to secure a fit
Add Hooks and Accessories
Add hooks and accessories strategically to maximize storage capacity and keep frequently used tools within easy reach. When deciding on hook placement, consider the tools you use most often and the frequency of use. Place hooks near the edges of the pegboard, leaving enough space for larger items like hammers and screwdrivers. Reserve the center area for smaller tools and accessories. Make sure to distribute the hooks evenly to maintain a balanced look and prevent overcrowding.
Accessory options are endless, but start with the essentials. Add a utility knife holder, a tape measure reel, and a screwdriver organizer. You can also include a small bin for storing nuts, bolts, and other small parts. Consider adding a level holder or a pencil tray to keep your workspace organized.
Don't forget to leave some space for future additions or modifications. Remember, the key is to create a system that works for you and your specific needs. By strategically adding hooks and accessories, you'll be able to find what you need quickly and efficiently, making your work in the shed more enjoyable and productive.
Mount the Pegboard Securely
Anchor the pegboard to the wall studs using heavy-duty screws or wall anchors, making certain it's level and plumb to prevent it from sagging or falling over time. This is vital for a sturdy and dependable tool organizer.
When it comes to pegboard installation tips, screw placement is key. Make certain to space them evenly, about 12-16 inches apart, to guarantee the pegboard can hold the weight of your tools.
Here are some additional tips to keep in mind:
- Use a level to confirm the pegboard is straight and even
- Drill pilot holes for the screws to avoid damaging the wall or pegboard
- Use wall anchors if you're mounting the pegboard to a drywall or plaster wall
- Consider using a pegboard with a built-in frame or border for added stability
- Take your time and work methodically to avoid mistakes or miscalculations.
Organize Your Tools Efficiently
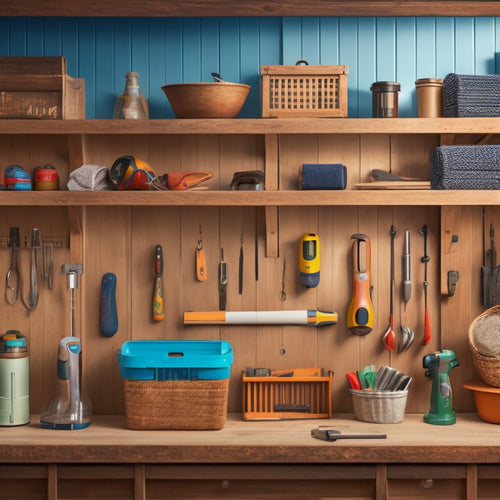
With your pegboard firmly in place, you're now ready to maximize its storage capacity by strategically arranging your tools to guarantee easy access and visibility. To optimize your tool organization, group similar tools together, such as hammers, screwdrivers, and wrenches. This will enable you to quickly locate the tool you need when working on a project.
Consider implementing tool organization tips like assigning a specific spot for each tool, using hooks and bins to store smaller items, and labeling each section for easy identification.
As you organize your tools, think about the DIY workshop projects you frequently work on and the tools you need to access quickly. For instance, if you're an avid woodworker, place your woodworking tools near the front of the pegboard for easy access. By doing so, you'll save time and increase productivity.
Additionally, consider incorporating garage organization ideas, such as installing a slatwall or shelving units, to further enhance your shed storage solutions. By following these tips, you'll create a customized tool organizer that streamlines your workflow and maximizes your shed's storage capacity.
Frequently Asked Questions
Can I Customize My Pegboard to Fit an Irregularly Shaped Shed Wall?
"You're a puzzle master, fitting pieces together perfectly! Yes, you can customize your pegboard to fit an irregularly shaped shed wall, using creative storage solutions that maximize wall space with cleverly cut panels and adjustable hooks."
How Do I Prevent My Tools From Falling off the Pegboard Over Time?
To prevent tools from falling off your pegboard, you'll want to guarantee secure storage solutions, like using sturdy hooks, regularly cleaning the board, and performing routine pegboard maintenance to address durability concerns and maintain peak tool organization.
Are There Any Alternative Materials to Pegboard for a Tool Organizer?
"Can you imagine a clutter-free workspace? You can achieve it by exploring alternatives to pegboard! Consider a metal sheet with magnetic strips, a wood panel with foam inserts, or other creative solutions to keep your tools organized and within reach."
Can I Add a Locking Mechanism to My Tool Organizer for Security?
You can certainly add a locking mechanism to your tool organizer for security; consider installing a padlock or incorporating key code access to guarantee only authorized individuals can access your valuable tools and equipment.
How Often Should I Clean and Maintain My Tool Organizer to Prevent Rust?
As you hold the keys to your tool organizer, remember that a clean slate is key; set a monthly maintenance schedule to wipe down tools and vacuum crevices, preventing rust's silent creep and keeping your haven organized.
Related Posts
-

10 Essential Steps for Small Parts Bin Storage
To optimize your small parts bin storage, start by defining your storage needs and goals, considering factors like av...
-

Top 5 Small Tool Organizers for Your Workshop
You're looking to optimize your workshop's efficiency with high-quality small tool organizers. Compact storage soluti...
-

What Tools Do I Need for a DIY Wall Organizer
You'll need a variety of tools to complete a DIY wall organizer project. Essential measuring tools include a tape mea...


