Build Your Own DIY Tool Storage Cabinet
Share
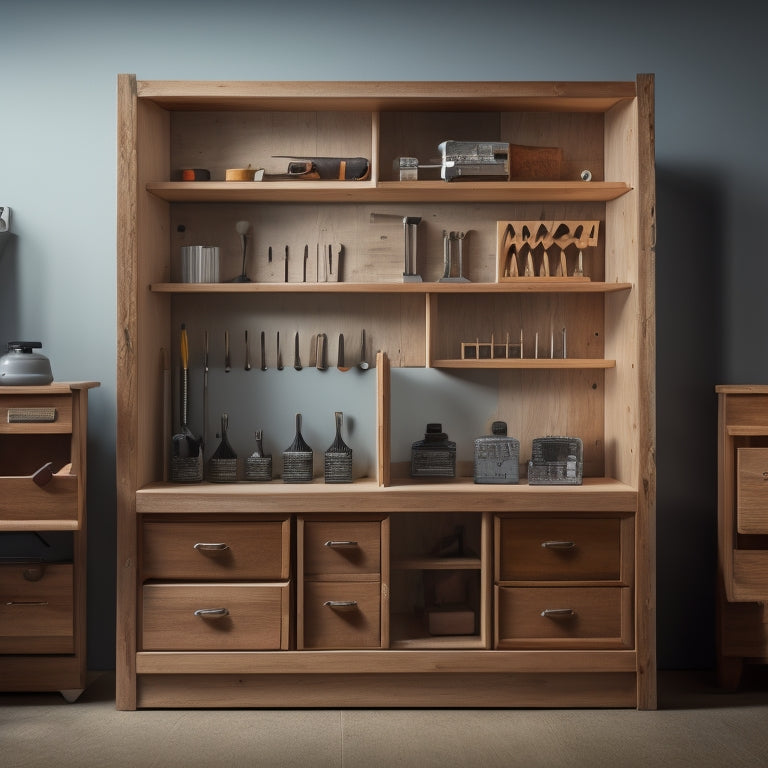
You're ready to build a DIY tool storage cabinet that fits your unique needs and style. First, choose materials like plywood or MDF, considering durability, weight, and aesthetic appeal. Next, design your cabinet layout, grouping tools by type and frequency of use, with frequently used tools at eye level. Then, construct the frame, adding adjustable shelves, bins, and hooks for varied tool sizes. As you progress, prioritize accessibility, customize with tool holders, and add security features. With a sturdy frame and organized interior, you're on track to create a tailored storage solution - and you're just getting started.
Key Takeaways
• Choose durable, scratch-resistant materials like plywood or MDF that fit your desired aesthetic and tool storage needs.
• Organize tools by type and frequency of use, grouping similar tools together for efficient storage and accessibility.
• Assemble the cabinet frame in stages, using clamps to secure joints and ensuring all connections are sturdy and accurate.
• Incorporate adjustable shelves, bins, and hooks to accommodate varied tool sizes, and prioritize frequently used tools at eye level.
• Consider electronic or traditional locking mechanisms and additional security features to protect valuable tools and equipment.
Choosing the Right Materials
Determine the type of materials you'll need for your DIY tool storage cabinet by considering the size, weight, and type of tools you plan to store, as well as the desired level of durability and aesthetic appeal. This will help you narrow down your material selection and stay within your budget constraints.
For instance, if you plan to store heavy tools, you may need thicker, sturdier materials like plywood or MDF. On the other hand, if you're looking for a more budget-friendly option, you could opt for medium-density fiberboard or oriented strand board.
When it comes to material durability, consider the level of wear and tear your cabinet will face. If you'll be storing tools that are frequently used, you may want to choose materials that are resistant to scratches and dents, such as metal or hardwood.
Additionally, think about the aesthetic appeal you want to achieve. Do you prefer a modern, sleek look or a more rustic, traditional style? This will help you decide on the color, texture, and finish of your materials.
Designing Your Cabinet Layout
With your materials selected, it's time to turn your attention to designing a functional cabinet layout that efficiently stores and organizes your tools. Start by thinking about the types of tools you need to store and how you'll access them. Consider the frequency of use and group similar tools together. This will help you determine the best layout for your cabinet.
Next, think about color coordination and space utilization. Assign a specific color to each category of tools, such as red for power tools and blue for hand tools. This will make it easy to identify where each tool belongs. Make the most of your cabinet's space by using adjustable shelves, bins, and hooks to store tools of various sizes.
Prioritize accessibility and efficiency by placing frequently used tools at eye level and less frequently used tools on higher or lower shelves. Consider adding a pegboard or a tool organizer on the back of the door to maximize storage.
Building the Cabinet Frame
As you begin constructing the cabinet frame, start by building the base and sides using your 3/4-inch plywood or MDF, cutting the pieces to the dimensions specified in your design plan. Make certain to use a square to confirm accuracy and prevent any deviations that could impact the overall stability of the cabinet.
Here are some key considerations to keep in mind during frame assembly:
-
Verify cabinet dimensions: Double-check your measurements to guarantee the frame is square and the sides are even.
-
Use proper spacing: Leave sufficient room between the sides and shelves for easy tool access and to prevent overcrowding.
-
Assemble in stages: Construct the base, then add the sides, and finally attach the top and back panels.
- Clamp and secure: Use clamps to hold the pieces together while you attach them, and make certain all joints are secure and sturdy.
Adding Shelves and Compartments
Now that you've built the cabinet frame, it's time to think about how you'll organize your tools inside.
You'll need to decide on a shelf layout that makes sense for your specific needs, design custom compartments to store smaller items, and figure out how to maximize storage capacity.
Shelf Layout Considerations
You'll need to determine the best shelf layout for your DIY tool storage cabinet by considering the types and sizes of tools you'll be storing. This will guarantee that your cabinet is functional, efficient, and easy to use.
To achieve prime shelf organization and space utilization, follow these guidelines:
-
Prioritize frequently used tools: Place them at eye level or near the front of the cabinet for easy access.
-
Group similar tools together: Store tools of akin sizes or functions on the same shelf to reduce clutter and improve tool accessibility.
-
Reserve top shelves for less frequently used items: This will prevent clutter and keep your most-used tools within easy reach.
- Leave enough space between shelves: Guarantee that shelves are spaced to accommodate the height of your tools, with enough room for ergonomic design and comfortable retrieval.
Custom Compartment Design
Designate specific areas within your DIY tool storage cabinet by creating custom compartments and shelves tailored to your unique tool collection, ensuring a logical and efficient storage system. This compartment organization will help you quickly find the tools you need, saving you time and reducing frustration.
To start, identify the types of tools you need to store and group them by category, such as hand tools, power tools, and accessories. Then, measure your tools to determine the best shelf and compartment sizes. You can use dividers, baskets, or bins to create separate compartments within your shelves. Consider adding adjustable shelves or pull-out drawers for added flexibility.
Don't forget to think about personalization options and aesthetic appeal. You can add decorative trim, paint, or stain to match your workshop's style. Additionally, consider adding labels or signs to identify each compartment, making it easy to find what you need at a glance.
Optimizing Storage Capacity
To maximize the storage potential of your DIY tool storage cabinet, start by evaluating the vertical space available and planning the most efficient shelf layout to accommodate your tools and accessories. This will help you make the most of your cabinet's vertical storage solutions, maximizing space and keeping your tools organized.
Consider the following tips to optimize your cabinet's storage capacity:
-
Adjustable shelves: Install shelves that can be adjusted to fit tools of varying sizes, providing flexibility in organization.
-
Custom compartments: Design custom compartments to store specific tools, such as a separate section for hand tools or power tools.
-
Stackable bins: Use stackable bins to store small items like nuts, bolts, and screws, keeping them organized and out of the way.
- Portable tool trays: Incorporate portable tool trays or drawers to provide flexibility in organization and make it easy to transport tools to different workstations.
Installing Drawers and Slides
Measure the cabinet's interior width to determine the maximum drawer size that will fit comfortably, guaranteeing about 1/4 inch of clearance on either side for smooth operation. This measurement will guide your drawer installation.
For hardware options, consider soft-close slides or ball-bearing slides, which provide a smooth and quiet operation. You can also opt for traditional roller slides or friction slides, depending on your budget and preferences.
When installing the drawers, confirm they're level and securely attached to the cabinet frame. Adjust the slide's tension to achieve a smooth operation. You can do this by tweaking the slide's screws or adjusting the drawer's position. Test the drawers by opening and closing them several times to confirm they glide effortlessly.
To fine-tune the slide adjustment, check for any wobbles or sticking points. Make adjustments as needed to achieve a seamless operation. With your drawers and slides installed, you'll have a functional and efficient tool storage cabinet that serves you well.
Customizing With Tool Holders
You'll now customize your tool storage cabinet by adding tool holders that cater to your specific tool collection. This is where your cabinet goes from being a generic storage unit to a tailored space that maximizes tool organization and saves you time.
To achieve this, consider the following customization options:
-
Magnetic strips for holding small metal tools like screwdrivers and pliers.
-
Adjustable dividers to separate and store tools of varying sizes.
-
Pegboards with hooks and bins to hang and store accessories like cords and bits.
- Tiered trays for organizing small parts and supplies like nuts, bolts, and screws.
Adding Locks and Security Features
Now that you've customized your tool storage cabinet with holders, it's time to contemplate security.
You'll want to ponder the type of locking mechanism that's right for you, as well as how to construct the cabinet itself to be more secure.
Locking Mechanism Options
Three key locking mechanism options for your DIY tool storage cabinet are keyed locks, combination locks, and electronic locks, each offering unique benefits and drawbacks.
When choosing a locking mechanism, consider factors like security level, ease of use, and cost.
Here are four key considerations to keep in mind:
-
Keyless entry: Electronic keypads provide convenient access without the need for physical keys. They're ideal for shared workspaces or for those who tend to misplace keys.
-
Biometric fingerprint: Add an extra layer of security with biometric fingerprint locks. These locks offer advanced security and can be more difficult to bypass.
-
Traditional key lock: If you prefer a more traditional approach, keyed locks are a reliable option. They're often more affordable than electronic locks and can be easily replaced if keys are lost.
- Combination locks: Combination locks offer a balance between security and convenience. They're a great option for those who want to avoid keys but still need a secure locking mechanism.
Secure Cabinet Construction
To secure your DIY tool storage cabinet and provide maximum security, start by building a sturdy frame using 3/4-inch plywood or medium-density fiberboard (MDF) for the shelves and back panel. This will guarantee your cabinet's durability and provide a solid foundation for your locking mechanism.
Next, choose a reliable locking mechanism that suits your needs. You can opt for a keyed lock, combination lock, or even a digital lock with a keypad. Make sure to follow the manufacturer's instructions for installation, and consider consulting online tutorials or a professional if you're unsure.
When installing the lock, make sure it's securely attached to the cabinet frame and door. Use strong screws and anchors to prevent tampering or forced entry.
Additionally, consider adding security features like reinforced hinges, a secure latch, and a strong door frame to further enhance your cabinet's security.
Protecting Valuables Inside
With your cabinet's exterior safeguarded, turn your attention to protecting your valuable tools and equipment inside by incorporating additional locks and security features that prevent unauthorized access and pilferage.
To guarantee maximum security, consider the following:
-
Anti-theft measures: Install a high-quality lock on the cabinet door, and consider adding hidden compartments or secret drawers to store particularly valuable items.
-
Climate control: Incorporate features that regulate temperature and humidity levels inside the cabinet, such as ventilation systems or moisture-absorbing materials, to prevent damage from extreme conditions.
-
Moisture protection: Add a waterproof coating or lining to the cabinet's interior to protect your tools from rust and corrosion.
- Additional security features: Consider adding features like alarm systems, motion-sensitive lights, or security cameras to deter potential thieves and provide an extra layer of protection.
Finishing Touches and Assembly
How will you protect your DIY tool storage cabinet from scratches and dings before assembling the final components? Apply a coat of paint or varnish using various painting techniques to give it a durable finish. This won't only shield it from damage but also enhance its appearance.
Next, focus on cabinet assembly by attaching the shelves, drawers, and doors according to your design plan. Make sure they're securely fastened to prevent any accidents.
Now, it's time for hardware installation. Attach the handles, knobs, or pulls to the drawers and doors, ensuring they're evenly spaced and securely fastened. Double-check that all screws and bolts are tightened properly to avoid any loose parts.
Finally, add the final touches by installing any decorative trim or molding to conceal any gaps or exposed edges. With these steps complete, your DIY tool storage cabinet is almost ready for use.
Take a step back and admire your handiwork – you're just one step away from having a functional and organized space for your tools!
Organizing and Storing Tools
Now that your DIY tool storage cabinet is built and assembled, it's time to populate it with your tools, and the key to maintaining organization lies in assigning a designated spot for each item. This will make sure that you can easily find what you need when you need it, saving you time and frustration.
To maximize your tool organization and space saving, consider the following:
-
Categorize tools by type: Group similar tools together, such as all your wrenches or screwdrivers, to make them easy to access.
-
Use dividers and compartments: Separate your tools into smaller sections to prevent clutter and make it simpler to find what you need.
-
Label everything: Use labels or stickers to identify what's stored in each compartment, making it easy to find what you need at a glance.
- Store frequently used tools front and center: Place your most frequently used tools in easy-to-reach locations, saving you time and effort.
Frequently Asked Questions
Can I Use Reclaimed or Recycled Materials for My DIY Tool Storage Cabinet?
You can definitely use reclaimed or recycled materials for your project. Try upcycling materials like old pallets or salvaging wood from demolition sites to create a unique, eco-friendly DIY tool storage cabinet that serves a greater purpose.
How Do I Ensure My Cabinet Is Pest- and Moisture-Resistant?
"As you hammer out your DIY project, remember to seal your cabinet's fate against pests and moisture by choosing durable, recycled materials and applying pest control measures, ensuring your tools stay dry and secure."
Are There Any Specific Safety Considerations for a DIY Tool Cabinet?
When tackling a DIY project like a tool cabinet, you'll want to prioritize safety precautions. Make sure you follow proper construction techniques, wear protective gear, and keep a clear workspace to avoid accidents and injuries.
Can I Build a Tool Storage Cabinet With Adjustable Shelf Heights?
You can definitely build a tool storage cabinet with adjustable shelf heights, allowing for customizable organization and space optimization. Use slotted holes or slide-in shelf supports to create a flexible system that adapts to your tool collection.
How Do I Protect My Tools From Rust and Corrosion in the Cabinet?
You'll prevent rust and corrosion by storing tools in a dry, well-ventilated area, applying rust inhibitors, and performing regular tool maintenance, following best practices for rust prevention and tool care to keep your tools in top condition.
Related Posts
-

Heavy-Duty Pegboard Hooks for Industrial Use
You need heavy-duty pegboard hooks that can withstand the rigors of industrial use, providing a reliable and efficien...
-

Bin Garage Storage Ideas for Maximizing Space
You can greatly maximize your garage's storage space by utilizing vertical space with ceiling storage bins, stacking ...
-

What Tools Do I Need for a DIY Wall Organizer
You'll need a variety of tools to complete a DIY wall organizer project. Essential measuring tools include a tape mea...


