7 Steps to Perfectly Organize Your Tool Cabinet Drawer
Share
You're about to change your cluttered tool cabinet drawer into a haven of efficiency. Start by evaluating your tool collection, grouping similar items together, and purging duplicates or unnecessary tools. Next, categorize and group tools by type, and assign a home for each one. Choose the right organizers, such as dividers, bins, or hooks, to maximize space. Implement a clear and consistent labeling system, and maintain your organized space with regular cleaning and inspections. By following these 7 steps, you'll be well on your way to a perfectly organized tool cabinet drawer that saves you time and frustration - and there's even more to uncover to fine-tune your system.
Key Takeaways
- Categorize tools into groups like hand tools, power tools, and fasteners to create a visual reference for easy access and organization.
- Purge unnecessary tools by eliminating items not used in the past year, and consider donating or selling gently used tools.
- Designate a specific spot for each tool, and store frequently used tools in easily accessible locations to minimize search time.
- Utilize storage options like dividers, bins, and hooks to keep similar tools together, and maintain a consistent labeling system for quick identification.
- Establish a regular cleaning schedule to remove debris, dust, and dirt, and inspect tools for damage and wear to extend their lifespan.
Assess Your Tool Collection
Frequently, homeowners and DIY enthusiasts find themselves overwhelmed by the sheer number of tools they've accumulated over time, making it an intimidating task to organize their tool cabinet drawer.
To tackle this, you'll need to assess your tool collection. Start by gathering all your tools and grouping them by type, such as hand tools, power tools, and fasteners. This will give you a clear illustration of what you have and help you identify any duplicates or unnecessary items.
Evaluate your collection by considering the frequency of use, condition, and functionality of each tool. Ask yourself, "Do I really need three hammers?" or "Is this screwdriver still useful?" Be honest with yourself, and you'll begin to see patterns and areas for improvement.
Purge and Declutter Drawer
Now that you've assessed your tool collection, it's time to purge and declutter your drawer. Remove everything from the drawer and sort items into three piles: keep, donate/sell, and discard.
Be ruthless – if you haven't used a tool in the past year, it's likely you won't miss it. Consider donating gently used tools to a local charity or selling them through online marketplaces. This won't only free up space but also contribute to a safer working environment by reducing clutter.
As you declutter, keep safety considerations in mind. Discard any tools with broken or damaged handles, rusty blades, or malfunctioning parts. These can pose serious hazards and are better off in the trash.
Additionally, dispose of any tools that are no longer functional or have been replaced by newer, safer models. By purging and decluttering your drawer, you'll create a more organized and safe space to work in.
Categorize and Group Tools
With your drawer emptied and cluttered tools removed, you're left with a curated collection of essentials. Now, it's time to categorize and group your tools to guarantee easy access and optimized storage.
Categorizing your tools by type is vital for efficient storage solutions. Divide your tools into categories, such as hand tools, power tools, fasteners, and measuring tools. Within each category, group similar tools together. For example, group all your screwdrivers together, followed by your pliers, and so on.
Here is a sample categorization and grouping of tools:
| Tool Type | Group |
|---|---|
| Hand Tools | Screwdrivers, Pliers, Wrenches |
| Power Tools | Drills, Saws, Sanders |
| Fasteners | Nails, Screws, Bolts |
| Measuring Tools | Tape Measures, Levels, Calipers |
| Miscellaneous | Work Lighting, Clamps, Toolbox Accessories |
Assign a Home for Each Tool
You'll need a strategy for placing each tool in its assigned home, ensuring that frequently used items are easy to access and less-used tools are stored out of the way.
Consider the type of tool, its size, and how often you use it when deciding where to place it.
You'll also need to choose the right storage options, such as dividers, bins, or hooks, to keep tools organized and prevent clutter from building up again.
Tool Placement Strategy
Assigning a designated spot for each tool in your cabinet drawer lays the groundwork for a well-organized space that saves you time and reduces frustration.
By doing so, you can guarantee tool accessibility and storage efficiency, making it easier to find what you need when you need it.
To implement an effective tool placement strategy, follow these steps:
-
Group similar tools together: Store tools of the same type, such as screwdrivers or pliers, in the same area to reduce searching time.
-
Place frequently used tools front and center: Position your most frequently used tools in easy-to-reach locations to save time and effort.
-
Store heavy or bulky tools at the bottom: Keep heavier tools, like hammers or wrenches, at the bottom of the drawer to prevent them from falling and causing damage or injury.
Tool Storage Options
Now that you've determined the best placement strategy for your tools, it's time to focus on the specific storage options that will keep them organized and within reach.
Assigning a home for each tool guarantees you can quickly find what you need, reducing frustration and increasing productivity.
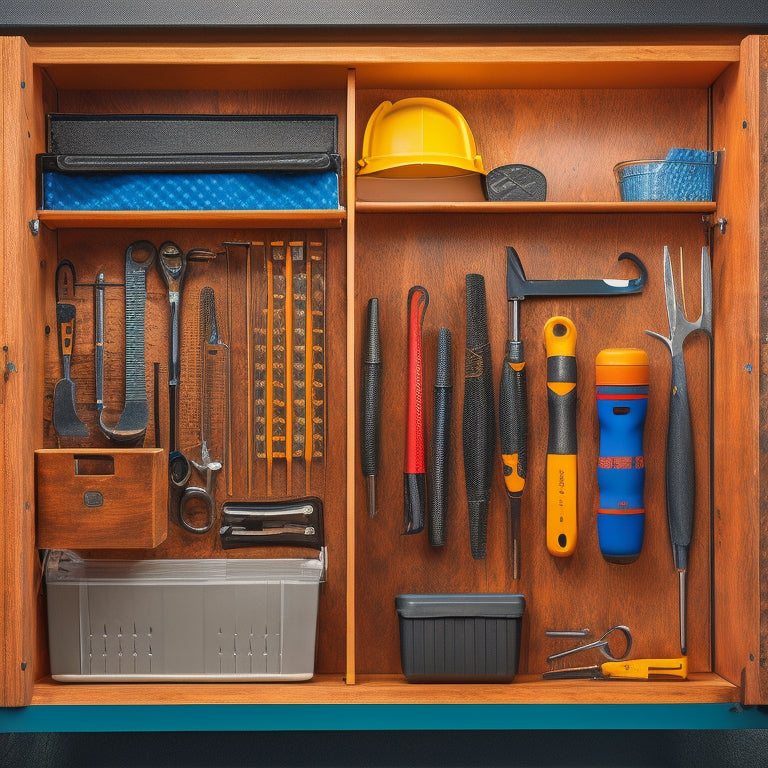
Magnetic strips are an excellent option for storing small metal tools like wrenches, pliers, and screwdrivers. These strips can be attached to the sides or back of the drawer, keeping frequently used tools visible and accessible.
For larger tools, consider using drawer dividers to separate them from smaller items. This prevents scratching and damage, while also keeping your tools organized.
Within each section, organize tools by type or frequency of use. For example, store all your screwdrivers together, with the most frequently used ones in the front.
This way, you can quickly grab the tool you need without having to dig through the entire drawer. By assigning a home for each tool, you'll maintain a tidy and functional tool cabinet drawer that saves you time and reduces stress.
Choose the Right Organizers
With your tool cabinet drawer's dimensions in mind, turn your attention to selecting the right organizers that'll help you maximize storage and accessibility.
You'll want to choose organizers that fit your specific needs and the types of tools you'll be storing. Consider the following options:
-
Drawer dividers and tool trays: These will help keep similar tools organized and prevent clutter from building up. Look for dividers with adjustable compartments to customize your storage space.
-
Magnetic strips and pegboard solutions: These are perfect for storing small metal tools, such as wrenches and pliers, and keeping them within easy reach.
-
Foam inserts and bespoke organizers: These can be designed to fit specific tools, like drill bits or screwdrivers, and keep them protected from damage.
Remember to also consider using drawer liners, storage bins, and stackable containers to further optimize your storage space.
Implement a Labeling System
You'll want to create labels that clearly identify the categories of tools you've organized, such as "Hand Tools" or "Power Tools".
Consider the design of each label to guarantee it's easy to read and understand. A well-designed label should include a clear and concise description of the tool or category, along with any relevant icons or images.
Labeling Tool Categories
Organizing your tool cabinet drawer is half the battle won when you have a clear system in place to categorize and label your tools.
Labeling tool categories is essential to maintaining a well-organized tool cabinet drawer. You can create categories based on tool functions, types, or the projects they're used for.
Here are three ways to label your tool categories:
-
Color Coding: Use different colored labels or stickers to categorize your tools. For example, you can use red for power tools, blue for hand tools, and green for measuring tools.
-
Label Materials: Choose label materials that are durable and easy to read. You can use plastic or vinyl labels, or even create your own labels using cardstock or paper.
-
Category Names: Create clear and concise category names that describe the tools they contain. For example, "Drilling and Driving", "Cutting and Shaping", or "Measuring and Testing".
Remember to keep your labels consistent and easy to understand, ensuring that you can quickly find the tools you need when working on a project.
Tool Label Design
Now that you've categorized your tools, it's time to design labels that will help you implement a labeling system that's easy to follow. When designing your labels, consider current label design trends that prioritize visibility and readability. Choose a font that's clear and easy to read, even from a distance.
You'll also want to select a label material that's durable and resistant to wear and tear. Custom labels can be a great option if you have specific needs or preferences. Consider the size and shape of your tools, as well as the layout of your tool cabinet drawer.
You may want to create labels with icons or images to help you quickly identify the tool or category. Additionally, think about the color scheme you'll use for your labels. Bright colors can help draw attention to specific tools or categories, while more muted colors can provide a clean and organized look.
Remember to keep your labels concise and to the point. Avoid cluttering your labels with too much information, and focus on the essential details. By designing effective labels, you'll be able to quickly find the tools you need, reducing frustration and increasing productivity.
Maintain Your Organized Space
As you revel in the satisfaction of your newly organized tool cabinet drawer, remember that maintaining this space is essential to guaranteeing it remains functional and efficient.
A well-maintained tool cabinet drawer guarantees you can quickly find the tools you need, saving you time and reducing frustration.
To maintain your organized space, follow these tips:
-
Schedule regular cleaning: Set aside time each week to clean your tool cabinet drawer. Remove any debris, dust, or dirt that may have accumulated. Use a soft brush or cloth to wipe down tools and the drawer's interior.
-
Practice good tool maintenance: Regularly inspect your tools for damage or wear. Follow tool maintenance tips, such as lubricating moving parts and sharpening blades, to extend their lifespan.
-
Implement drawer cleaning techniques: Use a drawer organizer or dividers to keep tools separated and prevent clutter from building up. When cleaning the drawer, remove everything and wipe it down before replacing the tools.
Frequently Asked Questions
Can I Organize My Tool Cabinet Drawer Without Removing Everything?
You can organize your tool cabinet drawer without removing everything, but it's challenging; start by categorizing tools into groups, then assess drawer accessibility, and adjust your layout to guarantee frequently used tools are easily reachable while minimizing disruptions.
How Often Should I Clean My Tool Cabinet Drawer?
You should clean your tool cabinet drawer every 1-3 months, depending on usage, to maintain a safe and efficient workspace; set a reminder for regular drawer maintenance to guarantee cleaning frequency doesn't fall by the wayside.
Are Tool Cabinets With Built-In Organizers Worth the Extra Cost?
A million times better than a cluttered mess, you'll love the benefits of a tool cabinet with built-in organizers - they're worth every penny of the extra cost, providing easy access, reduced risk of injury, and a workspace that's as efficient as you are.
Can I Use DIY Organizers in My Tool Cabinet Drawer?
You can create customized DIY storage solutions for your tool cabinet drawer, allowing you to tailor the space to your specific needs through drawer customization, ensuring a safe and efficient workspace.
How Do I Prevent Rust From Forming on Metal Tools in the Drawer?
At a local mechanic's shop, they store metal tools in a drawer lined with silicone mats and rust-inhibiting paper to prevent corrosion. You can do the same, ensuring tool maintenance by wiping tools clean before storage and applying a rust prevention coating.
Conclusion
Now, your tool cabinet drawer is a well-oiled machine, humming with efficiency. Every tool has a designated spot, like a puzzle piece snug in its place. The chaos has changed into a melody of order, with each item singing in harmony. As you open the drawer, a sense of satisfaction and control greets you. Your newly organized space is a reflection of your commitment to productivity, where every moment counts and every tool is within easy reach.
Related Posts
-

Adjustable Modular Shoe Racks for Versatility
Adjustable modular shoe racks are your go-to solution for versatile and organized footwear storage. These racks maxim...
-

Building a Garage Storage System With Built-Ins
You're about to build a garage storage system with built-ins that fits your unique needs, starting by evaluating your...
-

Garage Wall Storage Ideas to Boost Productivity
You can enhance your garage's productivity by capitalizing on your ceiling height with overhead racks, storing bulky ...


