![[Video] DIY Butcher Block Cutting Board Projects](http://projectisabella.com/cdn/shop/articles/9ed1984155b1d3cd06bb516e6d5e3a11.webp?v=1677276095&width=1100)
Would you like to have sturdy and reliable cooking pieces that are not only useful but will also embellish your kitchen? Start by scratching off a Butcher Block Cutting Board off from your list. There’s no need to buy one. Just make one of your own!
This cutting board can be a productive way of spending your Project-Weekend, that will serve as a gift to a friend who loves to cook or to a kitchen bug such as yourself!
Tutorial: DIY Butcher Block Cutting Board Project
Create your own cutting board in these easy steps!
What better way can you ensure that your gear will be able to endure time and regular usage?
- By building it with your own hands and personalizing your Butcher Block Cutting Board, size nor durability will no longer be an issue.
- Choose the type of wood that is safe from harmful treating chemicals, smoothen them out, and then put together to form your cutting board.
- Shape it into an oval or square, whichever is to your liking!
Tools:
- Table Saw, Miter Saw or Circular Saw
- Jack Clamp
- Wood Glue
- Ryobi Orbital Sander
- Mineral Oil Foodsafe Finish
- Thickness Planer (optional)
Steps:
1. Cut and Measure
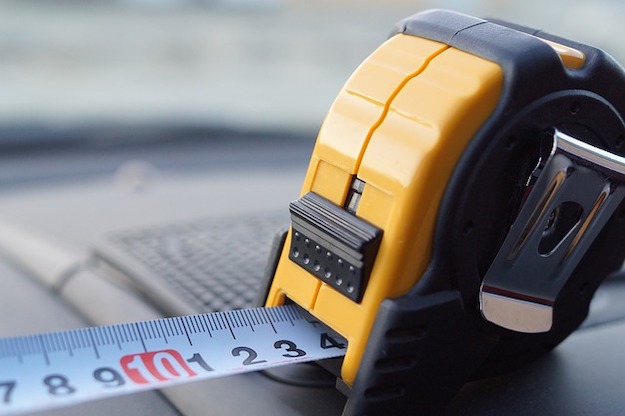
Cut your boards down to size. Clean up the raw board’s ends and sides. Measure and cut each of the boards down.
2. Cut Wood Strips
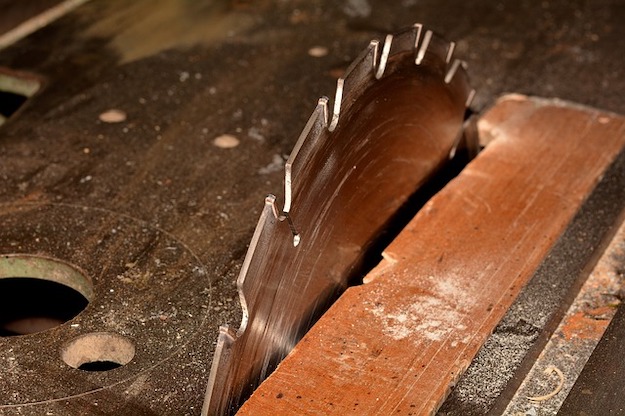
Cut the strips out of each board. A total of five strips were cut from each board
3. Assemble
Assemble your cutting board. Take each strip and organize them in a pattern that you like.
4. Laminate
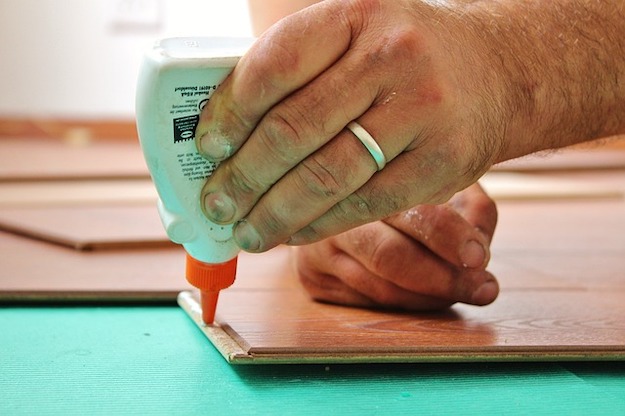
Laminate them together by applying wood glue. Rotate them into gluing position and move strips into place. Once in place, use clamps to apply steady pressure to the board. Allow it to dry for an hour.
5. Planer and Sand

Run the cutting board through the planer to even out the strips. Use miter/table saw to even out the two ends of the board. Run an orbital sander over the surfaces of the cutting board.
Tip! The planer is optional. You can sand the cutting board to even out the wood.
6. Finishing
Apply food safe finish.
7. Rubber Pads
Add rubber pads to the bottom if you want to prevent it moving around in the counter. And voila! You just made yourself a very nice and tidy butcher cutting board!
Pretty interesting, huh? Watch the full video tutorial here from DIY Pete:
There’s no way you wouldn’t like this project. Have your own now! Click here for more DIY inspiration.
Like this? You’ll also like…
Video Tutorial | How To Make A Temporary Brick Grill
Video Tutorial | How To Make Your Own Coolest Bottle Opener
13 Quick and Easy DIY Home Projects