Why Cluttered Workshops Persist in Tiny Spaces
Share
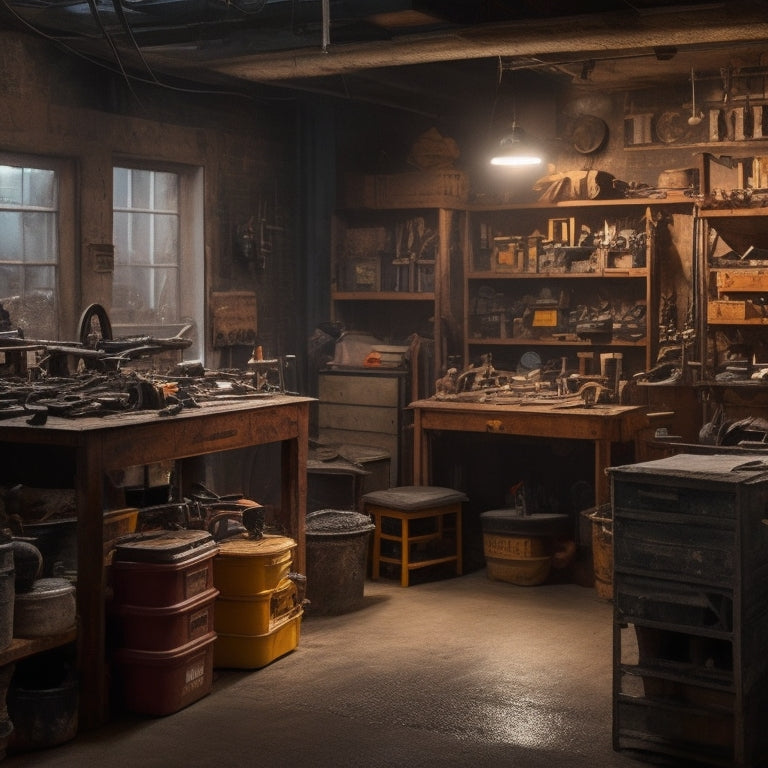
You're not alone in struggling to maintain a clutter-free tiny workshop. Despite your best efforts, tools and equipment seem to multiply, taking over valuable space. The issue lies in inefficient storage, workflows, and equipment choices. You're likely not maximizing vertical space, wasting floor real estate on bulky tools, and neglecting functional workflows. Heavy equipment is probably scattered, creating safety hazards and disorganization. By understanding the nuances of tiny workshop management, you can break the clutter cycle. Explore strategies for optimizing storage, workflow, and tool selection, and you'll uncover a more efficient, clutter-free space that boosts productivity.
Key Takeaways
• Cluttered workshops persist in tiny spaces due to inefficient use of vertical space and failure to reclaim valuable floor space.
• Inadequate design of workflows and tool placement leads to wasted time and energy, contributing to clutter accumulation.
• Failure to invest in compact, multi-purpose, and ergonomic tools results in unnecessary clutter and reduced productivity.
• Inadequate organization and storage of heavy equipment, such as improper use of hooks and pegboards, exacerbates clutter issues.
• Lack of creative thinking and adaptive solutions for tiny workshop spaces hinders effective organization and clutter reduction.
Maximizing Vertical Storage Space
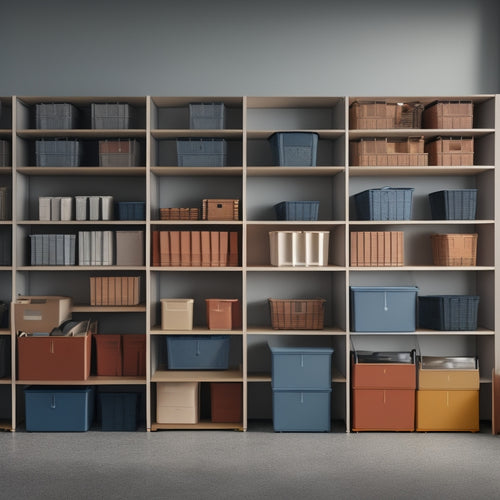
By strategically incorporating wall-mounted shelves, hooks, and bins, you can effectively reclaim valuable floor space and harness the full potential of your tiny workshop by maximizing vertical storage space. This space-saving strategy allows you to store items that you don't frequently use, keeping them out of the way but still accessible.
Vertical shelving units can be customized to fit your specific needs, providing ample storage for tools, supplies, and equipment.
Additionally, consider installing hooks for hanging items like bikes, tools, or accessories, keeping them organized and freeing up floor space. Bins and baskets can be mounted on walls or shelves to store small items, keeping them tidy and easy to find.
Designing a Functional Work Triangle
You can now focus on designing a functional work triangle that enables you to move efficiently between your most frequently used tools and workstations. This ergonomic workstation layout is essential for an efficient workflow, as it reduces the time and energy spent moving around the workshop.
To create a functional work triangle, identify the three most frequently used tools or workstations in your workshop and position them in a triangular formation. Make sure that each point of the triangle is within comfortable reach, allowing you to move easily between tasks. This spatial organization will help reduce clutter and increase productivity.
Consider the tasks you perform most often and design your work triangle accordingly. For example, if you're a woodworker, your work triangle might consist of a table saw, a miter saw, and a workbench. By positioning these tools in a triangular formation, you'll be able to move efficiently between tasks, reducing downtime and increasing your overall efficiency.
Utilizing Hidden Storage Compartments
In tiny workshops, maximizing storage capacity is essential, and hidden storage compartments can be a game-changer in keeping clutter at bay. By incorporating creative storage solutions, you can optimize your workshop's limited space and create a more organized and efficient work environment.
Here are some hidden compartment benefits and ideas to get you started:
| Hidden Compartment Benefits | Creative Storage Solutions |
| Increased storage capacity | Install a sliding drawer under your workbench |
| Reduced clutter | Create a hidden cabinet behind a tool pegboard |
| Improved organization | Utilize hollowed-out wooden blocks as secret compartments |
| Enhanced security | Design a hidden compartment within a tool chest |
| Improved workflow | Incorporate a retractable storage unit in your worktable |
Implementing a Pegboard System
Now that you've utilized hidden storage compartments, it's time to implement a pegboard system that will take your workshop organization to the next level.
To get started, you'll need to identify the essential components of a well-functioning pegboard, including hooks, bins, and accessories that will help you maximize storage capacity.
Pegboard Organization Essentials
Optimizing your small workshop's storage capacity begins with the strategic installation of a pegboard system. This essential step lays the foundation for a clutter-free space that enhances productivity and efficiency.
When designing your pegboard, consider the tools you use most frequently and group them by category. This will help you create a logical layout that makes sense for your workflow.
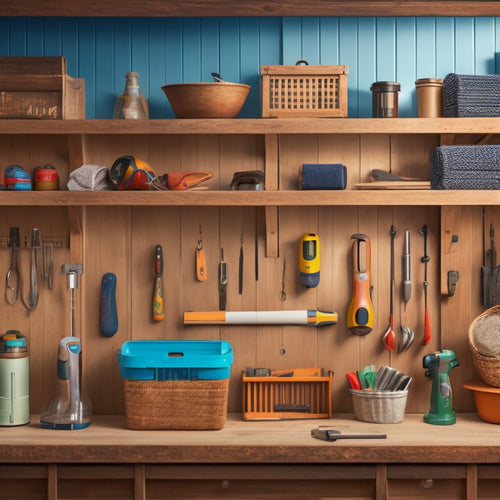
For effective tool organization, start by assigning a home for each tool on the pegboard. Use hooks, bins, and holders to keep items off the floor and within easy reach. Label each section to make sure you can quickly identify where each tool is stored.
This will save you time and reduce frustration when searching for a specific tool.
Maximizing Storage Capacity
With your pegboard organization essentials in place, you're ready to maximize storage capacity by strategically allocating space to your most frequently used tools and supplies. This is where creativity and customization come into play. Consider overhead storage solutions, such as suspended bins or baskets, to keep infrequently used items out of the way.
For frequently used tools, implement creative tool organization methods, like hanging baskets or hooks, to keep them within easy reach.
Custom shelving options can also help optimize your workshop's storage capacity. Install shelves that are specifically designed to hold your most bulky items, such as power tools or equipment. Additionally, incorporate small workshop hacks, like using magnetic strips to store small metal items or repurposing old pallets as shelving units.
Labeling and Categorizing Tools
As you work to optimize your tiny workshop, you'll quickly realize that labeling and categorizing your tools is essential to maintaining organization.
You'll need to develop a system that makes sense to you, whether that's classifying tools by type or assigning them to specific storage bins.
Tool Type Classification
Categorizing tools by type helps you create a sense of order in your tiny workshop, ensuring that similar tools are stored together and easily accessible when needed. This classification system enables you to allocate specific storage solutions for each tool type, making tool maintenance a breeze.
| Tool Type | Tool Examples | Storage Solutions |
|---|---|---|
| Hand Tools | Hammer, screwdrivers, pliers | Pegboard hooks, toolboxes |
| Power Tools | Drill, saw, sanders | Shelving units, cord organizers |
| Measuring Tools | Tape measure, levels, calipers | Drawer organizers, small trays |
Storage Bin Organization
You can take your tool type classification to the next level by implementing a storage bin organization system that labels and categorizes tools within each type. This system guarantees that similar tools are stored together, making them easy to find and access when needed.
To do this, use color-coded storage bins to differentiate between tool types. For example, use red bins for hand tools, blue bins for power tools, and green bins for measuring tools. Within each bin, categorize tools further by grouping similar items together. For instance, all hammers can be stored in one section of the red bin, while all screwdrivers can be stored in another.
To maximize storage space, consider using modular shelving units that can be customized to fit your specific needs. These units can be easily rearranged as your tool collection grows or changes.
By implementing a storage bin organization system, you'll be able to quickly locate the tools you need, saving time and increasing productivity. This system also helps maintain a clutter-free workshop, even in tiny spaces.
With a well-organized storage system, you'll be able to focus on serving others and getting the job done efficiently.
Creating a Mobile Workstation
By incorporating wheels or casters into your workstation design, you can effortlessly relocate your tools and materials to maximize the limited space in your small workshop. This mobile workstation will enable you to work efficiently, without being tethered to a specific area. Consider investing in portable workbenches that can be easily moved around the workshop, providing ample space for your projects.
Tool organization is also vital in a mobile workstation. Install pegboards, hooks, and bins to keep your tools within easy reach, ensuring you can quickly access what you need.
In addition to portable workbenches, incorporating versatile furniture can help optimize your space. Look for furniture pieces that serve multiple purposes, such as a workstation with built-in storage or a shelving unit with a built-in vice. These space-saving solutions will help you make the most of your small workshop, allowing you to work comfortably and efficiently.
Investing in Compact Tools
Compact tools are essential for tiny workshops, as they enable you to accomplish tasks efficiently without sacrificing precious space. By investing in compact tools, you'll be able to optimize your workspace and reduce clutter.
Look for tools that serve multiple purposes or have foldable designs to maximize storage capacity. For instance, a compact drill press can take up less space than a traditional model while still delivering excellent performance.
When selecting compact tools, prioritize compact tool organization and space-saving solutions. Consider tools with built-in storage compartments or those that can be mounted on walls or ceilings. Additionally, choose tools with adjustable handles or ergonomic designs that allow for comfortable operation in tight spaces.
Hanging Heavy Equipment Safely
Optimizing your small workshop's vertical space by hanging heavy equipment securely is a necessary step in maintaining a clutter-free and functional environment. You've invested in compact tools, now it's time to maximize your ceiling's potential.
Start by identifying the heaviest equipment that can be hung, such as ladders, saws, or drills. Make sure you're taking the necessary safety precautions when storing heavy equipment, like securing them to sturdy hooks or brackets that can support the weight.
Next, consider the layout of your workshop and determine the most accessible areas for hanging tools. Install pegboards or slatwalls to create space-saving solutions for hanging tools, keeping them organized and within reach. Label each hook or peg to maintain a sense of order and make it easier to find what you need.
Streamlining Frequently Used Tools
Your most frequently used tools deserve a designated spot, easily accessible and organized, so you can focus on getting the job done efficiently. This is where tool organization comes in, an important aspect of streamlining your workshop. By assigning a home for each tool, you'll reduce time spent searching for them and increase productivity.
Here are some space-saving techniques to help you get started:
| Tool | Storage Solution |
|---|---|
| Hammer | Magnetic strip on pegboard |
| Pliers | Stackable storage bins |
| Screwdrivers | Rotating tool holder |
| Wrenches | Adjustable tool organizer |
Adapting to Limited Floor Space
You're likely to encounter a bigger challenge in tiny workshops: limited floor space, which demands creative strategies to accommodate larger equipment and workpieces. To overcome this hurdle, you'll need to think outside the box and get creative with your workshop layout optimization.
Here are three essential tips to help you adapt:
-
Invest in space-saving furniture solutions: Look for compact, multi-functional tools and storage units that can be mounted on walls or ceilings, freeing up valuable floor space.
-
Optimize your workflow: Analyze your workflow and identify areas where you can streamline processes, reducing the need for bulky equipment or unnecessary movement.
-
Designate zones: Divide your workshop into designated zones for specific tasks, such as a cutting area, assembly zone, and storage section, to maintain organization and efficiency.
Frequently Asked Questions
How Do I Handle Messy Cords and Cables in My Workshop?
"Like a tangled spider's web, your cords and cables are suffocating your workshop's productivity. You tackle this mess by implementing cable management systems and optimizing your workspace layout with organization tips, freeing you to focus on creating."
Can a Cluttered Workshop Impact My Mental Health and Focus?
You know that a cluttered workshop can negatively impact your mental clarity and focus, leading to decreased productivity and efficiency. By prioritizing organization and creating a visually appealing workspace, you'll reap benefits like improved mental clarity and increased productivity.
Are There Any Affordable Storage Solutions for Small Workshops?
You'll find affordable storage solutions for your small workshop by opting for budget-friendly shelving and exploring creative organization ideas, allowing you to maximize space without breaking the bank.
How Often Should I Clean and Organize My Workshop?
"Set a savvy schedule to scour your space frequently, ideally once a week, to maintain mesmerizing organization and maximize workspace efficiency, ensuring clutter control and a calm, creative atmosphere that sparks productivity."
Can I Still Have a Functional Workshop in a Very Small Space?
You can absolutely have a functional workshop in a very small space by implementing space-saving storage solutions, creative organization techniques, maximizing vertical storage, and utilizing multi-functional furniture that serves multiple purposes, making the most of every inch.
Related Posts
-

Choosing the Right Stacked Storage Bins
When choosing the right stacked storage bins, you'll want to evaluate your storage needs, considering inventory types...
-

Top Wrench Tool Box Sets for Every Mechanic
You're looking for high-quality wrench tool box sets that cater to your specific needs as a mechanic. From top-rated ...
-

What Tools Do I Need for a DIY Wall Organizer
You'll need a variety of tools to complete a DIY wall organizer project. Essential measuring tools include a tape mea...


