Why Cluttered Pegboards Are Holding You Back
Share
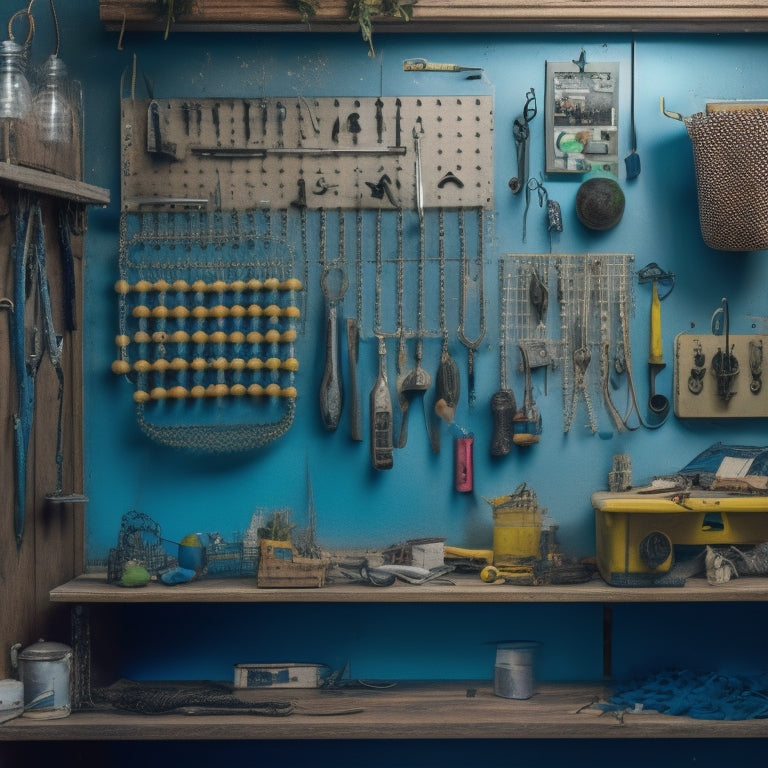
You're wasting valuable time and energy maneuvering through a disorganized pegboard, where essential tools are hidden behind a clutter of unnecessary items. A cluttered pegboard slows down your workflow, making it difficult to focus on tasks. To boost productivity, you need to categorize tools by function or frequency of use, prioritize essential ones, and allocate them to specific sections. Proper labeling and visibility are also key to quick tool location. By streamlining your pegboard, you'll discover how much more efficient you can be - and that's just the beginning of optimizing your workspace.
Key Takeaways
• Cluttered pegboards slow down workflow by making it difficult to find tools, causing frustration and wasted time.
• Cramming too many tools onto a pegboard leads to inefficiency, disorganization, and decreased productivity.
• A disorganized pegboard can lead to tool damage, loss, and even safety hazards due to misplaced or broken tools.
• Implementing organizing strategies, such as categorizing tools and assigning designated spots, can significantly improve workflow efficiency.
• A well-organized pegboard with clear labels and zones can boost productivity, reduce frustration, and save time.
Cluttered Pegboards Cause Inefficiency
Cramming too many tools onto your pegboard leads to a frustratingly slow workflow, as you waste precious time searching for the one you need amidst the clutter. This inefficiency can be avoided by implementing effective organizing strategies.
Start by categorizing your tools into groups based on their functions or frequencies of use. This will enable you to prioritize the most essential tools and allocate them to easily accessible areas of your pegboard.
Maximizing Space With Divided Compartments
By dividing your pegboard into separate sections, you can create a more organized and functional workspace that maximizes every available inch. This is particularly crucial when it comes to optimizing storage and tool accessibility. With section organization, you can make sure that each tool has its designated space, making it simpler to find what you need when you need it.
Here's an example of how you can divide your pegboard into sections:
| Tool Category | Section Size | Tool Examples |
|---|---|---|
| Hand Tools | Small | Hammer, Screwdrivers, Pliers |
| Power Tools | Medium | Drill, Saw, Grinder |
| Fasteners | Small | Nails, Screws, Bolts |
Labeling and Visibility Matter
You can further improve your pegboard's organization by assigning clear labels to each section, making it even easier to locate specific tools and supplies at a glance. This simple yet effective technique is an essential tool management tip that can greatly enhance your workspace efficiency. By labeling each section, you'll be able to quickly identify where everything is, saving you time and reducing frustration.
Good labeling and visibility also encourage you to maintain your pegboard's organization. When everything has its designated spot, you're more likely to put things back where they belong, ensuring your workspace remains clutter-free. This, in turn, helps you stay focused on the task at hand, rather than wasting time searching for misplaced items.
In addition to labels, consider using storage solutions like bins and baskets to store small items, keeping them out of the way but still easily accessible. By implementing these organization tips, you'll be able to optimize your pegboard's storage capacity, creating a more efficient and productive workspace.
Assigning a Home for Each Tool
Assign each tool a designated spot on your pegboard, ensuring everything has a specific place to return to after use. This simple step is essential in maintaining a clutter-free pegboard and boosting your productivity.
When you designate a home for each tool, you create a sense of order and structure, making it easier to find what you need when you need it. This, in turn, saves you time and reduces frustration.
Streamlining Workflow With Zones
Organizing your pegboard into zones helps you navigate your tool collection efficiently, saving you time and energy by grouping similar tools and tasks together. This strategy allows you to focus on specific tasks without wasting time searching for the right tool.
By dividing your pegboard into distinct zones, you can create a workflow that's tailored to your needs.
Here are some zones you might consider creating:
-
Drilling zone: Store all your drilling tools, such as drill bits and drivers, in one area for easy access.
-
Measuring zone: Keep your measuring tools, like tape measures and levels, together to simplify measurements.
-
Hand tool zone: Designate an area for your hand tools, like pliers and wrenches, to keep them organized and within reach.
- Fastening zone: Group your fastening tools, such as screwdrivers and hammers, for quick access when assembling or disassembling projects.
Frequently Asked Questions
How Often Should I Clean and Maintain My Pegboard?
You should clean and maintain your pegboard regularly, ideally every 1-2 weeks, to reap organizational benefits; consistent cleaning frequency helps prevent clutter buildup, keeping your tools and accessories easily accessible and your workspace efficient.
Can I Customize My Pegboard With Non-Standard Tool Sizes?
"Like a Renaissance master tailoring a bespoke suit, you can craft custom tool holders to fit non-standard tools, optimizing your pegboard's organization and maximizing storage efficiency, ensuring every inch serves a purpose."
Are Pegboards Suitable for Heavy Tools and Equipment?
You're wondering if pegboards can handle heavy tools and equipment. They can, but check the weight limits first. Look for durable options with sturdy hooks and consider space-efficient organization methods to maximize storage while maintaining accessibility.
Can I Use Pegboards in Humid or Outdoor Environments?
You can use pegboards in humid or outdoor environments, but you'll need to take precautions to prevent rust and moisture damage. Look for outdoor pegboards with rust prevention coatings, and consider adding a protective layer to guarantee durability.
Are Pegboards Compatible With All Types of Workshop Walls?
Imagine your workshop walls as a blank canvas, waiting for your pegboard masterpiece. You're wondering if pegboards are compatible with all types of walls, and the answer is yes, with proper installation, they'll optimize your space and organization.
Related Posts
-

Best Organizing Tools for a Clutter-Free Space
You're on a mission to change your cluttered space into a peaceful oasis, and you're looking for the best organizing ...
-

Choosing the Right Stacked Storage Bins
When choosing the right stacked storage bins, you'll want to evaluate your storage needs, considering inventory types...
-

Portable Tool Chest Essentials
When stocking your portable tool chest, you'll want to prioritize essential hand tools like hammers, tape measures, a...


