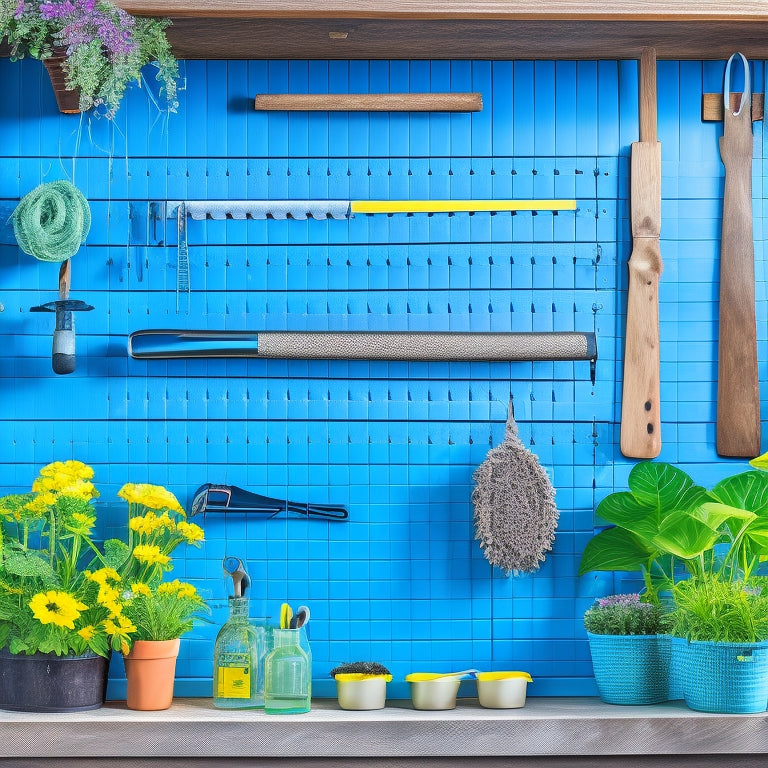
Why a Pegboard Is a Gardener's Best Friend
You'll dramatically simplify your gardening routine and maximize your workspace efficiency with a well-organized pegboard that keeps all your essential tools within easy reach. By installing a sturdy pegboard and customizing the layout with hooks, bins, and accessories, you'll create a clutter-free workspace that saves you time and energy. With essential tools like pruners and trowels hung at eye-level, you'll stay focused on your gardening tasks. Plus, regular cleaning and maintenance will keep your pegboard sanitized and organized. Now, take your garden game to the next level by optimizing your pegboard setup - there are more secrets to uncover to make your gardening life even easier.
Key Takeaways
• A pegboard provides a customized and organized storage space for gardening tools, boosting productivity and reducing frustration.
• It helps maximize storage space efficiency by utilizing vertical space and corner areas with specially designed hooks and bins.
• A pegboard allows for easy access to frequently used tools, keeping them within reach and streamlining the gardening workflow.
• It enables gardeners to prioritize essential tools, such as pruners, trowels, and cultivators, and hang them in a convenient location.
• Regular maintenance and upkeep of the pegboard ensure its longevity and prevent dirt and debris buildup, making it a reliable gardening companion.
DIY Pegboard Installation Essentials
To guarantee a successful pegboard installation, you'll need a few essential tools and materials within arm's reach, including a drill, level, wall anchors, and a sturdy pegboard specifically designed for your gardening needs. Don't skimp on the quality of your pegboard materials – a durable one will withstand the weight of your tools and withstand the test of time.
Before you start drilling, make sure your wall is prepared. Check for any electrical outlets or pipes behind the area where you'll be installing the pegboard. You don't want any surprises when you're halfway through the installation process.
Clean the wall thoroughly to establish a strong bond between the wall anchors and the pegboard. If you're installing on a plaster or drywall, use anchors specifically designed for those surfaces to prevent damage.
With your tools and materials ready, and your wall prepared, you're one step closer to having a pegboard that'll keep your gardening tools organized and within easy reach. Take your time, and follow the manufacturer's instructions for a hassle-free installation.
Customizing Your Gardening Tool Board
Hang your most frequently used gardening tools in a way that makes sense to you by arranging hooks, bins, and accessories on your pegboard to create a customized layout that streamlines your workflow.
You'll be amazed at how a well-organized board can boost your productivity and reduce frustration. Consider your tool aesthetics when designing your layout. Group similar tools together, and place the most-used items at eye-level for easy access.
Add personalized labels to each hook or bin to make sure you can quickly identify where each tool belongs. This will also help you maintain your board's organization over time.
Don't be afraid to experiment with different layouts until you find one that feels intuitive and efficient. Remember, your pegboard should be a reflection of your unique gardening style and needs.
Maximizing Storage Space Efficiency
By strategically positioning your pegboard in a high-traffic area, like near a garden entrance or alongside a potting bench, you'll create an efficient hub that streamlines your gardening workflow. This thoughtful placement allows you to maximize storage space efficiency, making the most of your pegboard's potential.
To optimize your pegboard, focus on corner utilization. These often-wasted spaces can be transformed into functional storage areas using specially designed corner hooks or bins. This clever use of corners will help keep your gardening tools and accessories organized and within easy reach.
Vertical optimization is another key strategy for maximizing storage space efficiency. By using stackable bins, hooks, and shelves, you can make the most of your pegboard's vertical real estate. This not only keeps your tools organized but also keeps your workspace clutter-free, allowing you to focus on the task at hand.
Essential Tools to Hang First
When setting up your pegboard, prioritize the essentials by starting with the most frequently used tools, such as pruners, trowels, and cultivators, which will quickly become the backbone of your gardening workflow. These tool priorities will save you time and energy in the long run, ensuring you're always prepared for any gardening task.
Here are the top 4 garden must-haves to hang first on your pegboard:
-
Pruners: For trimming and shaping plants, pruners are a daily essential.
-
Trowels: Perfect for scooping, digging, and transplanting, trowels are a versatile tool.
-
Cultivators: Break up soil and remove weeds with ease using a cultivator.
- Gloves: Protect your hands from thorns, dirt, and other debris with a good pair of gardening gloves.
Pegboard Maintenance and Upkeep Tips
To guarantee your pegboard remains a valuable gardening asset, regularly inspect and clean it to prevent dirt and debris from accumulating and obstructing tool access. You'll want to dedicate some time to pegboard maintenance every few months, depending on how frequently you use it.
Start by wiping down the board with a damp cloth to remove any loose dirt or grime. Then, use a gentle cleaning solution and a soft-bristled brush to scrub away any stubborn stains or buildup.
After cleaning, take the opportunity to reorganize your board. Move frequently used tools to the front and center, and consider grouping similar tools together. This will save you time and energy in the long run.
Don't forget to sanitize your pegboard regularly, especially if you've had any fungal or bacterial issues in your garden. A quick wipe with a disinfectant can go a long way in preventing the spread of disease.
Frequently Asked Questions
Can I Use a Pegboard Outdoors in Direct Sunlight?
Did you know 75% of gardeners spend over 4 hours outdoors daily? You can use a pegboard outdoors in direct sunlight if you choose one with UV resistance and appropriate weatherproofing to guarantee it withstands harsh conditions.
How Do I Prevent Rust on My Pegboard and Hooks?
You'll want to protect your pegboard and hooks from rust by applying a rust-resistant coating, like a clear enamel or silicone-based spray, and utilizing rust-proofing methods such as zinc plating or stainless steel construction.
Are Pegboards Suitable for Heavy Gardening Equipment?
You're wondering if pegboards can handle heavy gardening gear. Yes, they can! Look for one with a sturdy frame and consider load capacity, weight distribution, and hook type to make sure it can hold your heaviest tools securely.
Can I Mount a Pegboard on a Curved or Angled Surface?
You can mount a pegboard on a curved or angled surface using flexible fasteners or custom brackets that adapt to the unique shape, ensuring a secure and sturdy hold for your gardening essentials.
Are Pegboards Compatible With All Types of Gardening Tools?
"Variety is the spice of life," and with pegboards, you'll find that's especially true! You'll discover most pegboards are compatible with a wide tool variety, and many brands offer compatible hooks, making it easy to customize your setup to fit your unique gardening needs.
Related Posts
-
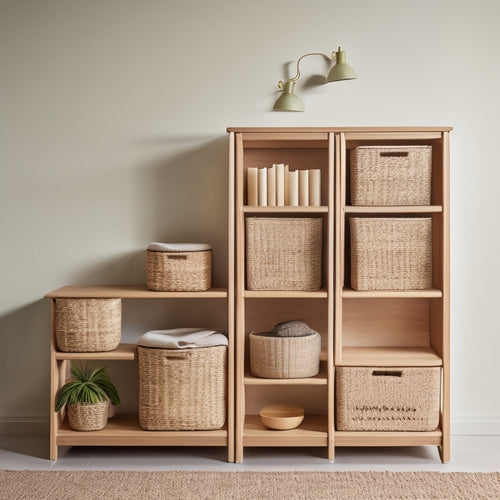
Open Storage Bins for Shelving Units
You need open storage bins that integrate seamlessly with your shelving units to boost your organization, productivit...
-
What Size Rolling Storage Bin Do I Need
To determine the ideal size of your rolling storage bin, you'll need to measure your storage space accurately, consid...
-
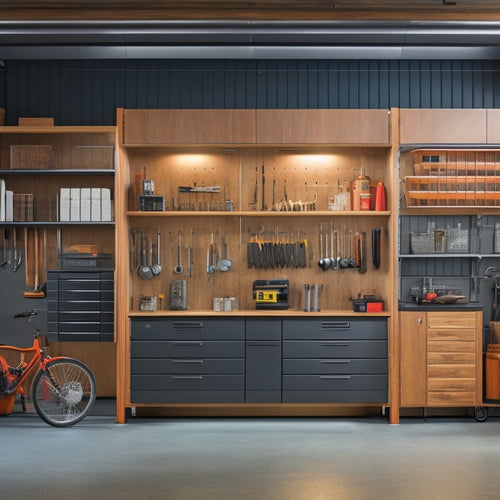
Best Materials for Garage Wall-Mounted Cabinets
When selecting materials for your garage wall-mounted cabinets, you'll want to evaluate options that balance durabili...


