
What Storage Solution Works Best for Home Studios?
You need a storage solution that's tailored to your home studio's unique needs, taking into account your equipment, cable management, and workflow, as well as your studio's size and budget constraints. Assess your gear and workflow to determine essential storage needs. Consider DIY shelving or high-end cabinetry, and choose a pegboard material that fits your studio's style. Design a custom layout with zones for different gear, positioning frequently used tools at eye level. Install your pegboard system securely, and organize essentials like microphones and headphones. With a well-planned storage system, you'll be one step closer to optimizing your studio's productivity - and maximizing its full potential.
Key Takeaways
• Assess your studio's storage needs by evaluating equipment, cable management, and workflow to create a tailored system for optimized productivity.
• Choose a pegboard material that fits your studio's style and décor, considering weight capacity, durability, and compatibility with your gear.
• Design a custom pegboard layout that divides zones for different types of gear, positions frequently used tools at eye level, and balances layout for visual appeal and functionality.
• Install the pegboard system securely to the wall, following drill safety guidelines, and incorporate personal touches for a unique space.
• Organize studio essentials by keeping frequently used items accessible, using cable ties for cable management, and storing non-essential items in designated areas.
Assessing Your Studio's Storage Needs
As you begin to design your home studio's storage system, evaluate your equipment, cable management, and workflow to determine the specific storage solutions you need to optimize your creative space.
Consider the size of your studio: a compact room will require more strategic storage, while a larger space may allow for more flexibility. Your budget constraints will also play a significant role in determining the type of storage solutions you can afford.
Will you opt for DIY shelving or invest in high-end cabinetry? Make a list of your essential gear, including instruments, amplifiers, and recording equipment, to identify the specific storage needs of each item.
Think about your workflow: do you need easy access to frequently used items or can you store them out of the way? By carefully evaluating your studio's unique needs, you'll be able to create a tailored storage system that streamlines your creative process and maximizes your productivity.
Choosing the Right Pegboard Materials
Selecting the right pegboard materials is vital in creating a functional and durable storage system, and you'll want to take into account factors such as weight capacity, durability, and compatibility with your chosen pegs and accessories.
You'll need to take into consideration the weight capacity of your pegboard to make sure it can hold the weight of your gear. Material durability is also important, as you want your pegboard to withstand the wear and tear of daily use.
When it comes to pegboard aesthetics, you'll want to choose a material that fits your studio's style and décor. From sleek and modern to rustic and industrial, there's a pegboard material to suit your taste.
Popular options include melamine, wood, and metal. Melamine pegboards offer a durable and affordable solution, while wood pegboards add a touch of warmth and sophistication. Metal pegboards, on the other hand, provide a sleek and industrial look.
Ultimately, the right material for you'll depend on your specific needs and preferences. By taking these factors into account, you can create a pegboard that's both functional and visually appealing.
Designing a Custom Pegboard Layout
You're now ready to bring your pegboard to life by designing a custom layout that maximizes storage and workflow efficiency. This is where you get to express your creativity and functional artistry to create a space that's both beautiful and functional.
To achieve aesthetic balance, consider the following key elements:
-
Zone allocation: Divide your pegboard into zones for different types of gear, such as instruments, cables, and accessories.
-
Tool placement: Position frequently used tools at eye level for easy access, and less frequently used items towards the top or bottom.
-
Cable management: Designate areas for cable organizers and hooks to keep your workspace tidy.
-
Visual flow: Balance the layout to create a visually appealing flow, avoiding cluttered or empty areas.
-
Personalization: Incorporate personal touches, such as a favorite quote or inspirational message, to make your space truly unique.
Installing the Pegboard System
With your custom layout design in hand, it's time to transform your pegboard into a functional storage solution by securely fastening the pegboard to the wall and installing the necessary hooks, bins, and accessories.
Start by locating the wall studs using a stud finder, ensuring your pegboard is anchored to a solid surface. Next, grab your drill and bits, taking care to follow drill safety guidelines to avoid accidents. Mark the spot where you'll screw in the pegboard, and then drill pilot holes to prevent the wall from cracking. Screw the pegboard into place, making sure it's level and secure.
Now, it's time to add the finishing touches. Install your hooks, bins, and accessories according to your design plan, keeping pegboard aesthetics in mind. Consider the color scheme and overall look you're going for, ensuring your storage solution blends seamlessly with your home studio's décor.
With your pegboard system installed, you're one step closer to a clutter-free and organized workspace.
Organizing Your Studio Essentials
Now that your pegboard system is in place, it's time to organize your studio essentials, starting with the most frequently used items, such as microphones, headphones, and cables. This is where studio decluttering becomes vital in optimizing your music workflow. You want to make sure that everything has its designated spot, making it easy to access what you need when you need it.
Here are some organizational tips to keep in mind:
-
Microphone storage: Use a microphone clip or hanger to keep them off the floor and prevent damage.
-
Cable management: Use cable ties or zip ties to keep cables organized and prevent tangles.
-
Headphone station: Designate a spot for your headphones, such as a hook or a tray, to keep them within reach.
-
Accessory storage: Use small containers or bins to store adapters, connectors, and other small accessories.
-
Work surface clearance: Keep your work surface clear of clutter by storing items like notebooks, pens, and other non-essential items in a designated area.
Frequently Asked Questions
Can I Use a Pegboard in a Small, Cramped Studio Space?
"You'll be the master of your domain, like a medieval lord, with a pegboard in your small studio space. Opt for space-saving layouts and ergonomic arrangements to maximize efficiency, and you'll be mixing like a pro in no time."
How Do I Protect My Gear From Dust and Moisture Damage?
"You'll want to shield your gear from dust and moisture by storing them in weatherproof cases with desiccant packets, ensuring a dry environment and preventing corrosion, especially in humid or coastal areas."
Are There Any Storage Solutions for Heavy or Oversized Equipment?
"As you navigate the weighty world of heavy equipment, you'll find industrial rack systems with floor anchors to be your salvation, providing sturdy support and peace of mind for your bulkiest gear."
Can I Customize My Pegboard to Fit Non-Standard Equipment Sizes?
You can customize your pegboard to fit non-standard equipment sizes by using pegboard extensions or opting for custom drilling, allowing you to tailor your storage to unique gear dimensions and maximize your studio's real estate.
How Do I Keep Cables and Wires Organized and Untangled?
"As you navigate the dark abyss of tangled cables, you'll discover the secret to sanity lies in cable management and wire wrangling. You'll untangle the mess with cable ties, zip ties, and clever routing, reclaiming your studio's serenity."
Related Posts
-
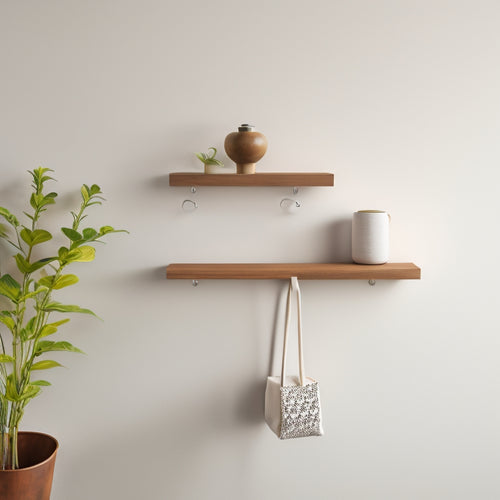
Wall Mounted Hooks With Shelf for Maximum Storage
You'll find that wall mounted hooks with a shelf are a revolutionary solution for maximizing storage in your home, pr...
-
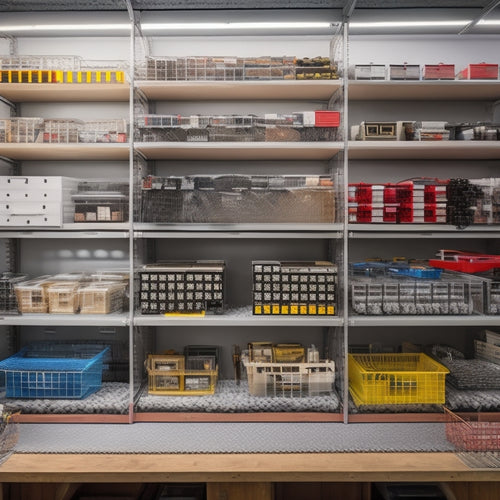
10 Essential Steps for Small Parts Bin Storage
To optimize your small parts bin storage, start by defining your storage needs and goals, considering factors like av...
-
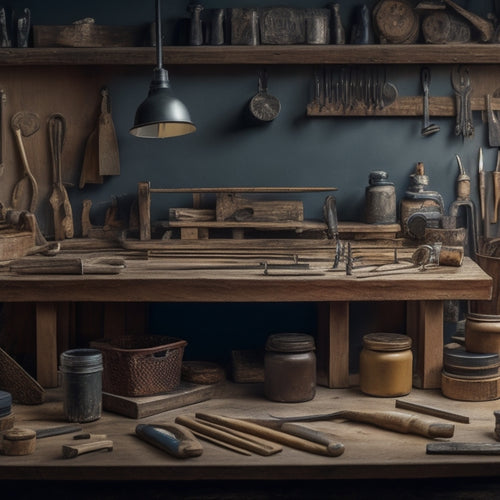
Top 5 Small Tool Organizers for Your Workshop
You're looking to optimize your workshop's efficiency with high-quality small tool organizers. Compact storage soluti...


