What Makes a Perfect Tool Pegboard Setup?
Share
You'll create a perfect tool pegboard setup by designing a layout that groups similar tools together and implements a color-coding system. Aim for a minimalist, functional design that encourages tool maintenance. Strategically store frequently accessed items, considering their frequency of use. Maximize vertical space by adjusting heights for tools of different lengths and using stackable bins. Clearly label and sign your setup using color coding and graphic design elements. Finally, customize your pegboard to accommodate unique tools, like long-handled or oversized items. Now, take the next step to optimize your workshop's productivity and efficiency.
Key Takeaways
• A well-planned layout that groups similar tools together and considers frequency of use is crucial for a perfect tool pegboard setup.
• Implementing a color-coding system helps with quick tool identification and enhances the overall organization.
• Maximizing vertical space usage by using stackable bins and adjustable heights ensures efficient storage and accessibility.
• A clear labeling and signage system, including a legend or key, makes it easy to locate tools and enhances workflow productivity.
• Customizing the setup to accommodate unique tools, such as oversized or delicate items, ensures a tailored and functional organization system.
Tool Pegboard Layout Essentials
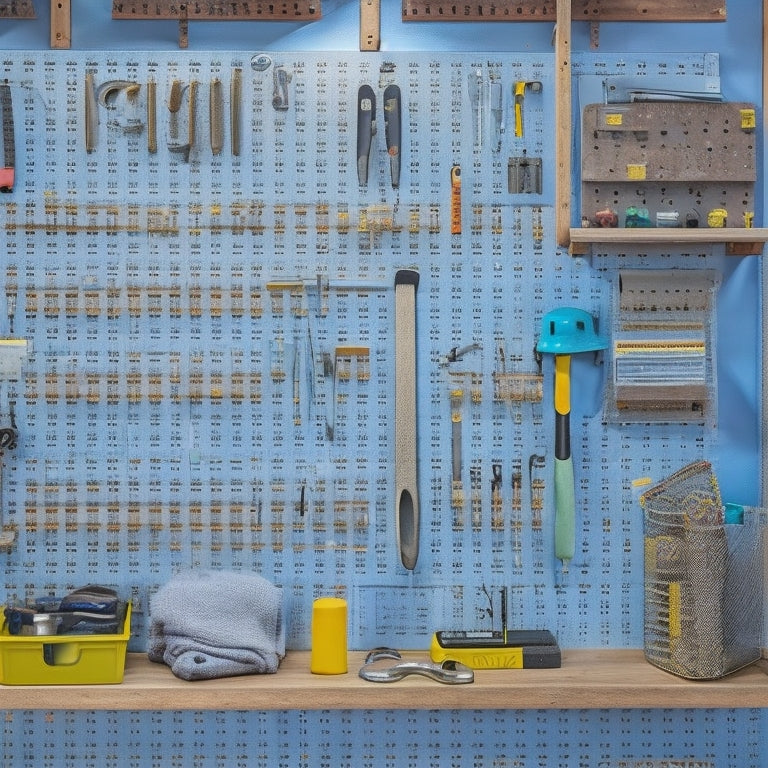
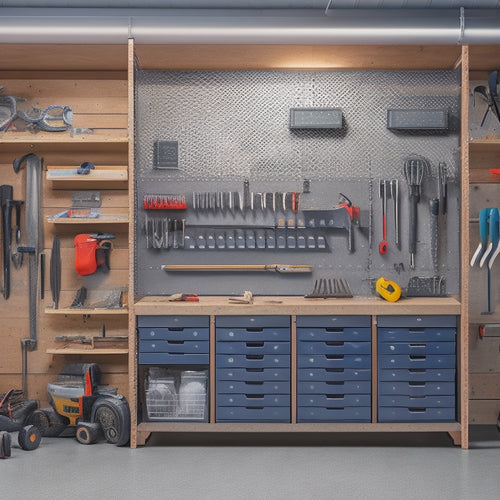
To create an efficient tool pegboard setup, start by deciding on a layout that accommodates your most frequently used tools and equipment. You'll want to group similar tools together, such as all your screwdrivers or pliers, making it easy to find what you need when you need it.
Consider implementing a color-coding system, where similar tools or categories are assigned a specific color, further simplifying your search. This tool grouping and color coding will save you time and reduce frustration.
When designing your layout, aim for a minimalist, functional design. Avoid clutter and keep only the essentials on your pegboard. This will prevent overcrowding and make maintenance a breeze. A well-organized pegboard will also encourage you to maintain your tools, ensuring they're in good condition and ready for use.
Key Storage and Organization Tips
Your pegboard's functionality is greatly enhanced when you strategically store and organize your most frequently accessed items, such as bins, baskets, and hooks, to keep your workspace tidy and your tools within easy grasp.
This is where key storage and organization tips come in. Start by grouping your tools into categories, such as hand tools, power tools, and accessories. Within each group, use color coding to distinguish between similar tools or to identify specific uses.
For instance, you can use red bins for emergency tools and blue bins for everyday tools. This visual system helps you quickly locate what you need, saving time and reducing frustration.
Additionally, consider the frequency of use when deciding where to place each item. Store your most frequently used tools in easy-to-reach locations, while less frequently used tools can be stored in harder-to-reach areas or on lower hooks.
Maximizing Vertical Space Usage
Five key strategies can help you maximize your pegboard's vertical space, making the most of every square inch.
First, consider height adjustment: install hooks and bins at varying levels to accommodate tools of different lengths. This will allow you to store more items without overcrowding the board.
Second, prioritize tool accessibility: place frequently used tools at eye level or near the front of the board for easy retrieval.
Third, use stackable bins and baskets to store smaller items, keeping them organized and out of the way.
Fourth, don't forget about aesthetic appeal: choose bins and hooks in a color scheme that complements your workspace, adding visual appeal to your pegboard.
Finally, group similar tools together, such as all hand tools or all power tools, to create a sense of organization and make it easier to find what you need.
Labeling and Signage Strategies
With a well-organized pegboard layout in place, you can further enhance its functionality by implementing a clear labeling and signage system that helps you quickly identify where each tool is stored. This system should be easy to understand and follow, allowing you to locate tools in a snap.
One effective strategy is to use color coding, where similar tools or categories are grouped together and labeled with the same color. This visual cue helps your brain quickly scan the pegboard and find what you need. You can also incorporate graphic design elements, such as icons or images, to make the labels more visually appealing and easy to understand. Consider using a consistent font and font size throughout the pegboard to create a cohesive look.
Additionally, consider adding a legend or key to explain the labeling system, especially if you have a complex setup. By implementing a clear and consistent labeling and signage system, you'll be able to find the tools you need in no time, making your workflow more efficient and productive.
Customizing for Unique Tools
When you have tools that don't fit into standard pegboard categories, customizing your setup to accommodate these unique items is essential to maintaining a functional and organized workspace. This is where tool customization options come into play, allowing you to get creative with storage solutions that cater to your specific needs.
Here are some ideas to get you started:
| Unique Tool | Customization Idea |
|---|---|
| Long-handled pruning shears | Attach a horizontal pegboard strip to store them vertically |
| Oversized wrenches | Design a custom holder using 3D printed or wooden brackets |
| Cordless drill with bulky battery | Create a recessed area with a soft, protective lining |
| Delicate precision tools | Build a separate, enclosed compartment with a clear plastic door |
Frequently Asked Questions
Can I Use a Pegboard in a Humid or Outdoor Environment?
You're wondering if a pegboard can thrive in a humid or outdoor environment, like a cactus in the desert. Yes, you can, but choose a moisture-resistant material and follow maintenance tips like regular cleaning and rust-proofing to guarantee outdoor durability.
How Do I Prevent Pegs From Falling Out Over Time?
To prevent pegs from falling out over time, you'll want to regularly clean and inspect your pegboard, ensuring hooks are securely fastened, and consider applying a rust-resistant coating to prevent corrosion and damage.
Are Pegboards Suitable for Heavy-Duty or Industrial Use?
Imagine a bustling workshop where heavy tools hang effortlessly - can pegboards really handle the weight? Yes, you'll find pegboards with robust weight capacity and durability, offering versatility and customization options to meet your industrial demands.
Can I Mount a Pegboard on a Curved or Angled Surface?
You can mount a pegboard on a curved surface using specialized hooks or clips, and on an angled surface with adjustable brackets, ensuring your tools stay organized and within reach with clever organization tips.
Are Pegboards Compatible With All Types of Hooks and Accessories?
You'll find that most pegboards are compatible with various hooks and accessories, offering versatile storage options. Look for systems with adjustable hooks and bins to maximize your organization solutions, ensuring a tailored fit for your unique needs.
Related Posts
-

Building a Wall Tool Storage System
You're about to create a customized wall tool storage system that streamlines your workflow. Start by clearing your w...
-

How to Maximize Storage Space With Parts Storage Bins
To maximize storage space with parts storage bins, start by evaluating your available storage space and examining you...
-

Garage Wall Storage Ideas to Boost Productivity
You can enhance your garage's productivity by capitalizing on your ceiling height with overhead racks, storing bulky ...


