What Makes a Great Tool Organization System?
Share
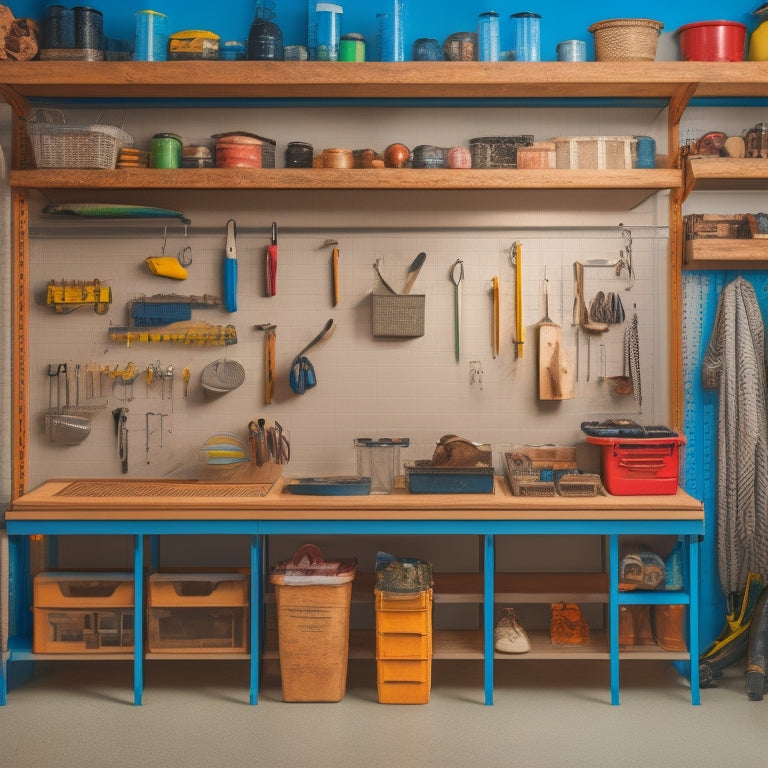
You need a tool organization system that streamlines your workflow, maximizes storage space, and boosts productivity. Start with a well-designed pegboard that combines essential features like durability, variety of holders, and color-coded labels. Customize it to fit your needs with shelves, hooks, and trays for unique projects. Guarantee tools are accessible and visible with space-saving solutions and clear labels. Finally, prioritize durability and ease of installation. By considering these key elements, you'll be well on your way to creating a system that saves you time and frustration - and gets you working more efficiently in no time.
Key Takeaways
• A great tool organization system prioritizes efficiency and organization, ensuring easy access to tools and maximizing storage space.
• Customization and adaptability options, such as adjustable shelves and color-coded labels, allow for tailored solutions for unique projects and needs.
• A well-designed system considers tool accessibility and visibility, using strategies like clear labels, categorization, and space-saving solutions.
• Durable and long-lasting materials, such as heavy-duty hooks and rust-resistant finishes, ensure the system withstands heavy usage and lasts over time.
• Easy installation and assembly, along with aesthetically pleasing designs, make the system functional, efficient, and visually appealing.
Essential Features of a Pegboard
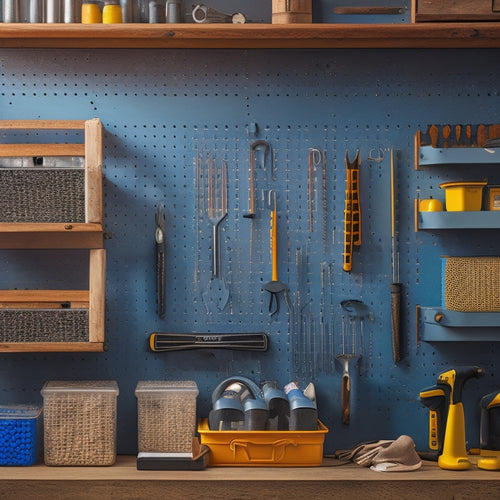
You'll want to prioritize a few key features when selecting a pegboard that will efficiently support your tool organization system. First, consider the material and durability of the pegboard. A high-quality board will withstand the weight of your tools and endure frequent use.
Next, think about the type of tool holders you need. Look for a pegboard with a variety of holders, such as bins, hooks, and trays, to accommodate different tool sizes and shapes. This will secure that each tool has a designated spot, promoting organization and efficiency.
Color coding can also play a significant role in your tool organization system. Look for a pegboard with color-coded labels or markers to categorize your tools by type, frequency of use, or project. This visual system will help you quickly locate the tool you need, saving you time and frustration.
Customization Options for DIYers
As you assemble your tool organization system, you can further tailor your pegboard to your specific needs by exploring customization options that let you add, remove, or modify components to fit your unique DIY projects and workflows. This flexibility is key to maximizing your pegboard's potential and ensuring it remains relevant as your projects evolve.
One way to customize your pegboard is by incorporating custom shelving. This allows you to store bulkier items, such as power tools or materials, within easy reach. You can also add tool hangers to hang items like bikes, ladders, or other long-handled tools, freeing up valuable space on your pegboard.
Additionally, you can modify your pegboard's layout to accommodate specific tools or accessories. For instance, you can add a customized holder for your drill or impact driver, or create a dedicated station for your most frequently used tools. By tailoring your pegboard to your specific needs, you'll be able to work more efficiently and stay organized, even as your projects and workflows change over time.
Tool Accessibility and Visibility
When you're working on a project, you need to be able to grab the right tool quickly. That's why prioritizing tool accessibility and visibility in your organization system is crucial.
Easy Tool Retrieval
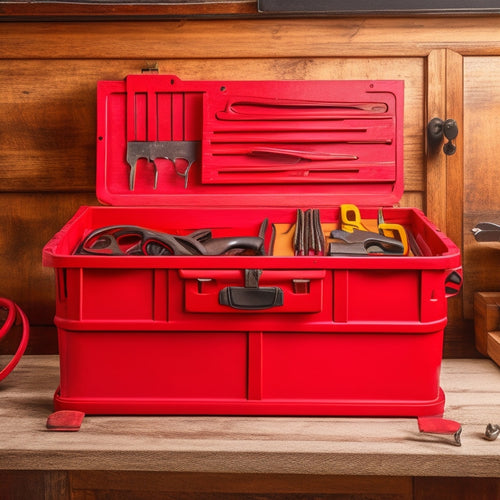
Having all your tools in a designated place enables you to quickly locate and grab what you need, saving time and reducing frustration. To achieve easy tool retrieval, you need to implement effective tool organization techniques that prioritize accessibility and visibility. This involves creating an efficient workshop layout that optimizes your available space. Consider using space-saving solutions like wall-mounted pegboards, tool chests, and cabinets to store your tools. Label each storage unit so you can easily identify where each tool is kept.
When designing your tool storage solutions, think about the tools you use most frequently and place them in easy-to-reach locations. This will save you time and energy when switching between tasks. Additionally, consider the size and shape of your tools when selecting storage solutions. For example, use adjustable dividers to separate larger tools or install hooks for hanging items like bikes or hoses.
Quick Identification Methods
You can swiftly identify your tools by utilizing clear labels, color-coding, and categorization systems that enable you to visually distinguish between similar tools. This is particularly crucial when you have multiple tools that appear similar, such as screwdrivers or wrenches.
By assigning a specific color or label to each tool, you can rapidly scan your tool racks and find what you need. For instance, you can use red labels for all your screwdrivers, blue for pliers, and green for wrenches. This way, you can quickly spot the tool you need without having to read each label.
Color-coding can also assist you in grouping similar tools together, making it simpler to find related tools. For example, you can store all your drill bits in a specific section of your tool rack, labeled with a designated color or symbol. This system not only saves you time but also reduces frustration and boosts productivity.
Clear Storage Labels
By assigning clear storage labels to your tool containers, you guarantee that the contents are easily visible and accessible, even when stored in compact spaces or on high shelves. This is especially important when you have multiple tools with similar appearances or functions. Clear labels eliminate the guesswork, saving you time and frustration when searching for a specific tool.
Effective label organization is key to efficient storage. You can categorize labels by tool type, frequency of use, or project-specific categories. This system allows you to quickly locate the tool you need, reducing downtime and increasing productivity. Clear labeling also streamlines your workflow by enabling you to identify tools at a glance, making it easier to restock or replace them as needed.
Remember to use durable labels that can withstand the rigors of your workshop or job site. Consider using color-coding or icons to further distinguish between tools and categories.
Space Optimization Strategies
When optimizing your tool organization system's space, you'll want to make the most of every inch. You can do this by maximizing your vertical storage, using wall-mounted shelves or hooks to keep items off the floor and out of the way.
Maximize Vertical Storage
To maximize your tool organization system's storage capacity, utilize wall-mounted shelves, hooks, and bins to take advantage of often-wasted vertical space. This is especially important in small workshops or garages where every inch counts.
By taking advantage of space saving solutions, you can create a more efficient and organized workspace.
Here are some ways to maximize your vertical storage:
-
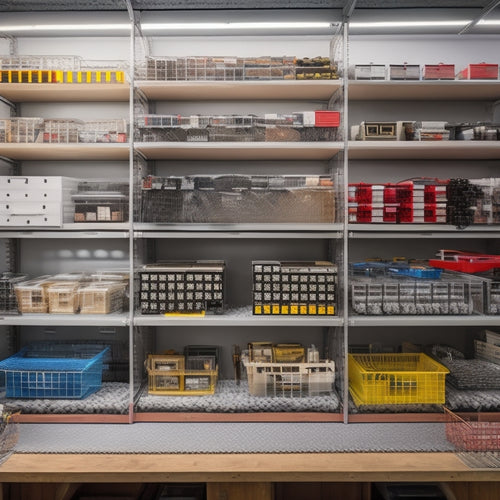
Install adjustable shelves: These allow you to customize the shelf height to fit different tool sizes and can be easily rearranged as your tool collection changes.
-
Use stackable bins: Label each bin so you can easily identify what's inside, and consider using clear bins for easy visibility.
-
Hang tools on pegboards: This keeps frequently used tools within easy reach and saves floor space.
- Mount a fold-down workbench: This provides additional workspace when needed and folds up against the wall when not in use, saving valuable floor space.
Corner Space Utilization
You can reclaim the often-wasted space in corners by implementing strategic storage solutions that make the most of these tight areas. Corner space utilization is all about finding innovative storage ideas that fit seamlessly into these tricky spots.
Consider installing creative shelving that wraps around the corner, providing ample space for storing bins, baskets, or even small tools. You can also opt for space-saving solutions like carousels or Lazy Susans, which allow easy access to items stored in the corner.
Another approach is to use unique storage solutions like corner baskets or shelves with built-in hooks. These can hold items like extension cords, hoses, or other long tools, keeping them organized and out of the way.
By utilizing corner space effectively, you can free up more room in the rest of your workspace for other essential tools and equipment. Remember, the key is to think outside the box (or corner!) and find solutions that work best for your specific needs.
With a little creativity, you can turn those wasted corners into valuable storage space.
Durable and Long-Lasting Materials
A tool organization system built with durable and long-lasting materials guarantees that your investment stands the test of time and heavy usage. You want a system that can withstand the rigors of daily use, and that's where resilient construction comes in. Look for heavy-duty materials that can support the weight of your tools and equipment.
Here are some key features to look for in a durable tool organization system:
-
Reinforced shelves: These can support heavier tools and equipment, reducing the risk of collapse or damage.
-
Heavy-duty hooks: These can hold a substantial amount of weight, keeping your tools organized and within reach.
-
Durable cabinets: These can protect your tools from dust, moisture, and other environmental factors that can cause damage.
- Rust-resistant finishes: These can prevent corrosion and extend the lifespan of your tool organization system.
Easy Installation and Assembly
Sixty minutes is all it takes to get your tool organization system up and running with a simple installation and assembly process. You won't need to spend hours figuring out complicated instructions or wrestling with pesky parts.
A great tool organization system should have a time-saving installation process that gets you started quickly. Look for systems with effortless assembly, where the pieces fit together seamlessly and the instructions are clear and concise.
A simplified setup means you can focus on organizing your tools, not struggling with the system itself. With quick construction, you can have your tools organized and within reach in no time. This saves you time and energy, allowing you to get back to work or tackle that project you've been putting off.
When evaluating a tool organization system, make sure it prioritizes ease of installation and assembly. This will secure you can get started right away and enjoy the benefits of a well-organized workspace.
Adaptability to Different Tools
When you're setting up your tool organization system, you'll want to evaluate how adaptable it's to different tools. You'll need a system that can accommodate various shapes, sizes, and types of tools, and that's where versatile storage options come in.
Versatile Storage Options
You can optimize your tool organization system by incorporating versatile storage options that adapt seamlessly to different tools, allowing you to efficiently store and retrieve your equipment. This flexibility is pivotal in a fast-paced workshop or garage where tools are constantly being used and put away.
To achieve this versatility, consider the following storage options:
-
Mobile storage solutions: Invest in carts or cabinets with wheels that can be easily moved around the workspace, providing convenient access to frequently used tools.
-
Compact tool racks: Use wall-mounted or freestanding racks that can hold a variety of tools, keeping them organized and within reach.
-
Stackable organizers: Utilize stackable bins or containers that can be customized to fit specific tools or supplies, maximizing storage capacity and reducing clutter.
- Sliding drawer cabinets: Incorporate cabinets with sliding drawers that can be labeled and organized to store specific tools, making it easy to find what you need quickly.
Modular Design Elements
Every well-designed tool organization system incorporates modular design elements that can be easily rearranged or reconfigured to accommodate different tools and accessories, ensuring a tailored fit for your unique workshop needs. This adaptability is essential, as it allows you to adjust your system to meet the changing demands of your projects. With interchangeable modules, you can swap out components to accommodate new tools or accessories, ensuring that your system remains functional and efficient.
Here's an example of how modular design elements can be used to create customizable configurations:
| Modular Element | Description |
|---|---|
| Tool trays | Adjustable compartments for storing small tools and accessories |
| Drawer organizers | Customizable inserts for organizing larger tools and equipment |
| Pegboard panels | Interchangeable hooks and bins for hanging tools and accessories |
| Shelving units | Adjustable shelves for storing bulky items and equipment |
| Workstation modules | Configurable work surfaces for specific tasks and projects |
Aesthetically Pleasing Designs
Crafting an aesthetically pleasing design for your tool organization system not only heightens its visual appeal but also enhances its functionality and overall user experience. A well-designed system can make you more efficient and motivated to use it.
When it comes to creating an aesthetically pleasing design, consider the following key elements:
-
Minimalist style: A clean and simple design can help reduce visual clutter and make it easier to find what you need. Opt for a functional design that prioritizes usability over flashy features.
-
Modern aesthetics: Incorporate contemporary design principles, such as clean lines, neutral colors, and ample lighting, to create a visually appealing system that fits seamlessly into your workspace.
-
Practical organization: Guarantee that your design is organized in a way that makes sense for your workflow. Group similar tools together, and consider using labels or signs to identify different sections.
- Visual harmony: Balance different design elements, such as color, texture, and shape, to create a visually appealing system that's easy on the eyes.
Budget-Friendly Tool Organization
Building a tool organization system that's both functional and easy on the eyes doesn't have to break the bank, and with a little creativity, you can create a budget-friendly system that still meets your needs.
One approach is to get creative with DIY storage solutions using repurposed materials. For example, you can use old pallets to create a vertical storage rack or turn an old cabinet into a tool organizer. Here are some ideas to get you started:
| Material | Tool Organization Idea |
|---|---|
| Old pallets | Vertical storage rack for long-handled tools |
| Plastic bins | Stackable storage for small parts and accessories |
| Old cabinet | Tool organizer with drawers and shelves |
| PVC pipes | DIY pegboard for hanging tools |
| Cardboard boxes | Storage for less frequently used tools and supplies |
When organizing small spaces, think vertical! Make the most of your wall space by installing shelves, hooks, or pegboards to maximize storage. By getting creative with DIY storage solutions and repurposed materials, you can create a functional and budget-friendly tool organization system that meets your needs.
Maximizing Productivity With Labels
By incorporating labels into your tool organization system, you'll be able to quickly identify what's inside containers and on shelves, saving time and reducing frustration when searching for specific tools or supplies.
When implemented effectively, labels can help you:
-
Create a color-coded organization system, where similar tools or supplies are categorized by color, making it easy to spot what you need at a glance.
-
Provide visual cues, drawing your attention to specific areas of your workshop or storage space, and guiding you to the right tool or supply.
-
Streamline tool allocation, ensuring that each tool is stored in its designated spot, and reducing the time spent searching for misplaced items.
- Optimize your workflow, by allowing you to quickly identify what's inside containers or on shelves, and allocate your time more efficiently.
Frequently Asked Questions
Can a Tool Organization System Be Used in a Small Garage or Workshop?
You can definitely use a tool organization system in a small garage or workshop; look for space-saving solutions like wall-mounted racks and customizable options like adjustable shelves to maximize your limited space.
Are Tool Organization Systems Compatible With All Types of Tools and Equipment?
You'll find that most tool organization systems offer versatility in tool compatibility, providing storage solutions that adapt to various tool sizes, shapes, and types, ensuring a customized fit for your specific tools and equipment.
Do Tool Organization Systems Require Regular Maintenance to Stay Organized?
You'll need to create a maintenance schedule to keep your tool organization system running smoothly, following organization tips like regularly cleaning and categorizing tools, and updating your system as your tool collection grows.
Can a Tool Organization System Be Moved to a New Location Easily?
Can you really call yourself organized if you're stuck in one place? A great tool organization system lets you pick up and go, offering mobility and convenience. Look for portable, functional designs that prioritize ease of relocation.
Are Tool Organization Systems Suitable for Outdoor or Portable Use?
When you need a tool organization system for outdoor or portable use, you'll want one that's durable and weather-resistant to withstand the elements, ensuring your tools remain protected and organized wherever you go.
Related Posts
-

What to Look for in a Pegboard Tool Storage Kit
When shopping for a pegboard tool storage kit, you need a system that combines customized organization, sturdy durabi...
-

10 Essential Steps for Small Parts Bin Storage
To optimize your small parts bin storage, start by defining your storage needs and goals, considering factors like av...
-

Portable Tool Chest Essentials
When stocking your portable tool chest, you'll want to prioritize essential hand tools like hammers, tape measures, a...


