Ultimate Workbench Guide: Design, Build, Organize
I've learned that a well-designed workbench can make all the difference in my workflow. To build my ideal workspace, I start by considering my project needs, available space, and priorities like aesthetics and functionality. Next, I gather essential materials and tools, focusing on quality and durability. From there, I follow a step-by-step building process, paying attention to ergonomics, lighting, and storage. Finally, I add personalized touches and organize my tools for maximum efficiency. By following these steps, I've been able to create a workspace that boosts my productivity and creativity - and I'm about to share the details that can help you do the same.
Key Takeaways
• Design a workbench that meets specific project needs, considering available workshop space and prioritizing aesthetics and functionality.
• Choose high-quality, durable materials and tools, including solid wood, plywood, and essential power tools like a table saw and drilling machine.
• Build the workbench step-by-step, focusing on ergonomic workspace setup, sustainable materials, and DIY storage solutions.
• Assemble and finish the workbench with attention to detail, applying a surface finish and installing LED lights for illumination.
• Customize and maintain the workbench by adding personalized touches, organizing tools with pegboards, and establishing a routine for cleaning and maintenance.
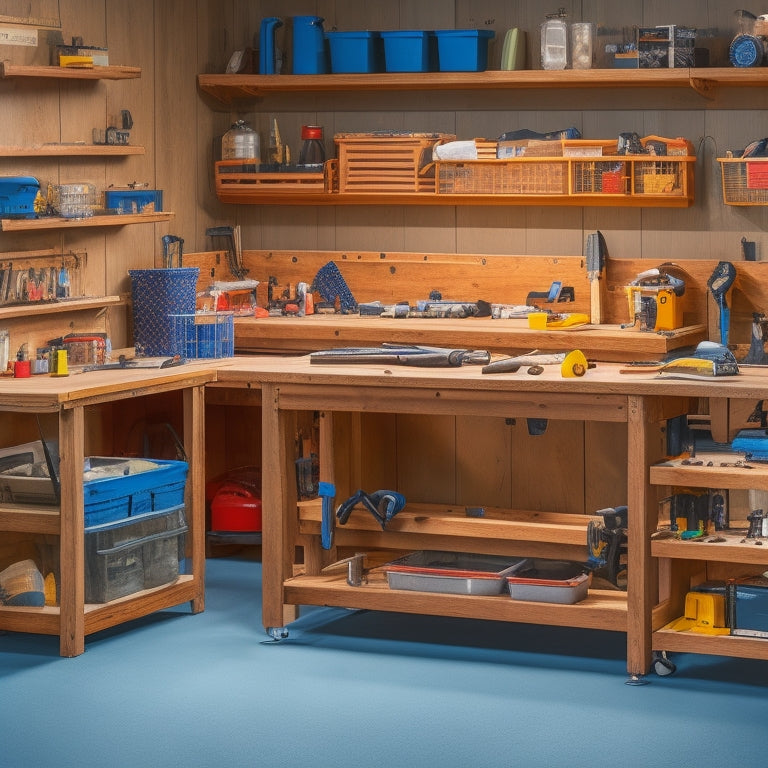
Designing Your Dream Workbench
As I commence designing my dream workbench, I consider the specific needs of my projects, the available space in my workshop, and the features that will enhance my productivity and comfort.
I prioritize workbench aesthetics, balancing form and function to create an inviting workspace. Vital considerations are essential, as I guarantee the surface height and tool placement promote comfortable working habits.
Efficiency vs. aesthetics is a key trade-off in workbench design. While a visually appealing design is important, it's equally important to optimize workflow and storage.
Essential Materials and Tools
I've compiled a list of essential materials and tools needed to bring my dream workbench to life, including solid wood, plywood, pegboard, glue, screws, LED lights, and power strips.
When selecting materials, I prioritize quality and durability, guaranteeing my workbench withstands heavy use. I also consider the type of projects I'll be working on, as this influences my material choices.
Regarding tools, I rely on a table saw, circular saw, and drilling machine for precise cuts and assemblies. Measuring tools, safety gear, and Personal Protection Equipment (PPE) are also must-haves.
Building Your Workbench Step-by-Step
With my materials and tools ready, I'll start constructing my workbench by cutting the wood for the frame, following the precise measurements outlined in my design plan.
I'll prioritize sustainable materials to guarantee my project is eco-friendly.
Next, I'll assemble the frame, focusing on creating an ergonomic workspace setup that suits my needs.
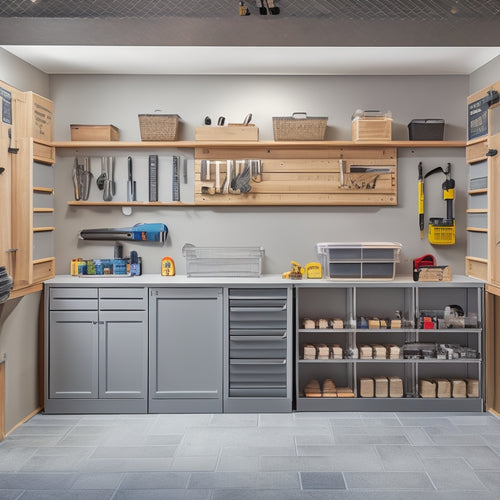
To enhance functionality, I'll consider workbench lighting options, such as installing LED strips under the shelves.
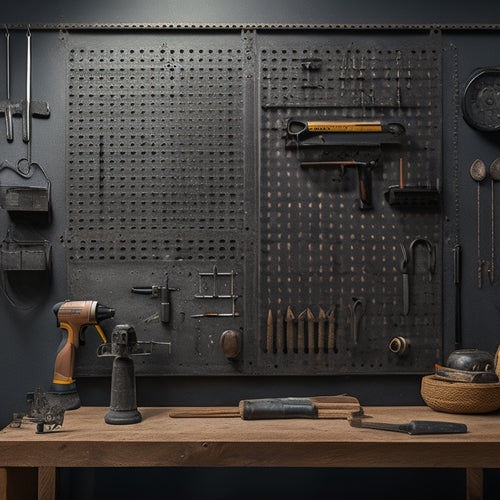
I'll also incorporate DIY storage solutions, like built-in cabinets and pegboards, to keep my tools organized.
By following these steps, I'll create a sturdy and efficient workbench that meets my requirements.
With attention to detail and a focus on innovation, I'll build a workspace that boosts my productivity and creativity.
Assembling and Finishing Touches
I'm now ready to bring my workbench to life by arranging the woods, gluing, and screwing them together according to my design plan. With all the components prepared, I carefully assemble the frame, ensuring accurate alignment and secure connections.
Next, I focus on the surface finish, applying a rich varnish and hydro-lacquer to protect the wood and enhance its appearance. To complete the workbench setup, I install LED lights under the shelves, providing ample illumination for my workspace.
Customizing and Maintaining Your Space
Now that my workbench is fully assembled and functional, it's time to customize it to fit my specific needs and workflow by adding personalized touches and organizing tools in a way that maximizes efficiency.
I'll start by arranging my most-used tools within easy reach, using pegboards, hooks, and bins to keep them tidy.
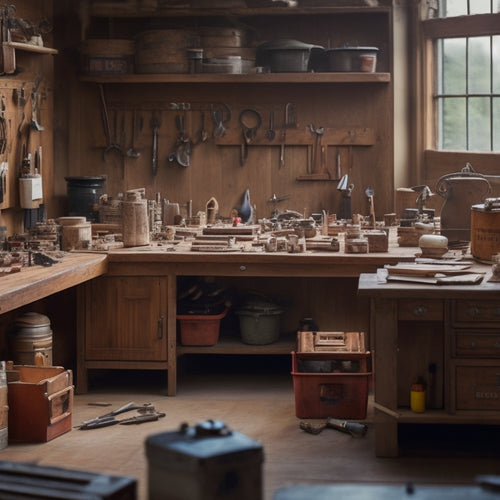
Next, I'll optimize my space organization by categorizing and grouping similar tools together, ensuring a logical workflow.
A clean workshop is essential for efficiency, so I'll establish a routine for regular cleaning and maintenance.
By customizing my space and maintaining a clean workshop, I'll be able to work more efficiently, reduce stress, and focus on the tasks at hand.
With a well-organized space, I'll be able to tackle projects with confidence and precision.
Frequently Asked Questions
Can I Build a Workbench With Limited Workshop Space and Budget?
I've successfully built a workbench in a cramped garage, so I know it's possible with limited space and budget. I'll show you how to optimize space saving designs and compact solutions to create a functional workbench that fits your needs.
Are There Any Eco-Friendly Alternatives to Traditional Woodworking Materials?
I opt for eco-friendly alternatives like Sustainable Lumber and Reclaimed Wood for my workbench project, ensuring a reduced carbon footprint while maintaining durability and aesthetics, perfect for a responsible DIY enthusiast like me.
How Do I Prevent Warping or Bending of the Workbench Over Time?
'Measure twice, cut once' is my motto. To prevent warping or bending, I secure moisture control by using materials with low moisture absorption and frame reinforcement through sturdy joinery and additional support brackets, guaranteeing a stable workbench over time.
Can I Add a Vice or Other Specialized Tools to My Workbench Design?
I can easily integrate a vice into my workbench design by considering vice integration during the planning phase, strategically placing it for best usage, and ensuring proper tool placement to maximize functionality and efficiency.
Are There Any Specific Building Codes or Regulations I Should Follow?
When building my workbench, I'll need to navigate 'hidden hurdles' like zoning restrictions and electrical safety regulations to dodge costly rework and guarantee a safe, functional space that meets local codes and standards.
Related Posts
-
Heavy-Duty Pegboard Hooks for Industrial Use
You need heavy-duty pegboard hooks that can withstand the rigors of industrial use, providing a reliable and efficien...
-
Essential Steps for Garage Storage System Design
You're about to change your cluttered garage into an organized haven by following a structured approach to garage sto...
-
Top 7 Parts Tray Organizers for Productivity
You can optimize your workspace and enhance productivity with the right parts tray organizer, which can help you cate...


