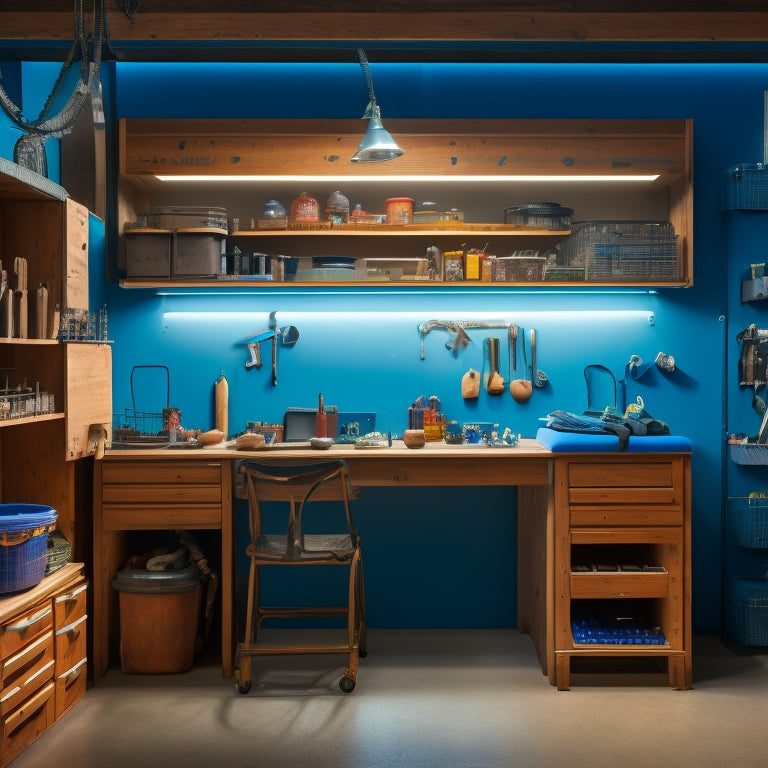
Streamline Your Workshop: Tool Organization Made Easy
You're tired of wasting time searching for misplaced tools in your workshop. To streamline your space, start by purging unnecessary tools and clutter, then categorize your remaining tools by function. Assign a designated home for each tool, and utilize vertical storage space to maximize efficiency. Label and sign your storage containers, and implement a tool inventory system to keep track of your tools. By following these steps, you'll be able to find what you need quickly and get back to work. Now, it's time to take your workshop organization to the next level.
Key Takeaways
• Declutter your workshop by categorizing tools into keep, donate/sell, and discard piles to focus on essentials and reduce distractions.
• Organize tools by function, grouping similar tools together to maximize efficiency and reduce search time.
• Assign a designated home for each tool, using custom toolboxes, dividers, or magnetic holders to keep similar tools together.
• Utilize vertical storage space by installing shelves, hooks, or pegboards to keep workbenches clear and tools easily accessible.
• Implement a labeling and inventory system to quickly locate tools, track usage, and monitor maintenance and repairs.
Purge Unnecessary Tools and Clutter
Clear everything out of your toolbox or work area and sort items into three piles: keep, donate/sell, and discard, to help you identify what's truly important and what's just taking up space.
This pivotal step in tool organization is often overlooked, but it's vital in creating a minimalist workshop that's functional and efficient.
By decluttering your tools, you'll be able to focus on what you really need, and get rid of items that are broken, outdated, or no longer useful. Be ruthless – if you haven't used it in the past year, it's probably safe to let it go.
As you sort, consider the purpose of each item and whether it aligns with your goals and priorities.
By letting go of unnecessary tools and clutter, you'll create space for what's truly important, and set yourself up for efficient organization and maximum productivity.
Categorize Tools by Function
Now that you've purged your toolbox of unnecessary items, categorize the remaining tools by their function to create a logical flow of work. This step is essential in maximizing tool efficiency and making your workshop more productive. By grouping tools by function, you'll reduce the time spent searching for the right tool and increase the time spent on actual work.
Here are some categories to contemplate:
-
Cutting tools: saws, knives, scissors, and other cutting instruments
-
Fastening tools: drills, screwdrivers, wrenches, and other tools used for fastening and joining
-
Measuring tools: tapes, levels, calipers, and other tools used for measuring and inspecting
Assign a Home for Each Tool
Each tool should have a designated spot in your workshop, so assign a specific location for every item, making it simple to find what you need when you require it. This way, you'll save time searching for misplaced tools and reduce frustration.
Start by grouping similar tools together, then allocate a specific place for each tool within that group. Consider investing in custom toolboxes or dividers to keep small items organized. For frequently used tools, designate a convenient place near your workspace.
Magnetic tool holders are great for storing metal tools, such as wrenches, pliers, and screwdrivers. You can attach them to walls, cabinets, or even your workbench. Label each place so you can quickly identify where each tool belongs.
As you work, make it a habit to return tools to their assigned place. This will help maintain your workshop's organization and guarantee that everything remains easy to find.
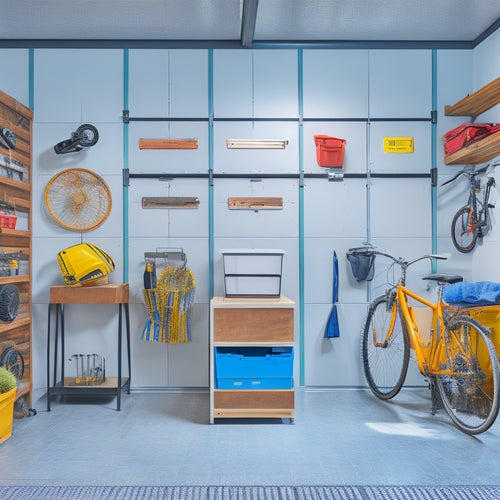
Utilize Vertical Storage Space
Take advantage of your workshop's vertical space by installing shelves, hooks, or pegboards to maximize storage capacity and keep your floor and workbench clear. This will help you make the most of your available space and reduce clutter.
By utilizing vertical storage, you'll be able to fit more tools and supplies in a smaller area, making it easier to find what you need when you need it.
Here are some ideas to get you started:
- Install wall-mounted tool racks to store frequently used tools, such as hammers, screwdrivers, and wrenches.
- Utilize ceiling storage for infrequently used items, like seasonal decorations or out-of-season tools.
- Consider using mobile tool carts or rotating pegboards to add flexibility to your storage setup.
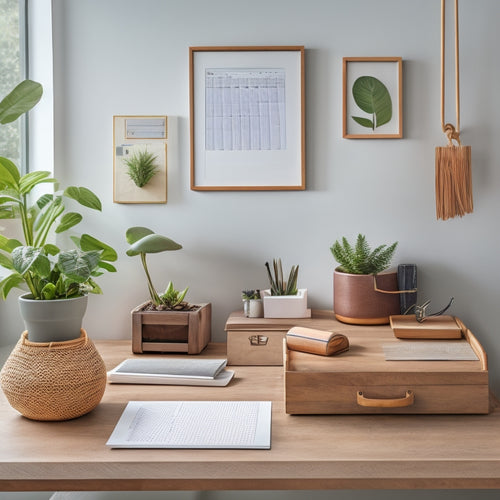
Label and Sign Your Storage
You'll find it's much easier to locate specific tools and supplies when you label and sign your storage containers, shelves, and pegboards. This way, you can quickly identify what's inside without having to dig through everything. Use color coding and visual cues to differentiate between categories or types of tools. For instance, you can use red labels for power tools and blue for hand tools. This visual system will help you and others quickly find what they need.
Consider taking your labeling system to the next level by incorporating digital tracking. You can create a spreadsheet or use an app to catalog your tools and supplies, making it easy to keep track of what you have and what you need to restock.
Another option is to use QR codes on your labels, which can link to a digital inventory or instructions for use. This won't only save you time but also make it easier to train others on your workshop's organization system.
Designate a Workspace for Projects
Set aside a dedicated area for projects, freeing up your main workspace from clutter and allowing you to focus on the task at hand. This designated workspace will improve your project flow and overall workspace efficiency. By separating your projects from your main workspace, you'll be able to manage multiple projects simultaneously without feeling overwhelmed.
Here are a few tips to optimize your project workspace:
-
Keep frequently used tools and materials within easy reach to reduce walking distances and save time.
-
Invest in a sturdy workbench or table that can withstand heavy projects and provide ample space for your tools and materials.
-
Consider using a pegboard or hooks to hang tools and accessories, keeping them organized and easily accessible.
Implement a Tool Maintenance Schedule
Implement a Tool Maintenance Schedule
Regularly inspecting and maintaining your tools guarantees they remain in good working condition, saving you time and frustration in the long run. By doing so, you'll avoid costly repairs and replacements, making it an essential cost-saving strategy for your workshop.
Set aside a specific day each week or month to inspect your tools, looking for signs of wear and tear. Check for rust, corrosion, or damage, and clean or replace them as needed.
This maintenance schedule will also help you identify which tools need sharpening, lubricating, or calibration. You can then prioritize tasks, focusing on the most crucial tools first. This time management technique ensures you're making the most of your time and energy.
Additionally, a well-maintained toolset is a key organization benefit, as it prevents clutter and keeps your workspace organized. By following these tool maintenance tips, you'll work more efficiently, reduce downtime, and provide better services to your clients.
Invest in Multi-Functional Tools
By incorporating multi-functional tools into your collection, you can greatly reduce clutter and free up valuable space in your workshop. This is because these tools can perform multiple tasks, eliminating the need for separate tools that take up space.
With multi-functional tools, you can enjoy the benefits of tool versatility and space-saving solutions.
Here are some examples of multi-functional tools you might consider:
- A cordless drill that also functions as a driver and a screwdriver
- A wrench that includes pliers, a wire cutter, and a bottle opener
- A level that also measures distances and detects studs
Store Small Items in Containers
You'll be amazed at how much more organized your workspace becomes when you designate specific containers for small items like screws, nuts, and bolts, keeping them tidy and within easy reach. This simple step will save you time and frustration in the long run.
To get started, gather a variety of containers in different sizes and label each one clearly. This will guarantee you can quickly identify what's inside and maximize your storage space. Consider using clear containers, so you can see what's inside without having to rummage through them. This is especially useful for small, similar-looking items like screws or nails.
When choosing containers, think about the items you need to store and select ones that fit them snugly. Don't be hesitant to get creative and repurpose items like old muffin tins or wooden crates to store your small items.
Create a Tool Inventory System
Take stock of your tools and equipment by creating a thorough inventory system that helps you keep track of what you have, where it's located, and when it was last used. This will save you time and frustration in the long run, ensuring you can find what you need when you need it.
To create an effective inventory system, consider the following:
-
Categorize tools by type: Group similar tools together, such as hand tools, power tools, and machinery. This makes it easier to find what you need and identify what's missing.
-
Assign a designated storage spot: Designate a specific place for each tool, making it easier to put things back where they belong.
-
Use a tool tracking log: Keep a log of when tools are used, maintained, or repaired. This helps you stay on top of maintenance and identify tools that need to be replaced.
Frequently Asked Questions
How Do I Handle Tools That Don't Fit Into Specific Categories?
When dealing with miscellaneous tools that don't fit into specific categories, you'll need to think outside the box. Consider unconventional storage options like repurposed containers, magnetic strips, or adhesive hooks to keep them organized and within reach.
Can I Use Old Furniture to Create Tool Storage Solutions?
You can breathe new life into old furniture by repurposing it into tool storage solutions, creating unique DIY projects that cater to your specific needs, and maximally utilizing available space with creative, functional designs.
How Often Should I Reassess My Tool Organization System?
"You're probably thinking, 'I've got my tools organized, I'm set for life!' But, realistically, you should reassess your system quarterly or yearly to reorganize, simplify, and prioritize, ensuring it remains functional and efficient for your workflow."
What if I Have Limited Floor Space in My Workshop?
If you're struggling with limited floor space, maximize your walls with vertical storage and wall hooks, and consider using portable toolboxes and rolling carts to keep essentials within easy reach.
Can I Involve My Family or Friends in Tool Organization Process?
You can definitely involve your family or friends in the tool organization process, making it a fun teamwork experience! Host an organization party, and assign tasks to each helper, ensuring everyone contributes to the chaos-free workshop you desire.
Related Posts
-
3 Pro Garage Organization Ideas to Try Now
You can alter your garage from cluttered chaos to organized oasis with three pro garage organization ideas. First, op...
-

Adjustable Modular Shoe Racks for Versatility
Adjustable modular shoe racks are your go-to solution for versatile and organized footwear storage. These racks maxim...
-
Best Organizing Tools for a Clutter-Free Space
You're on a mission to change your cluttered space into a peaceful oasis, and you're looking for the best organizing ...


