Streamline Your Toolbox: 10 Essential Storage Hacks
Share
You're done with toolbox chaos! Start by designating a tool zone and labeling each tool by category. Then, think up - utilize vertical storage space and invest in a pegboard system to keep frequently used tools within easy reach. Hang tools by frequency, and create a mobile cart for easy transport. Don't forget the "one in, one out" policy to prevent clutter buildup. Maximize corner storage space, and keep your go-to tools accessible. With these hacks, you'll be well on your way to a streamlined toolbox. Now, get ready to uncover even more tricks to make your toolbox a masterclass in efficiency!
Key Takeaways
• Designate a Tool Zone with color-coding, shadow boards, and labeling to organize tools and maintain a digital inventory.
• Utilize Vertical Storage Space with ceiling hooks, wall shelves, and suspended bins to maximize storage capacity.
• Implement a Pegboard System to customize tool arrangement, access tools easily, and create functional displays.
• Store small items wisely using drawer dividers, Mason jar storage, and labeling for easy identification and access.
• Maximize Corner Storage with carousels, efficient storage of items like extension cords and drill bits, and smart solutions for hidden areas.
Designate a Tool Zone
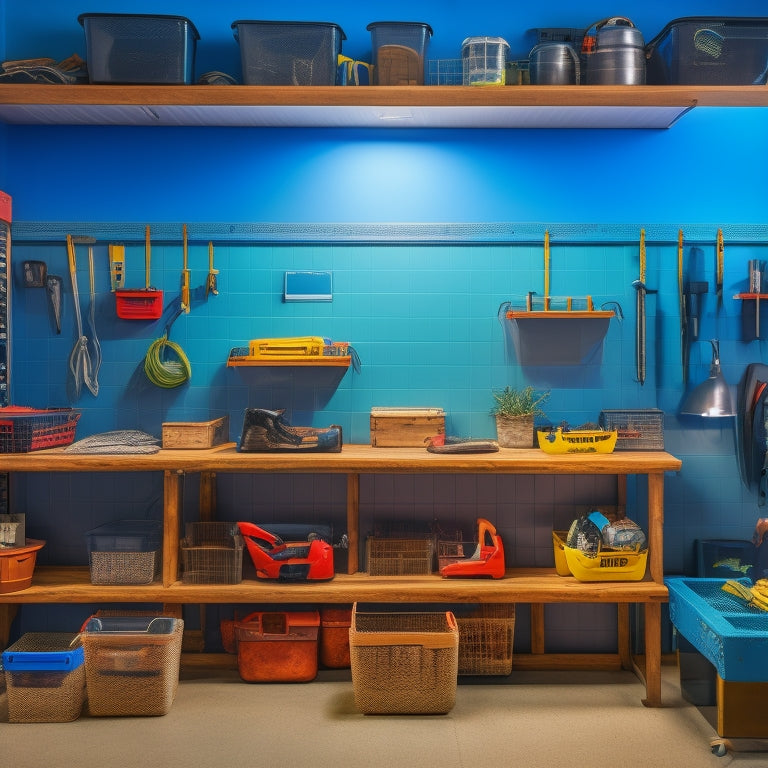
Transform your garage or workshop into a well-oiled machine by designating a specific area as your 'go-to' tool zone, where everything from hammers to screwdrivers has a designated home. This zone will be your sanctuary, where you can quickly find what you need and get back to work.
To take it to the next level, try color-coding your tools by category or frequency of use. For instance, you can store all your wrenches together in one bin, and label it with a bright yellow sticker. This visual system will save you time and reduce frustration.
Another genius move is to create tool shadow boards. These are boards with outlines of your tools, so you can see at a glance what's missing or out of place. It's like a puzzle, and it's super satisfying to see everything in its perfect spot.
Label and Categorize Tools
Take your tool organization to the next level by labeling and categorizing your tools, so you can pinpoint the exact location of that one screwdriver you need in a split second. You'll save time and frustration by knowing exactly where everything is.
Start by grouping similar tools together, like all your screwdrivers or wrenches. Then, label each category with a clear and descriptive title. You can even color code your labels to make it easy to scan and find what you need.
To take it to the next level, consider creating a digital inventory of your tools. This will help you keep track of what you have, what's missing, and what needs to be replaced. You can use a spreadsheet or a tool-tracking app to make it easy to update and access your inventory.
With digital tracking, you'll be able to see what you have at a glance and make informed decisions about what to purchase or replace. By labeling and categorizing your tools, you'll be able to find what you need fast and get back to work.
Utilize Vertical Storage Space
Now that you've got your tools labeled and categorized, it's time to make the most of your storage space by going vertical - think shelves, hooks, and bins that'll keep your gear organized and within reach.
You've done the hard part; now it's time to get creative with your storage solutions.
Here are some vertical storage hacks to get you started:
-
Ceiling hooks: Hang your least-used tools, like infrequently used power tools or seasonal gear, from the ceiling to free up floor and shelf space.
-
Wall shelves: Install shelves to store bins, baskets, or tool caddies, keeping your most-used items within easy reach.
-
Ladder racks: Utilize the space above your workbench or storage area with ladder racks that can hold extension ladders, step stools, or even bikes.
- Overhead bins: Suspend bins or containers from the ceiling to store items like nuts, bolts, or other small parts, keeping them organized and out of the way.
Invest in a Pegboard System
You'll love the versatility of a pegboard system, which allows you to hang tools, accessories, and supplies in a customizable arrangement that's tailored to your specific needs. This means you can create a tool display that's both functional and visually appealing. With pegboard organization, you can easily access what you need when you need it, and keep your workspace clutter-free.
One of the best things about pegboard systems is that they're incredibly flexible. You can add or remove hooks, bins, and other accessories as your needs change. Want to dedicate a section to your favorite power tools? No problem! Need to add some extra storage for small parts and supplies? Easy peasy. The pegboard's adaptability ensures that your tool customization is limited only by your imagination.
Hang Tools by Frequency
By strategically grouping your tools by how often you use them, you can create a workflow that's as smooth as a well-oiled machine. This simple trick is a game-changer for tool organization and frequency usage. It's all about hanging your most-used tools front and center, making them easy to grab when you need them.
Here are some benefits you'll reap from this hack:
-
Reduced frustration: No more digging through a cluttered toolbox to find the one tool you need.
-
Increased productivity: With your go-to tools at your fingertips, you'll get more done in less time.
-
Improved maintenance: You'll be more likely to put tools back in their designated spot, keeping your toolbox tidy.
- Better tool care: By keeping your most-used tools easily accessible, you'll be more inclined to clean and maintain them regularly.
Store Small Items Wisely
Your workshop's tiny troublemakers - screws, nuts, and bolts - can quickly turn into a gigantic headache if not stored wisely. Without a system, they'll clutter your workspace, making it impossible to find what you need when you need it. It's time to tame the chaos!
Start by dividing your drawers into smaller compartments using drawer dividers. This will keep similar items together and prevent them from getting jumbled. For instance, dedicate one section to screws, another to nuts, and another to bolts.
For smaller items like beads, rivets, or tiny fasteners, consider Mason jar storage. Label each jar so you can see what's inside without having to dig through. This is a great way to keep them organized, visible, and within reach. Plus, it's a clever way to repurpose old jars!
Create a Mobile Tool Cart
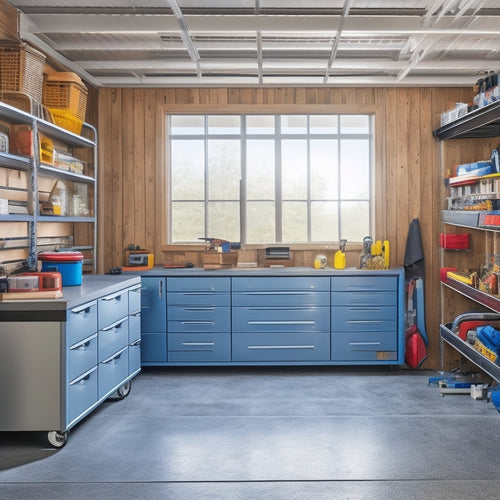
Rolling into action, a mobile tool cart can be your new best friend in the workshop, freeing up valuable floor space and keeping your most-used tools within easy reach. This versatile storage solution is a game-changer for tool organization and efficiency. With a portable tool cart, you can effortlessly move your tools around the workshop, eliminating the need to constantly fetch and return tools to their designated spot.
Here are just a few benefits you'll experience with a mobile tool cart:
-
Accessibility anywhere: Take your tools to the project, rather than the other way around.
-
Effortless reorganization: Rearrange your tools as needed, without the hassle of fixed storage.
-
Increased productivity: Save time and energy by having your most-used tools at your fingertips.
- Reduced clutter: Keep your workshop floor clear of tool clutter, making it safer and more efficient.
Implement a "One In, One Out" Policy
To maintain a balanced and organized storage space, adopt the 'one in, one out' policy, where every new tool or item you bring into your workshop or storage area must replace an old or outdated one, ensuring your collection stays curated and clutter-free. This policy is a game-changer for tool organization and decluttering. It's a simple yet effective maintenance strategy that prevents storage space from getting out of control.
Here's how it works:
| New Item | Old Item | Action |
|---|---|---|
| New drill bit set | Old, worn-out drill bits | Donate or recycle old bits |
| Cordless impact driver | Old, heavy corded driver | Sell or repurpose old driver |
| Adjustable wrench | Old, rusty wrench | Toss old wrench, simplify your collection |
| LED work light | Old, dim halogen light | Recycle old light, enjoy brighter workspace |
Maximize Corner Storage Space
Don't let corners become dead zones - install shelves, baskets, or carousels that let you access items easily and make the most of this often-wasted space. You'll be amazed at how much you can fit into these hidden areas.
With a corner carousel, you can store items like extension cords, drill bits, or sandpaper, and easily spin them out when needed.
Here are some ways to maximize your corner storage:
-
Install rotating shelves: Perfect for storing small items like nuts and bolts, or tiny tools that are easy to misplace.
-
Use hidden compartments: Store valuable or sensitive items like batteries, circuit testers, or precision instruments.
-
Add baskets and bins: Keep items like wire, cables, or small parts organized and out of sight.
- Utilize the back of the corner: Attach a pegboard or a magnetic strip to store frequently used tools or accessories.
Keep Frequently Used Tools Accessible
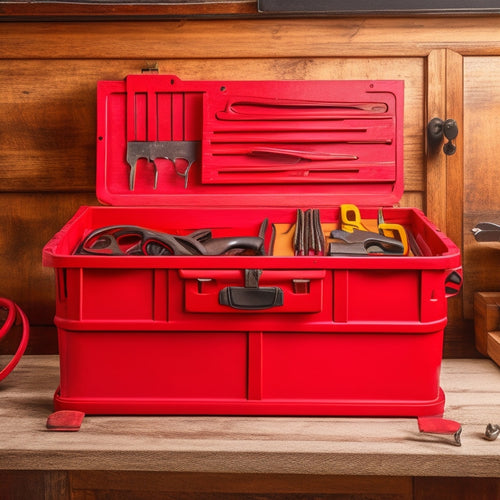
Your most-used tools should have a dedicated home where you can grab them in a flash, saving you time and reducing frustration. Imagine having your trusty hammer or screwdriver within arm's reach, ready to tackle the task at hand. To achieve this, consider a tool chest organization system that keeps frequently used tools in easy-to-reach compartments.
Wall-mounted tool racks are another great option, providing a clear view of your tools and freeing up valuable floor space.
For tools that you need to have on-the-go, invest in a well-designed tool belt storage system. This will keep your essentials close by, without weighing you down.
And for those tiny but essential tools, like screwdrivers or pliers, a magnetic tool holder can be a lifesaver. No more digging through your toolbox or searching high and low for that one tiny piece – it'll be right where you need it.
Frequently Asked Questions
How Do I Prevent Tools From Getting Rusty in Storage?
"Rust, the ultimate party crasher in your toolbox! You can't let it ruin your tools' shine. To keep the rust monsters at bay, you'll need to master rust prevention techniques and moisture control strategies, like drying tools before storage and using silicone-based lubricants."
Can I Use a Pegboard in a Small Workshop?
You can totally use a pegboard in a small workshop! It's a space-saving superstar, keeping tools organized and within reach, while allowing you to create an efficient layout that maximizes your tiny space.
What's the Best Storage Solution for Power Tool Batteries?
You're tired of power tool batteries scattered everywhere! Consider a dedicated charging station with individual slots for each battery, like the Milwaukee Packout system, to keep them organized and ready to roll.
How Often Should I Clean and Maintain My Toolbox?
You should clean and maintain your toolbox regularly, ideally every 1-2 months, to guarantee toolbox organization and prevent clutter buildup - set a maintenance schedule to keep your tools in top shape!
Are There Any Eco-Friendly Storage Options Available?
Did you know that 12.8% of global greenhouse gas emissions come from production and processing of materials? You can reduce your carbon footprint with sustainable solutions like bamboo organizers and upcycled storage bins, which help reduce waste and promote eco-friendly storage!
Related Posts
-

Open Storage Bins for Shelving Units
You need open storage bins that integrate seamlessly with your shelving units to boost your organization, productivit...
-

Portable Tool Chest Essentials
When stocking your portable tool chest, you'll want to prioritize essential hand tools like hammers, tape measures, a...
-

Top Rolling Tool Box Drawers for Maximum Storage
When it comes to maximizing storage with rolling tool box drawers, you need a solution that combines durability, cust...


