Pegboard Hacks for Tiny Workspaces and Closets
Share
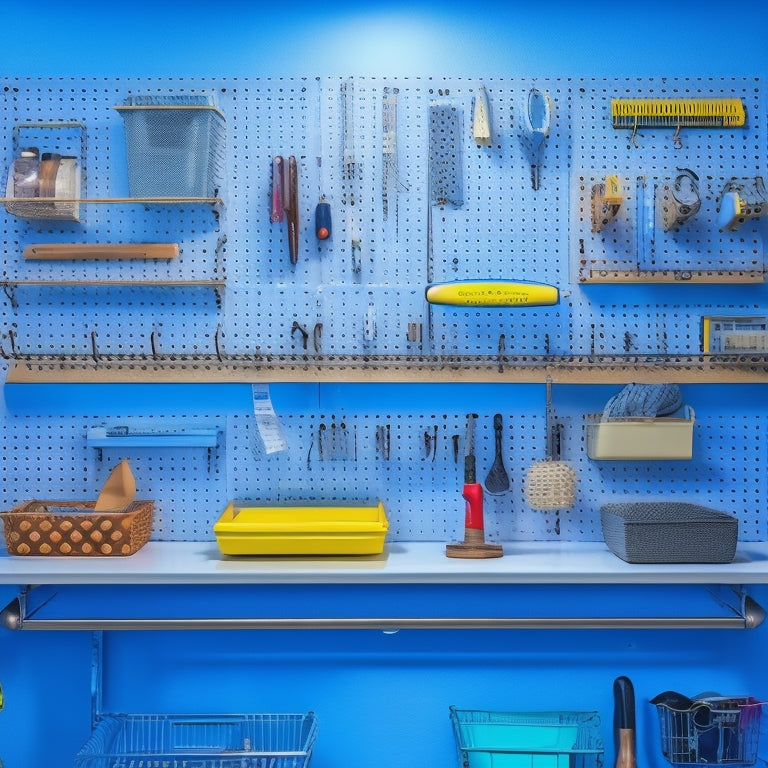
You can revolutionize your tiny workspace or closet with strategic pegboard hacks. Start by maximizing vertical storage with ceiling-reaching pegboards and customizing your layout to prioritize frequently used tools. Utilize corner spaces with hidden hooks and shelves, and hang tools by category for easy access. Consider creating a portable pegboard for on-the-go projects or adding a pegboard to a shelf for extra storage. Don't forget to incorporate baskets and bins for small item storage and make the most of narrow walls with pegboard strips and decor. Now, get ready to reveal even more creative solutions to optimize your tiny space.
Key Takeaways
• Install pegboards reaching the ceiling to maximize vertical storage space in tiny workspaces and closets.
• Utilize corner shelving, hidden hooks, and pegboard corners to efficiently store items in tight spaces.
• Implement pegboard color coding and space-saving hooks to optimize organization and reduce clutter.
• Create a portable pegboard setup for a compact and versatile tool organization system.
• Incorporate baskets, bins, and labels to categorize and store small items efficiently in pegboard systems.
Maximizing Vertical Storage Space
By installing pegboards that go all the way up to the ceiling, you can capitalize on the often-wasted vertical storage space in your tiny workspace, effectively doubling or even tripling your storage capacity. This hack is especially useful for creatives, crafters, and DIY enthusiasts who need to store a variety of supplies, tools, and materials.
Imagine having pegboard art displays showcasing your latest projects, or pegboard plant holders adding a touch of greenery to your workspace.
You can also utilize pegboard jewelry organizers to keep your accessories within easy reach, or set up pegboard craft stations for dedicated areas for specific tasks.
By maximizing your vertical storage space, you'll have more room to work, create, and innovate. Plus, you'll reduce clutter and keep your workspace organized, making it easier to focus on your projects.
With a pegboard that reaches the ceiling, the possibilities are endless, and you'll be amazed at how much you can fit in a small space.
Customizing Pegboard Layouts
As you design your pegboard layout, you'll want to optimize tool placement to boost efficiency. Think about the tools you use most frequently and position them in easy-to-reach spots.
Optimize Tool Placement
Customize your pegboard layout to reflect your workflow, positioning frequently used tools in easy-to-reach locations and less-used items towards the periphery. This optimization strategy guarantees that you're not wasting valuable time searching for the right tool or straining your back to reach a distant peg.
By placing your most-used tools front and center, you'll enhance your productivity and reduce frustration.
Here are some tips to help you optimize your tool placement:
-
Prioritize frequently used tools: Identify the tools you use most often and give them prime real estate on your pegboard.
-
Group similar tools together: Organize tools by category or function to reduce visual clutter and make it easier to find what you need.
-
Consider your workflow patterns: Think about the sequence of tasks you perform and position tools accordingly to minimize walking distances and maximize efficiency.
- Leave space for growth: Don't overcrowd your pegboard – leave some empty space to accommodate new tools or accessories you might acquire in the future.
Maximize Storage Space
With your tools strategically placed, you can now focus on maximizing storage space by cleverly designing your pegboard layout to accommodate even more items without creating clutter. To do this, consider pegboard color coding, where you group similar items together based on their color or type. This visual approach helps you quickly identify what you need and prevents a jumbled mess.
Next, take advantage of space-saving hooks that can hold multiple items, such as bags, baskets, or even accessories like headphones. These hooks are perfect for tiny workspaces where every inch counts. For smaller items like screws, nuts, or beads, use a pegboard magnetic strip to keep them organized and within reach.
Don't forget to think outside the box – or pegboard, in this case! You can even use your pegboard to hang plants, adding a touch of greenery to your workspace while keeping the floor clear. By customizing your pegboard layout with these hacks, you'll be amazed at how much storage space you can create, even in the tiniest of areas.
Utilizing Corner Spaces Efficiently
You can squeeze more storage out of your tiny workspace by leveraging the often-wasted real estate in its corners. By utilizing corner spaces efficiently, you can create a more organized and functional workspace.
Here are some hacks to help you make the most of your corner spaces:
-
Install corner shelving to store items that are less frequently used, keeping them out of the way but still accessible.
-
Utilize hidden hooks to hang items like bags, accessories, or tools, keeping them organized and freeing up floor space.
-
Take advantage of pegboard corners by installing a pegboard in a corner and using hooks and bins to store small items like nuts and bolts, or office supplies.
- Opt for vertical solutions like stackable shelves or storage units to maximize storage capacity in tight corner spaces.
Hanging Tools by Category
When organizing your pegboard, you'll want to group your tools in a way that makes sense for your workflow. You can start by categorizing them by task, such as hanging all your woodworking tools together or separating your hand tools from your power tools.
Tool Grouping Strategies
Categorize your tools by function or task, and hang them in dedicated zones on your pegboard to create a visually organized workspace. This strategy is especially useful for tiny workspaces and closets where every inch counts. By grouping similar tools together, you'll save time searching for the right tool and reduce clutter.
Here are some tool grouping strategies to try:
-
Color code your tools: Use colored hooks, bins, or labels to categorize tools by type, such as red for power tools, blue for hand tools, and green for measuring tools.
-
Size sort your tools: Organize tools by size, with the largest tools at the bottom and the smallest at the top, to maximize vertical space.
-
Group by task: Hang tools related to a specific task, such as woodworking or gardening, together in a dedicated zone.
- Create a 'launching pad': Designate a specific area of your pegboard as a 'launching pad' for frequently used tools, keeping them easily accessible and ready to go.
Organize by Frequency
Sort your tools into categories based on how often you use them, reserving prime pegboard real estate for the most-used items and relegating less-frequently used tools to secondary zones. This frequency-based approach guarantees you can quickly access your go-to tools, saving time and boosting productivity.
Implement a color coding organization system to visually distinguish between tool categories. For example, use red hooks for power tools, blue for hand tools, and green for measuring devices. This visual hierarchy makes it easy to scan and locate specific tools.
To further optimize your pegboard, employ a tool rotation strategy. Place frequently used tools at eye level, with less-used items situated above or below. This strategic placement minimizes stretching and bending, reducing fatigue and discomfort.
Categorize by Task
Grouping similar tools by task, such as hanging all your woodworking tools together or clustering automotive tools in a separate zone, creates a logical and intuitive pegboard layout that simplifies your workflow. This task organization approach helps you quickly find the tools you need, reducing downtime and increasing productivity.
To take it to the next level, consider these tips:
-
Color code your tools: Use colored labels or hooks to distinguish between tool categories, making it even easier to identify what you need.
-
Designate zones: Divide your pegboard into separate zones for different tasks, such as a woodworking zone or a crafting zone.
-
Use dual-purpose hooks: Maximize your space by using hooks that can hold multiple tools or accessories, keeping your pegboard clutter-free.
- Keep frequently used tools front and center: Place your most-used tools in easy-to-reach locations, saving you time and effort.
Creating a Portable Pegboard
You'll start by selecting a compact pegboard material, such as a thin MDF or a lightweight pegboard panel, to create a portable workspace that can fit snugly in a small area or be easily stowed away in a toolbox. This will enable you to take your tool organization on the go, without sacrificing precious space.
Next, attach hooks, bins, and other accessories to the pegboard, keeping in mind the specific tools you need to store. Consider using adjustable hooks to accommodate tools of different sizes.
To ensure smooth installation and maximize space, choose a pegboard with a compact design or one that can be mounted on a wall or door. You can also add a handle or strap to make it easy to carry around.
With a portable pegboard, you can take your tool organization with you wherever you go, and easily store it away when not in use. This is perfect for small workspaces, closets, or even on-the-go projects.
Incorporating Baskets and Bins
Now that your portable pegboard is set up, it's time to add some storage containers to keep small items and supplies within easy reach, and baskets and bins are a great way to do just that. By incorporating them into your pegboard system, you'll be able to store and organize your supplies in a way that makes sense for your specific needs.
Here are some tips to help you make the most of baskets and bins on your pegboard:
-
Labeling bins: Take the time to label each bin so you can quickly identify what's inside. This will save you time and frustration in the long run.
-
Sorting tools: Use bins to sort your tools by type or frequency of use. This will make it easy to find what you need when you need it.
-
Color coding: Use bins of different colors to categorize your supplies or tools. For example, you could use blue bins for painting supplies and red bins for woodworking tools.
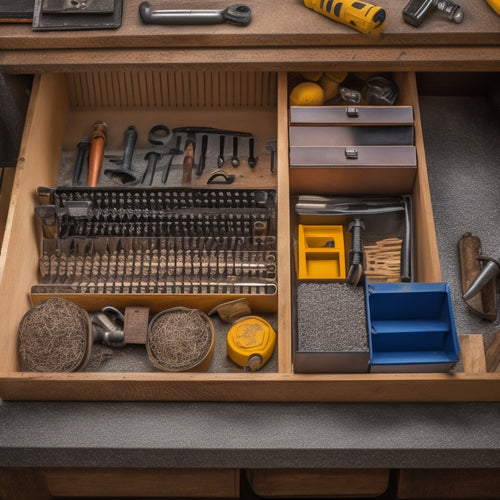
- Organizing supplies: Use bins to store small items like nuts and bolts, screws, or other hardware. This will keep them from getting lost or scattered throughout your workspace.
Making the Most of Narrow Walls
Maximize the potential of even the narrowest walls by strategically placing pegboard strips, hooks, or bins to create a functional storage system that's tailored to your unique space constraints. You can turn these often-wasted areas into valuable storage real estate.
For instance, attach pegboard strips to the back of a door or a narrow wall, and hang hooks or bins to store items like bags, accessories, or cleaning supplies. This won't only free up floor space but also keep your essentials within easy reach.
To add a personal touch, incorporate pegboard art into your design. You can create a unique pattern using hooks, bins, or other pegboard accessories, giving your space a creative flair.
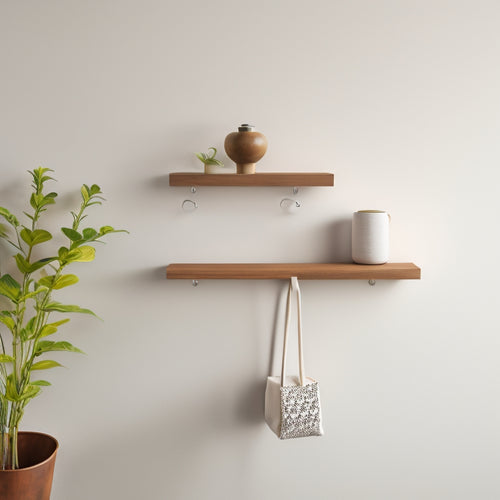
Alternatively, use pegboard decor to create a visually appealing display. For example, hang a pegboard on a wall and arrange your favorite decorative items, like vases, frames, or sculptures, to create a unique and creative display.
Adding a Pegboard to a Shelf
By incorporating a pegboard into a shelf, you can significantly increase storage capacity while maintaining a clutter-free surface. This creative combination is a game-changer for compact workspaces and closets, where every inch counts.
By integrating a pegboard into a shelf, you can create a functional and organized space that's both visually appealing and efficient.
Here are some tips to bear in mind when adding a pegboard to a shelf:
-
Measure twice, install once: Ensure the pegboard fits snugly onto the shelf, and the hooks and bins align with the shelf's dimensions.
-
Choose the right pegboard design: Opt for a design that complements the shelf's style and material, and contemplate a pegboard with adjustable hooks for maximum versatility.
-
Coordinate shelf and pegboard heights: Position the pegboard at a comfortable height, allowing you to easily access and store items without straining.
- Add bins and baskets: Incorporate bins and baskets to store small items, keeping them organized and out of sight.
Frequently Asked Questions
Can Pegboards Be Used for Decorative Storage and Organization?
You can totally use pegboards for decorative storage and organization! Create a pegboard art display, showcasing favorite items, or design a creative pegboard jewelry storage system - the possibilities are endless with DIY pegboard projects!
How Do I Prevent Pegboard Hooks From Getting Tangled?
As you hang those hooks, you're probably wondering how to avoid the dreaded tangle. To keep them organized, try using cable ties or small bins to group similar items, maximizing vertical storage and preventing knots.
Are Pegboards Suitable for Heavy-Duty or Industrial Use?
You're wondering if pegboards can handle heavy-duty or industrial use. The answer is, it depends. For heavy-duty applications, you need durable pegboards with a high weight capacity, specifically designed for industrial settings, to guarantee they can withstand the demands of frequent use.
Can I Use Pegboards in Humid or Wet Environments?
You're wondering if pegboards can withstand humid or wet environments? Yes, you can! Look for water-resistant materials, like stainless steel or PVC-coated pegboards, and consider creative solutions for small bathrooms, such as a pegboard behind a shower curtain.
Are Pegboard Accessories Compatible With Different Brands?
You'll find that most pegboard accessories are compatible with different brands, but it's crucial to check the specifications before purchasing. This guarantees a seamless installation, and you can explore customization options to suit your unique needs.
Related Posts
-

Wall Mounted Hooks With Shelf for Maximum Storage
You'll find that wall mounted hooks with a shelf are a revolutionary solution for maximizing storage in your home, pr...
-

Best Screw Storage Bins for Organizing Your Toolbox
You need a reliable screw storage system to maximize your productivity and efficiency, and that's exactly what the ri...
-

Top Wrench Tool Box Sets for Every Mechanic
You're looking for high-quality wrench tool box sets that cater to your specific needs as a mechanic. From top-rated ...


