Organize Your Tool Closet in 5 Easy Steps
Share
You can organize your tool closet in 5 easy steps! Start by purging and decluttering your closet, sorting items into keep, donate, and discard piles. Next, assign a home for each tool by categorizing and designating specific areas within the closet. Employ vertical storage space by installing shelving and using wall-mounted racks. Label and sign tool categories to keep similar tools together, making it easy to find what you need. Finally, maintain organization over time by scheduling regular check-ups and establishing a habit of returning tools to their designated spaces - and you'll be on your way to a safe and efficient workspace, with even more tips and tricks waiting to be revealed.
Key Takeaways
- Remove all items from the tool closet, sort into three piles (keep, donate, discard), and evaluate tools based on usage and safety.
- Assign a home for each tool by categorizing, designating areas, and using storage solutions with clear labels for quick identification and access.
- Utilize vertical storage space by installing shelving, wall-mounted racks, and pegboard systems to maximize storage capacity and accessibility.
- Label and sign tool categories using colors, labels, and stickers to group similar tools together and ensure every tool has a designated home.
- Schedule regular maintenance check-ups to review organization, update labels, and assess the need for additional storage solutions or adjustments.
Purge and Declutter Tool Closet
As you stand in front of your tool closet, chances are you're staring at a jumbled mess of gadgets, gizmos, and who-knows-what-else. It's time to purge and declutter. Remove everything from the closet and sort items into three piles: keep, donate, and discard.
Be honest with yourself - if you haven't used a tool in the past year, it's probably safe to get rid of it. Consider donating gently used tools to a local non-profit or community organization through a tool donation program. This not only declutters your space but also helps others in need.
Next, inspect your safety gear, such as gloves, goggles, and masks. Discard any damaged or worn-out items, as they can compromise your safety.
Check expiration dates on chemicals and materials, and dispose of anything outdated. Keep only what's necessary and functional.
Assign a Home for Each Tool
You've purged and decluttered your tool closet, and now it's time to get organized. Assigning a home for each tool is essential to maintaining a safe and efficient workspace.
Start by categorizing your tools into types, such as hand tools, power tools, and fasteners. This will help you determine the best storage solutions for each group.
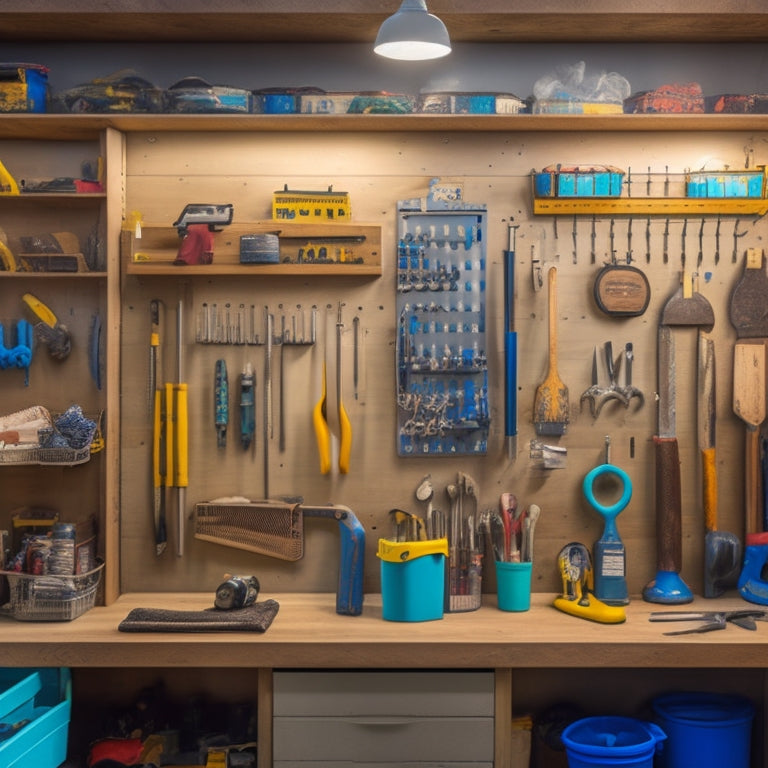
Designate specific areas of your tool closet for each tool type. For instance, you might reserve a shelf for your power tools and a bin for your fasteners. Within each area, assign a specific spot for each tool. This could be a hook for your hammer, a tray for your screwdrivers, or a pegboard for your wrenches.
Use storage solutions that make sense for each tool. For example, store small items like nuts and bolts in clear plastic bins or drawers, making them easy to see and access.
Label each storage container or area so you can quickly find what you need. By assigning a home for each tool, you'll reduce clutter, prevent lost tools, and create a safer work environment.
Utilize Vertical Storage Space
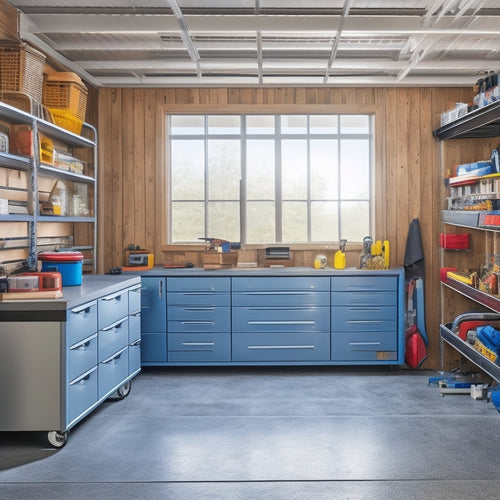
Most tool closets have a wealth of untapped vertical storage space, just waiting to be employed. By utilizing this space, you can maximize your tool closet's storage capacity and keep your tools organized and within reach.
To make the most of your vertical storage space, consider the following options:
-
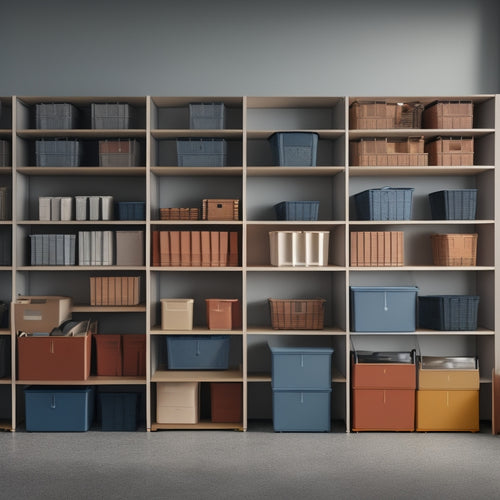
Install shelving options that can hold storage bins and other containers, keeping your tools and supplies off the floor and out of the way.
-
Use wall mounted racks for hanging tools like bikes, lawn equipment, or other bulky items, freeing up floor space for more frequently used tools.
-
Implement a pegboard system with tool hangers and magnetic strips, allowing you to hang tools like wrenches, pliers, and screwdrivers, keeping them organized and easily accessible.
Additionally, consider overhead storage options, such as DIY organizers or installed shelves, to store infrequently used items like seasonal decorations or out-of-season tools.
Label and Sign Tool Categories
Now that you've maximized your tool closet's vertical storage space, it's time to take organization to the next level by categorizing and labeling your tools. This step is essential for guaranteeing you can quickly find what you need, reducing frustration and potential safety hazards.
Start by grouping similar tools together, such as hammers, screwdrivers, and pliers. Then, assign a specific color to each category using labels or stickers. This color coding system will help you identify where each tool belongs at a glance.
Next, use storage bins or containers to store smaller items within each category. Label each bin with its contents and the corresponding color. For example, a bin labeled "Screwdrivers" with a blue sticker would contain all types of screwdrivers.
This system guarantees that everything has a designated home, making it easier to maintain organization and prevent tools from getting lost or damaged. By categorizing and labeling your tools, you'll save time and reduce the risk of accidents caused by misplaced or disorganized tools.
Maintain Organization Over Time
One key to maintaining organization over time is to establish a regular maintenance routine. This will guarantee that your tool closet remains organized, efficient, and safe to use.
To maintain organization, you should:
-
Schedule seasonal check-ups: Set notifications to review your tool closet every 3-4 months to confirm everything is still organized and in its place.
-
Put tools back after use: Make it a habit to return tools to their designated spaces after each use to prevent clutter buildup.
-
Update your labels and signs: As your tool collection changes, update your labels and signs to reflect the new additions or removals.
Frequently Asked Questions
How Do I Organize Tools That Are Used Infrequently?
You'll store seasonal tools like winter shovels or summer gardening gear in labeled bins on high shelves or in vertical storage units, keeping them out of the way but still accessible when you need them.
What if I Have Limited Budget for Storage Solutions?
When budget constraints tighten like a vice, you'll find creative freedom in DIY storage solutions. Get crafty with repurposed materials, and scour online marketplaces for budget-friendly options that'll keep your tools tidy and within reach.
Can I Organize My Tool Closet if It Has an Unusual Shape?
You can still create a functional tool closet with an unusual shape by thinking creatively! Look for opportunities to use unconventional shelving, like overhead storage or pegboards, and get creative with storage solutions that fit your space.
How Do I Keep My Tool Closet Organized With Multiple Users?
Conducting a harmonious orchestra, you'll need to assign user roles and establish shared systems, ensuring each player knows their part, to maintain a concert of organization in your tool closet, where multiple users can work together in perfect harmony.
What if I Have Oversized or Bulky Tools to Store?
You'll need specialized solutions for oversized tool storage. Consider wall-mounted hooks, ceiling-mounted racks, or heavy-duty shelving for bulk tool organization, ensuring stability and accessibility while maintaining a safe working environment.
Conclusion
You've tamed the tool closet beast! Now, instead of an intimidating mess, you have a haven of efficiency. Your tools are no longer playing hide-and-seek, and you're saving time and energy. This newfound organization will be your superpower, helping you tackle projects with ease and confidence. Remember, this space is a reflection of your productivity, so keep it in check and watch your to-do lists shrink!
Related Posts
-

Choosing the Right Stacked Storage Bins
When choosing the right stacked storage bins, you'll want to evaluate your storage needs, considering inventory types...
-

What Are the Advantages of a Wooden Tool Box
You choose a wooden tool box, you're not only getting a reliable storage solution, but also a long list of benefits t...
-

Top Rolling Tool Box Drawers for Maximum Storage
When it comes to maximizing storage with rolling tool box drawers, you need a solution that combines durability, cust...


