Maximize Your Workspace With These Tool Organization Ideas
Share
You can enhance your productivity and safety by maximizing your workspace with these tool organization ideas. Start by optimizing your toolbox storage through categorization, designated spots, and smart storage strategies. Employ your vertical space efficiently with shelves, wall-mounted racks, and ceiling storage. Label and categorize your tools for easy identification and frequency-based organization. Designate zones for specific tasks, and implement a pegboard system with carefully planned layouts and accessories. Repurpose old containers and create a mobile workstation to further improve your workspace. By applying these ideas, you'll be well on your way to a more streamlined, efficient, and safe work environment - and there's even more to investigate to take your workspace to the next level.
Key Takeaways
- Organize tools by category and assign designated spots using dividers, bins, and hooks to save time and prevent accidents.
- Maximize vertical space by installing shelves, wall-mounted racks, and overhead racks to optimize storage and accessibility.
- Identify and categorize tools using labels, color-coding, and frequency-based organization to enhance efficiency and safety.
- Designate task zones with specific uses and organize tools within each zone based on task requirements to increase productivity and efficiency.
- Implement a pegboard system with a well-planned layout, grouping frequently used tools together, and using bins, baskets, and hooks to optimize space.
Optimize Your Toolbox Storage
In addition to having the right tools for the job, it's equally important to have a system in place to keep them organized and within easy reach. You can't afford to waste time searching for a specific tool when you're in the middle of a project. A well-organized toolbox not only saves you time but also helps prevent accidents caused by misplaced or damaged tools.
Start by categorizing your tools into groups, such as hand tools, power tools, and fasteners. Assign a designated spot for each group, and use storage solutions like dividers, bins, and hooks to keep them organized.
Be certain to store heavy tools at the bottom and lighter ones at the top to prevent accidents.
Regular tool maintenance is also vital. Schedule regular cleaning and inspection of your tools to verify they're in good working condition. This will help prevent damage and prolong their lifespan.
Utilize Vertical Space Efficiently
Nearly 80% of a typical toolbox is wasted vertical space. This is a huge opportunity to maximize your workspace and improve tool organization.
To employ vertical space efficiently, consider the following options:
| Vertical Storage Solution | Description |
|---|---|
| Shelf Installation | Install shelves above your workbench or toolbox to store less frequently used tools and materials. |
| Wall Mounted Racks | Mount racks on walls to hang tools, accessories, and equipment, keeping them within easy reach. |
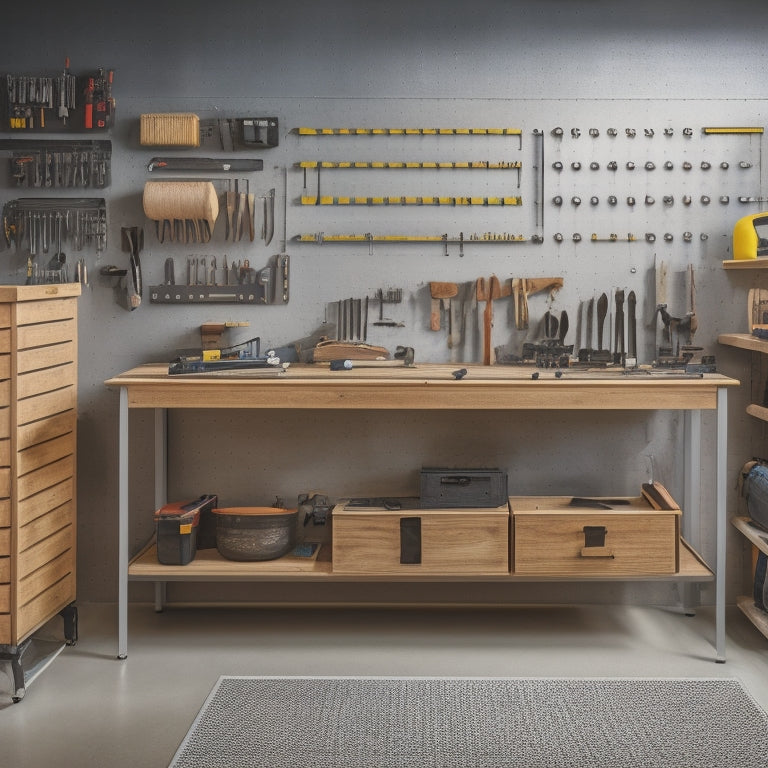
| Tool Wall | Designate a wall as a tool wall, where you can hang tools, baskets, and bins to create a visually appealing and organized space. |
| Ceiling Storage | Make the most of your ceiling space by installing overhead storage racks or bins for infrequently used items. |
| Hanging Baskets & Stackable Bins | Use hanging baskets and stackable bins to store small parts, accessories, and consumables, keeping them organized and easy to find. |
Label and Categorize Tools
After maximizing your vertical space, it's time to get down to business and make sure your tools are easily accessible and identifiable. Proper tool identification is essential for efficiency and safety. You can achieve this by labeling each tool with its name, function, or category. This way, you can quickly find the tool you need, reducing the risk of accidents caused by misusing a tool or grabbing the wrong one.
Color coding is another effective way to categorize your tools. Assign a specific color to each category, such as red for power tools, blue for hand tools, or green for measuring tools. This visual system allows you to quickly identify the type of tool you need and its location. You can use labels, stickers, or even paint to color-code your tools.
Additionally, consider categorizing your tools based on their frequency of use, grouping the most frequently used tools in an easy-to-access location. By labeling and categorizing your tools, you'll save time, reduce frustration, and create a safer work environment.
Designate Zones for Tasks
You'll increase productivity and efficiency by designating zones for tasks, allowing you to focus on specific jobs without clutter or distractions.
By creating task segregation areas, you'll be able to concentrate on a single task at a time.
Assign specific zone purposes, such as a woodworking area or a metal fabrication zone, to maintain a logical workflow and reduce changeover time between tasks.
Task Segregation Areas
How do you currently maneuver your workspace when tackling multiple tasks simultaneously?
Do you find yourself constantly switching between tasks, scrambling to find the right tools, or getting bogged down in clutter?
By designating task segregation areas, you can revolutionize your workspace layout and enhance task efficiency.
Task segregation areas involve dividing your workspace into distinct zones, each dedicated to a specific task or group of tasks.
This approach helps you stay focused, avoid distractions, and maintain a sense of control over your work.
For instance, you might've a zone for drafting, another for assembly, and another for quality control.
Specific Zone Purposes
Designating zones for specific tasks is an essential step in maximizing the efficiency of your task segregation areas. By assigning a specific purpose to each zone, you guarantee that your workspace flow remains uninterrupted and that you can quickly access the tools and materials you need. This, in turn, enhances task efficiency and reduces the risk of accidents caused by clutter or misplaced items.
Identify the tasks you perform most frequently and designate a zone for each one. For instance, you might have a zone for assembly, another for repair, and another for quality control.
Within each zone, organize your tools and materials in a way that makes sense for the task at hand. This might mean keeping frequently used tools in easy-to-reach locations or storing heavy materials near the floor to prevent straining.
Implement a Pegboard System
When implementing a pegboard system, you'll need to plan carefully to maximize its potential.
You'll want to contemplate the essentials, such as the size of your pegboard, the types of tools you'll be storing, and the layout that will work best for your workflow.
Pegboard Planning Essentials
By incorporating a pegboard system, you'll be able to maximize your tool storage capacity and keep frequently used items within easy reach.
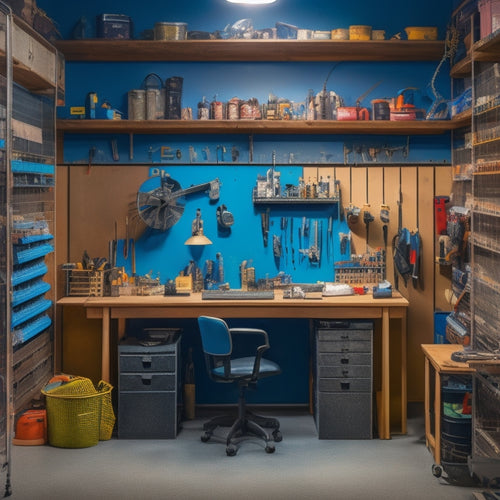
Before you start installing your pegboard, take some time to plan your layout. Think about the tools you use most frequently and group them together. Consider the size and shape of your tools and the space you have available. You can find pegboard layouts online to inspire your design.
Choose pegboard accessories that fit your needs, such as bins, baskets, and hooks. These will help you make the most of your pegboard space.
Consider the weight capacity of your pegboard and the tools you'll be hanging to verify you're not overloading it. Make a list of the tools you'll be storing and the accessories you'll need to hang them. Measure your space and your tools to confirm a snug fit.
With a solid plan in place, you'll be able to create an efficient and organized workspace that saves you time and reduces clutter.
Pegboard Installation Tips
You've planned your pegboard layout, chosen the right accessories, and made a list of the tools you'll be storing. Now it's time to install your pegboard system. Start by locating the studs in your wall to guarantee a secure hold. Use a level to draw a straight line where you'll be mounting the pegboard. Drill pilot holes and screw the pegboard into place, making certain it's level and secure.
Consider the weight capacity of your pegboard and distribute the weight of your tools evenly. Leave some space between accessories to allow for easy removal and installation. Use pegboard maintenance tips, such as regularly cleaning your pegboard and checking for loose screws, to keep your system running smoothly.
Don't be afraid to get creative with your pegboard layout. Consider using a mix of small and large bins, hooks, and baskets to store tools of different sizes.
You can also create a themed pegboard by grouping similar tools together. With a little planning and creativity, you can create a pegboard system that maximizes your workspace and keeps your tools organized.
Pegboard Accessory Options
Frequently, the success of a pegboard system hinges on the accessories you choose to implement it. You'll want to select pegboard hooks that fit your tools and supplies, guaranteeing easy access and visibility. Consider color coding your hooks to categorize and organize your tools, making it simpler to find what you need.
Decorative panels can add a touch of personality to your pegboard while also providing a clean and organized appearance. Modular accessories allow you to customize your pegboard to fit your specific needs, and heavy-duty options assure that your system can handle the weight of your tools.
To maximize your pegboard's potential, focus on creative displays that promote tool visibility. Hang bins and baskets to store small parts and supplies, keeping them within easy reach.
Repurpose Old Containers
Converting old containers into tool organizers is a clever way to declutter your workspace while reducing waste. You can change old plastic bins, metal tins, or wooden crates into creative containers that hold your tools and supplies. This DIY project not only helps you stay organized but also reduces your environmental footprint.
Start by collecting containers that are sturdy and clean. Think outside the box – or in this case, the container. Consider using old mason jars to store small parts like screws or nuts, or repurpose a wooden crate as a shelf for larger tools. You can also use adhesive magnets to attach metal containers to a metal pegboard or a wall, freeing up floor space.
Get creative with your DIY project by adding labels or decals to identify what's inside each container. This will save you time searching for the right tool and prevent accidents caused by misplacing sharp objects.
Create a Mobile Workstation
As you've optimized your tool storage with repurposed containers, now it's time to take your workspace to the next level by creating a mobile workstation. This will allow you to move around your workspace efficiently, reducing fatigue and increasing productivity.
When designing your mobile workstation, prioritize ergonomic design to guarantee comfort and safety while working. Consider the height and layout of your workstation to minimize strain on your back and joints.
Incorporate portability features, such as wheels or casters, to make it easy to move your workstation around your workspace. This will enable you to work on different projects in different areas without having to constantly fetch tools or materials.
You can also add storage bins and trays to keep frequently used tools within easy reach. By creating a mobile workstation, you'll be able to work more efficiently, reduce clutter, and stay organized.
With a well-designed mobile workstation, you'll be able to tackle any project that comes your way.
Frequently Asked Questions
How Do I Keep My Tools From Getting Rusty in Storage?
You prevent tool rust by controlling moisture in storage areas; use desiccant packets, silica gel, or moisture-absorbing mats to reduce humidity, and apply rust-inhibiting coatings or lubricants to tools before storing them in airtight containers.
Can I Use a Pegboard in a Small Workspace?
You might think a pegboard is too bulky for your small workspace, but surprisingly, it can be a space-saving solution, offering numerous benefits like easy tool access and reduced clutter, making it a great option for even the most compact areas.
Are There Any Eco-Friendly Tool Organization Options Available?
You're looking for eco-friendly tool organization options, and you'll find plenty! Opt for storage solutions made from sustainable materials or investigate upcycled solutions that reduce waste, ensuring a safer, greener workspace that aligns with your values.
How Often Should I Clean and Maintain My Tool Organization System?
You're the conductor of your tool organization system, ensuring harmony and efficiency. Set a regular cleaning schedule to prevent clutter buildup, and follow maintenance tips like dusting and lubricating tools to keep your system running smoothly.
Can I Customize My Tool Organization System to Fit My Specific Needs?
You can definitely customize your tool organization system to fit your specific needs, creating personalized solutions that enhance productivity. By designing efficient layouts, you'll streamline your workflow, reduce accidents, and save time, making your workspace safer and more effective.
Conclusion
You've optimized your workspace with these tool organization ideas, and now you're ready to tackle any project that comes your way! Did you know that a organized workspace can save you up to 40% of your worktime? That's equivalent to gaining an extra 16 hours a week! By implementing these strategies, you'll be able to find what you need quickly, stay focused, and get the job done efficiently. With your new and improved workspace, you'll be amazed at what you can accomplish!
Related Posts
-

Wall Mounted Hooks With Shelf for Maximum Storage
You'll find that wall mounted hooks with a shelf are a revolutionary solution for maximizing storage in your home, pr...
-

3 Key Steps to Streamline Your Workshop Organization
You're likely wasting 30% of your workshop's productivity and profitability due to disorganization, a common problem ...
-

Best Cheap Tool Boxes for Budget-Conscious Buyers
You need a reliable tool box that gets the job done without breaking the bank. Look for durable materials, rust-resis...


