
Jewelry Display Mastery: DIY Pegboard Perfection
I've perfected the art of creating a stunning jewelry display case using a humble pegboard. With precision-cut frames, carefully selected hardware, and a dash of creativity, I've crafted a visually striking display that showcases my jewelry with ease. I've learned to transform a plain pegboard into a masterpiece, and I'm about to walk you through my DIY process, from gathering essential materials to adding those finishing touches. With every detail meticulously considered, I've created a true showstopper – and soon, you'll be able to do the same, mastering the art of jewelry display with ease and flair.
Key Takeaways
• Transform a 6ft by 8ft pegboard into four 3ft by 2ft display boards for a professional-looking display case.
• Use precise measuring techniques and 1 x 2 boards as frame sides to ensure a snug fit and sturdy construction.
• Add functional hardware, such as a 24' piano hinge and subtle latch design, for ease of use and a polished look.
• Arrange jewelry in visually appealing groupings and experiment with different layouts to keep the display engaging.
• Infuse the display with personality and flair by adding custom colors, unique handles, and a soft pastel shade for a cohesive look.
Gathering Essential Materials
I head to Home Depot to procure a 6ft by 8ft sheet of pegboard, the foundation of my DIY jewelry display case, which will eventually be transformed into four 3ft by 2ft display boards.
To guarantee accuracy, I'll employ precise measuring techniques to cut the pegboard into eight pieces. I'll measure twice, cut once, to avoid errors.
The 1 x 2 boards, actually 3/4' by 1 1/2', will serve as the frame sides, cut slightly smaller than the pegboard sides for a snug fit. Cutting accuracy is essential to achieve a professional-looking display case.
With my materials in hand, I'm ready to move on to the next step, confident that my attention to detail will pay off in the end.
Building Display Case Frames
With precision-cut frame sides in hand, I begin constructing the display case frames. I start by pre-drilling holes in the 1 x 2 boards to prevent cracking, an essential step in ensuring a sturdy and professional-looking foundation for my jewelry display.
I then assemble the frames by screwing them onto the pegboards, making sure they fit snugly.
To add a personal touch, I consider the following:
- Paint the frames a neutral color to let the jewelry shine
- Add decorative handles for a unique look
- Experiment with different latch styles for a custom feel
Adding Functional Hardware
After assembling the frames, I turn my attention to adding the functional hardware that will bring my display cases to life, starting with the hinges that will securely attach the boards together. I opt for a 24' piano hinge, ensuring sturdiness and ease of use.
Next, I add a latch to securely close the boards, balancing practicality with aesthetics. I choose a subtle latch design that complements my jewelry display without drawing attention away from the pieces.
My hardware selection and installation techniques are essential in creating a seamless and functional display. By prioritizing both form and function, I create a professional-looking display that showcases my jewelry while also being easy to transport and set up.
Setting Up Your Display
Six display cases, stacked to a towering 6ft height, create a visually striking jewelry display that's sure to draw in customers at any event. To set up my display, I focus on improving stability and creating creative arrangements.
-
I zip-tie the boards together for added stability, ensuring they won't topple over in the midst of a busy event.
-
I arrange my jewelry in a visually appealing way, grouping similar pieces together and creating a sense of flow.
-
I experiment with different layouts and configurations to keep my display fresh and engaging.
Personalizing Your Masterpiece
How do I infuse my pegboard jewelry display with personality and flair, making it a true reflection of my brand and style?
By adding a custom color that complements my jewelry, I can create a cohesive look that draws buyers in. I opt for a soft, pastel shade that adds a touch of whimsy to my display.
Next, I add unique handles that not only make my display case easy to carry but also add a stylish touch. I choose a rustic wooden handle that contrasts beautifully with the soft color of my display.
With these personal touches, my pegboard jewelry display is transformed into a one-of-a-kind masterpiece that showcases my brand's personality and style.
Frequently Asked Questions
Can I Use a Different Type of Board Instead of Pegboard?
I consider alternatives to pegboard, wondering if foam board options or MDF alternatives could work just as well; I'd need to weigh their durability and versatility against the original pegboard's ease of use and customization.
How Do I Protect My Display From Theft at Events?
As I envision my prized jewels on display, I imagine a thief's fingers lingering, and I shudder. To safeguard my treasures, I'll opt for secure fixtures and hidden latches, ensuring my display remains tamper-proof and my valuables protected from prying eyes.
Are There Alternative Materials for Handles Besides Polypro Belting?
I opt for stylish alternatives to Polypro belting, like supple Leather Straps or sturdy Wooden Grips, adding a touch of sophistication to my display's handles while ensuring a secure grip for easy transport.
Can I Add Lights or Other Features to My Display Boards?
I'm excited to elevate my display boards by adding motion sensors that trigger soft lights, highlighting my jewelry's sparkle, and incorporating shelf dividers to create visually appealing sections, making my display a showstopper!
How Do I Transport and Store My Display Boards When Not in Use?
Like a puzzle, I carefully disassemble my display boards, nestling them together like a compact suitcase, and store them in protective cases, accompanied by travel accessories, ensuring they're safe and ready for their next showcase.
Related Posts
-
What Size Rolling Storage Bin Do I Need
To determine the ideal size of your rolling storage bin, you'll need to measure your storage space accurately, consid...
-
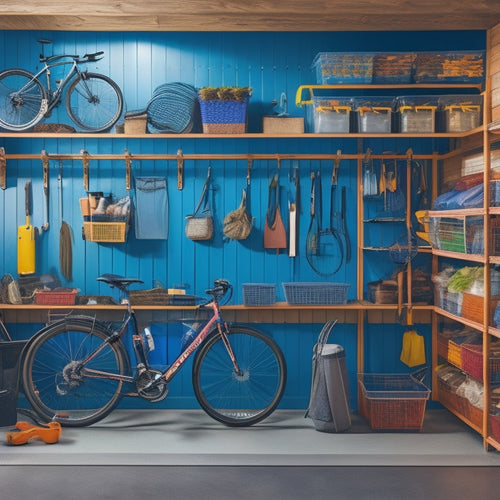
Garage Wall Storage Ideas to Boost Productivity
You can enhance your garage's productivity by capitalizing on your ceiling height with overhead racks, storing bulky ...
-
Best Cheap Tool Boxes for Budget-Conscious Buyers
You need a reliable tool box that gets the job done without breaking the bank. Look for durable materials, rust-resis...


