How to Organize Your Tool Box in 7 DIY Steps
Share
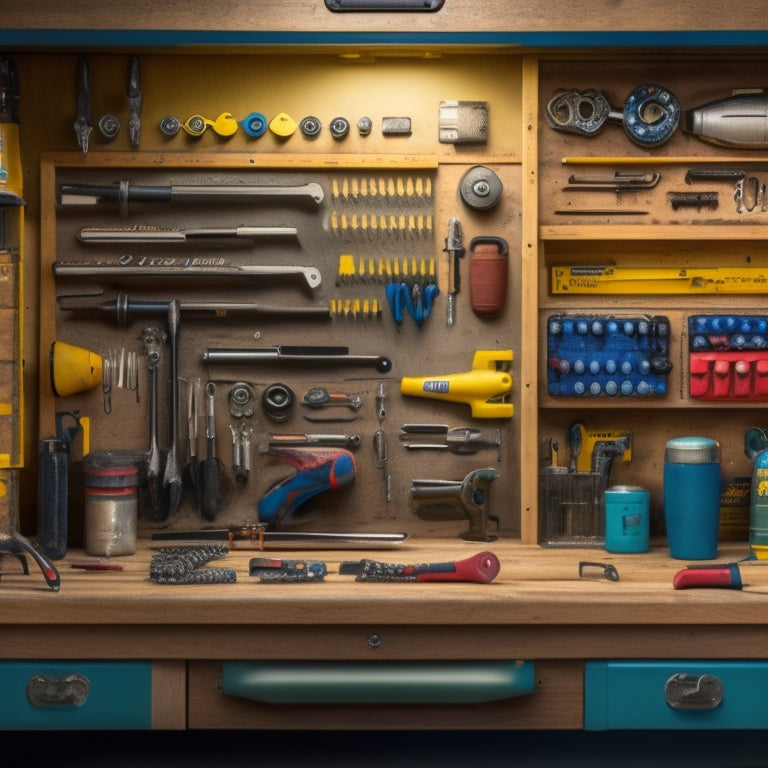
You're about to convert your cluttered tool box into a streamlined workshop powerhouse in just 7 DIY steps. Start by clearing out all tools and wiping down the interior and exterior to remove dirt and rust. Next, sort and purge your tools, separating them into keep, donate/sell, and discard piles. Then, assign a home for each tool, grouping similar tools together and designating specific areas for each group. Employ storage containers, label and sign your tools, and implement a maintenance plan to keep your tool box organized and running smoothly. Finally, consider adding a tool box workstation to enhance productivity - and get ready to take your tool box to the next level!
Key Takeaways
- Clear out your tool box, wipe it down, and inspect it for sharp edges or rusty surfaces to create a clean slate for organization.
- Sort tools into categories, purging broken or obsolete items, and assign a designated home for each type of tool.
- Utilize storage containers, dividers, and labels to keep tools organized, separated, and easily accessible.
- Implement a maintenance plan to regularly inspect, clean, and lubricate tools to prevent rust and ensure functionality.
- Designate a dedicated workstation with ergonomic considerations to enhance productivity and organization.
Prepare Your Tool Box
To get your tool box in order, start by clearing out everything inside. This will give you a clean slate to work with and help you identify what tool types you have and what storage solutions you need. Remove all tools, accessories, and debris from the box, and set them aside for now.
Next, wipe down the interior and exterior of the tool box with a damp cloth to remove any dirt, grime, or rust. This will guarantee a safe and clean environment for your tools. Check for any sharp edges or rusty surfaces that may need attention before you start organizing.
Now, take stock of the tool box itself. Consider its size, shape, and any built-in storage features, such as dividers or trays.
Think about how you can maximize the space to fit your tool types and storage solutions. By preparing your tool box in this way, you'll be ready to sort and purge your tools in the next step.
Sort and Purge Tools
Now that your tool box is clean and ready, turn your attention to the tools themselves. It's time to sort and purge your tools to guarantee you're only keeping what's necessary and useful. Start by categorizing your tools into three groups: keep, donate/sell, and discard. Be honest with yourself about which tools you haven't used in a while or are broken beyond repair.
| Category | Tools | Action |
|---|---|---|
| Keep | Frequently used, in good condition | Store in tool box |
| Donate/Sell | Gently used, still functional | Consider tool donation or sell |
| Discard | Broken, rusty, or obsolete | Safely dispose of hazardous materials |
As you sort, consider your seasonal inventory. Do you have tools specific to winter or summer projects? Store them in labeled bins or containers to free up space in your tool box. Be mindful of safety when handling tools, especially when discarding sharp or hazardous items. Properly dispose of any materials that could cause harm. By purging your tools, you'll reduce clutter and make it easier to find what you need when you need it.
Assign a Home for Tools
With your tools sorted and purged, it's time to assign a home for each item, making it easy to find what you need when you need it. This step is essential in achieving efficient tool organization and efficient storage.
Start by grouping similar tools together, such as all your wrenches or screwdrivers. Then, designate a specific area in your toolbox for each group. Assign a specific spot for each tool within that area, considering the frequency of use and the size of the tool.
For example, you might store your most frequently used tools in easy-to-reach locations, while less frequently used tools are stored in harder-to-reach areas.
Be certain to store sharp or heavy tools in a safe and secure manner to prevent accidents. Consider using dividers or small compartments to separate tools and prevent them from getting jumbled or damaged.
Utilize Storage Containers
Assigning a home for each tool is just the beginning of an organized toolbox. Now it's time to employ storage containers to keep your tools safe and within reach.
To maximize your toolbox's storage capacity, consider these container types:
-
Stackable containers: Perfect for storing small items like nuts, bolts, and screws.
-
Drawer dividers: Separate tools within a drawer, keeping them organized and preventing scratching.
-
Hanging organizers: Suspend bags, pouches, or tools from hooks, freeing up floor and shelf space.
- Portable cases: Store and transport tools, such as pliers, wrenches, and screwdrivers, with ease.
When selecting storage solutions, prioritize durability, rust-resistance, and easy cleaning.
Consider your toolbox's dimensions and the types of tools you need to store. By employing the right containers, you'll create a safe, efficient, and functional workspace that saves you time and reduces frustration.
Label and Sign Tools
You'll want to define categories for your tools, such as "Electrical" or "Plumbing", and label each category clearly.
Next, make sure each tool has its name clearly marked, so you can easily identify it.
Tool Categories Defined
Your tool box is home to a diverse array of instruments, and categorizing them is essential for efficient organization. In order to get started, you'll need to define your tool categories. This involves grouping similar tools together based on their function, type, or usage.
Begin by identifying the main categories for your tools. Here are four primary categories to reflect upon:
-
Hand Tool Types: This category includes tools that are powered by your own strength, such as wrenches, pliers, screwdrivers, and hammers.
-
Power Tool Classifications: This category includes tools that are powered by electricity, batteries, or air compressors, such as drills, saws, sanders, and grinders.
-
Fastening Tools: This category includes tools used for fastening or loosening, such as nuts and bolts, rivets, and screws.
- Measuring and Testing Tools: This category includes tools used for measuring, testing, and inspecting, such as tape measures, levels, and multimeters.
Tool Names Clearly Marked
Now that you've defined your tool categories, it's time to make sure each tool is clearly identifiable. This step is essential for efficient tool identification and safe tool maintenance.
Take each tool and label it with its name, function, and any relevant safety information. You can use adhesive labels, stickers, or even engrave the information directly onto the tool. Be certain to use a clear, bold font that's easy to read.
Consider color-coding your labels to differentiate between tool categories or to highlight specific safety precautions. For example, you could use red labels for power tools or yellow labels for hand tools that require special care.
Don't forget to label tool accessories, such as drill bits or saw blades, to guarantee they're stored correctly and easily accessible.
Implement a Maintenance Plan
Implement a Maintenance Plan
Every three months, take some time to inspect your tool box and its contents. This regular maintenance will help extend tool longevity, prevent rust, and guarantee your tools are in good working condition.
Create a maintenance checklist to guide your inspection. Here's a sample checklist:
-
Clean and lubricate tools: Wipe down tools with a soft cloth and apply a rust-preventing lubricant to moving parts.
-
Check for damage: Inspect tools for signs of wear, damage, or rust. Set aside tools that need repair or replacement.
-
Update your inventory: Take stock of your tools and update your inventory list. This will help you identify what needs to be replaced or upgraded.
- Schedule repairs: Set a schedule for repairing or replacing tools to guarantee they're back in working order as soon as possible.
Add a Tool Box Workstation
A dedicated workstation within your tool box can considerably enhance your productivity and organization.
This workstation should be designed to optimize your workflow and reduce fatigue. To create an efficient workstation layout, consider the tasks you'll be performing most frequently and position your tools accordingly.
Next, focus on workspace ergonomics. Verify your workstation is at a comfortable height to avoid straining your back and neck. You should be able to stand or sit with your arms at a 90-degree angle, allowing you to work without fatigue.
Consider adding a built-in vice or clamp to secure your projects, keeping your hands free to focus on the task at hand.
Frequently Asked Questions
Can I Use a Pegboard for Tool Organization?
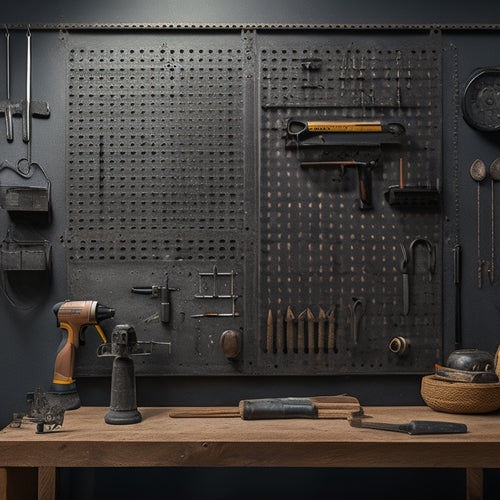
You can definitely use a pegboard for tool organization! It offers benefits like easy tool access and visibility. To get started, you'll need to install the pegboard, which is a straightforward process that requires some planning and basic hardware.
How Often Should I Clean My Tool Box?
You should clean your tool box every 1-2 months, or whenever you notice dirt, grime, or rust buildup, to maintain tool quality and prevent damage; regular cleaning is essential for effective tool maintenance and safety.
Are Tool Box Dividers Worth the Investment?
You're wondering if tool box dividers are worth the investment; they absolutely are! With customization options and various divider materials, you'll create a safe and efficient space that saves you time and reduces tool damage, making it a worthwhile investment for your workshop.
Can I Organize My Tool Box by Project Type?
Imagine a skilled chef's kitchen, where utensils are grouped by dish type - it's the same with your tool box. You can categorize tools by project type, like "car maintenance" or "woodworking", ensuring easy accessibility when you need them, and keeping your workspace safe and efficient.
Should I Store Power Tools in a Separate Box?
You're wise to contemplate storing power tools in a separate box for enhanced power tool safety; investigate tool storage options that keep them away from other tools and materials, minimizing risks and ensuring easy access.
Conclusion
You've now changed your tool box into a well-oiled machine, saving you time and frustration on the job. According to the National Association of Professional Organizers, the average person spends about 1 hour per day searching for lost or misplaced items - that's 15 days per year! By following these 7 DIY steps, you've reclaimed that time and enhanced your productivity. Your newly organized tool box is ready to help you tackle projects with ease and efficiency.
Related Posts
-

Heavy-Duty Pegboard Hooks for Industrial Use
You need heavy-duty pegboard hooks that can withstand the rigors of industrial use, providing a reliable and efficien...
-

Garage Wall Storage Ideas to Boost Productivity
You can enhance your garage's productivity by capitalizing on your ceiling height with overhead racks, storing bulky ...
-

Benefits of Pegboard Racks in Your Garage
By installing a pegboard rack in your garage, you'll reveal a wealth of benefits that change your workspace into a hi...


