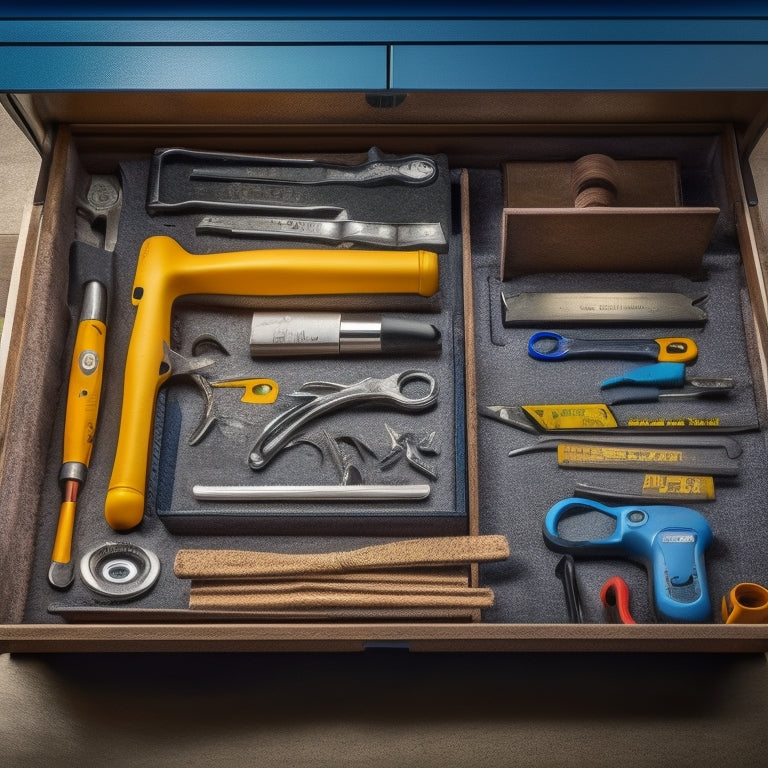
How to Create a Small Tool Drawer Organizer in 3 Steps
Share
To create a small tool drawer organizer in 3 steps, you'll start by preparing the tool drawer space by removing the drawer, cleaning it, and measuring its interior dimensions. Take stock of your tool types and quantities, grouping them by category, and consider their size, shape, and special storage needs. Then, organize your tools using dividers, designing a system based on your drawer measurements and tool types, and cutting dividers to fit snugly between sections. Finally, add labels and decorative accents to complete your organizer, and you'll be well on your way to a clutter-free space that's customized to your tool collection.
Key Takeaways
- Measure the interior dimensions of the drawer and take stock of tool types and quantities to determine the optimal organizer design.
- Design a divider system based on drawer measurements and tool categories, selecting durable materials like wood, plastic, or metal.
- Cut dividers to fit the drawer dimensions, sanding cut edges to smooth them out, and arrange them logically by tool category.
- Add labels to each section using a preferred labeling technique, incorporating decorative accents if desired, but ensuring they don't obstruct access or create hazards.
- Regularly update labels and organization as the tool collection changes to maintain a functional and efficient tool drawer organizer.
Prepare the Tool Drawer Space
Clarity takes center stage as you begin preparing the tool drawer space, an essential first step in creating a well-organized haven for your tools.
Take out the drawer and give it a thorough cleaning to remove any debris, dust, or grime that may have accumulated. Measure the interior dimensions of the drawer to determine the maximum size of your organizer. Record the length, width, and height of the drawer to ascertain your organizer fits snugly.
Next, take stock of your tool types and quantities. Identify the tools you use most frequently and group them by category (e.g., screwdrivers, pliers, wrenches).
Consider the size and shape of each tool, as well as any special storage requirements, such as separate compartments for sharp objects or small parts. This will help you plan the layout of your organizer and guarantee that each tool has a designated place, reducing clutter and increasing safety.
Remember to also check the weight capacity of your drawer to verify it can handle the weight of your tools and organizer.
With a clear understanding of your drawer's measurements and tool types, you're ready to move on to the next step: organizing your tools using dividers.
Organize Tools Using Dividers
Organize Tools Using Dividers
With your tool drawer's measurements and tool types in mind, you can start designing an effective divider system. This will guarantee that each tool has its designated space, making it easy to find what you need when you need it.
To create dividers, you'll need to choose materials that are durable and suitable for your tool types. Consider the following options:
| Divider Materials | Tool Types |
|---|---|
| Wood | Hand tools, screwdrivers |
| Plastic | Pliers, wrenches, sockets |
| Foam | Delicate tools, electronics |
| Metal | Heavy-duty tools, machinery parts |
Cut the dividers to fit your tool drawer's dimensions, guaranteeing a snug fit between each section. You can use a jigsaw or a circular saw for this task. Sand the cut edges to smooth them out and remove any splinters.
As you place the dividers in the drawer, arrange them according to the tool categories you've identified. This will create a logical and organized system, making it easier to maintain and update your tool collection.
Add Final Touches and Labels
With your dividers in place, it's time to add the finishing touches to your tool drawer organizer. Start by adding labels to each section using labeling techniques that work best for you, such as handwritten labels, printed stickers, or even color-coding. This will help you quickly identify where each tool is stored, making it easier to find what you need when you need it.
Next, consider adding some decorative accents to give your organizer a personal touch. You could add a small toolbox logo or a motivational quote to the front of the drawer.
Just be sure to keep any decorations simple and safe, avoiding anything that could obstruct your access to the tools or create a tripping hazard.
Frequently Asked Questions
Can I Use This Organizer for Craft or Art Supplies Too?
You can definitely repurpose this organizer for craft or art supplies, maximizing your drawer space optimization. Simply adjust the compartments to fit your specific craft supply organization needs, ensuring a safe and efficient storage solution.
How Do I Clean the Tool Drawer Organizer Regularly?
You'll want to clean your tool drawer organizer regularly by dusting with a soft cloth, wiping with a damp cloth, and drying thoroughly to prevent rust and damage, following these simple cleaning techniques and maintenance tips for a safe and functional space.
Are There Any Specific Tools That Shouldn't Be Stored Together?
When storing tools, you'll want to separate items with incompatible materials, like metal and wood, to prevent damage. Also, keep tools with sharp edges or points, like saws and drills, away from others to avoid safety concerns and accidents.
Can I Customize the Organizer for Left-Handed Users?
You can easily adapt your organizer for left-handed users by considering customization options, such as reversing the layout or using ambidextrous trays, to guarantee safe and efficient storage of left-handed tools.
Will This Organizer Fit in a Very Narrow Tool Drawer?
You'll need to measure your narrow drawer dimensions carefully, then choose compact organizer designs that fit snugly, ensuring a safe and functional space for your tools, and adapting the design to accommodate your specific needs.
Conclusion
By following these three simple steps, you've converted your cluttered tool drawer into a haven of organization and efficiency. For example, a busy handyman in Denver was able to reduce his tool-finding time by 75% after implementing this system, freeing up more time for actual projects. Now, you can quickly locate the right tool for the job, and get back to work in no time!
Related Posts
-

3 Pro Garage Organization Ideas to Try Now
You can alter your garage from cluttered chaos to organized oasis with three pro garage organization ideas. First, op...
-

Heavy-Duty Commercial Rolling Shelving Racks
You need heavy-duty commercial rolling shelving racks that optimize your storage capacity, streamline operations, and...
-

Top Rolling Tool Box Drawers for Maximum Storage
When it comes to maximizing storage with rolling tool box drawers, you need a solution that combines durability, cust...


