Effortless Tool Storage With DIY Pegboard Solutions
Share
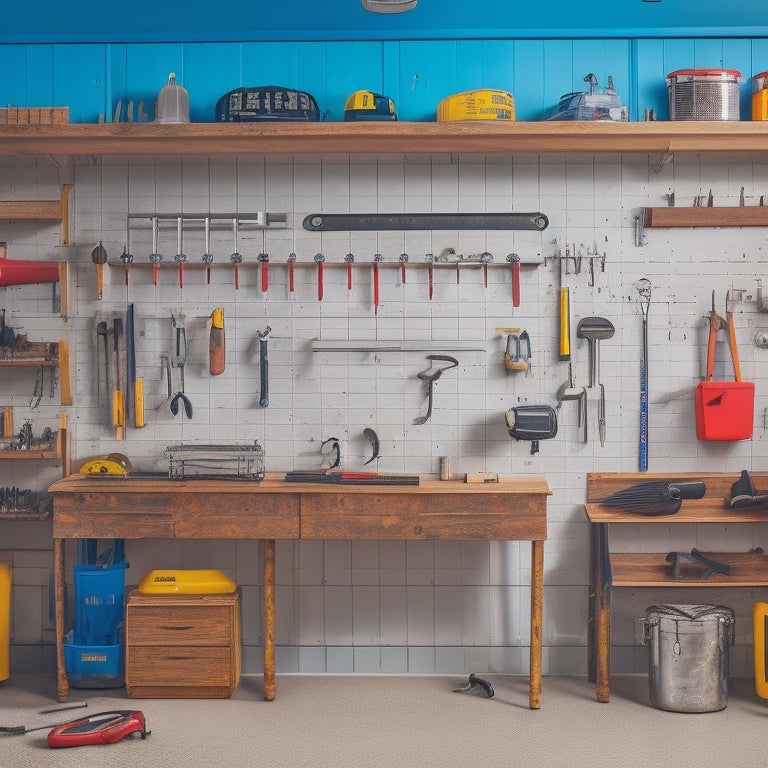
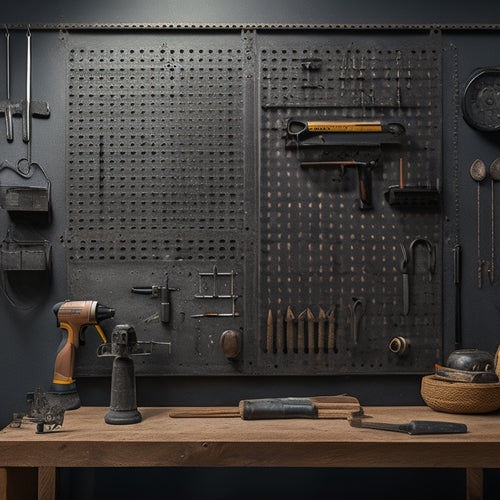
You're one pegboard away from transforming your cluttered workshop or garage into a haven of organization and efficiency. With a drill, level, and measuring tape, you can create a space-saving storage solution tailored to your tool collection. Design your pegboard with precision-cut curves and straight cuts, and configure hooks and accessories to optimize workflow efficiency. Take your organization to the next level by customizing your layout, maximizing vertical storage space, and using color coding and labeling for easy tool identification. Now, get ready to open up the full potential of your DIY pegboard solution.
Key Takeaways
• Create a customizable pegboard design based on your tool collection to maximize storage efficiency and workflow.
• Utilize space-saving storage solutions like hooks, bins, and accessories to keep tools organized and within reach.
• Implement a color-coding and labeling system to quickly identify and access tools, ensuring effortless storage and retrieval.
• Optimize vertical storage space with double-layered hooks, stackable bins, and overhead storage to make the most of your pegboard.
• Regularly maintain and repair your pegboard system to ensure longevity and prevent wear and tear.
Essential Tools for DIY Pegboards
When building a DIY pegboard, you'll need to gather a few essential tools to get started, including a drill, a level, and a measuring tape. These tools will help you create a sturdy and functional pegboard that meets your tool organization needs.
A pegboard is an excellent space-saving solution for storing tools, making it easy to find what you need when you need it.
As you begin your DIY project, you'll want to explore the creative display options for your pegboard. You can customize your board with hooks, bins, and accessories to fit your specific tool collection.
Think about the types of tools you use most frequently and design your pegboard accordingly. For example, you might want to dedicate a section to your favorite power tools or create a separate area for hand tools.
Measuring and Cutting Pegboard
You're ready to move on to measuring and cutting your pegboard, a step that demands precision to guarantee your DIY project turns out exactly as you envision it.
To ensure accuracy, take your time when measuring the pegboard. Use a tape measure to record the dimensions, and double-check them to avoid errors. Consider the size of your tools and the space where the pegboard will be mounted when deciding on the final measurements.
When it's time to cut, use a saw with a fine-toothed blade to prevent splintering. Apply gentle, consistent pressure, and maintain a steady pace to achieve a smooth cut. For curved cuts, use a jigsaw or a bandsaw, and for straight cuts, a circular saw or a miter saw work well.
Cutting techniques like scoring and snapping can also be effective for certain types of pegboard materials. Remember to wear protective gear, including safety glasses and a dust mask, to prevent injury.
Configuring Hooks and Accessories
Now that you've got your pegboard cut to size, it's time to think about how you'll organize your tools and accessories.
You'll need to decide where to place your hooks and which accessories to use, considering factors like frequency of use and ease of access.
Hook Placement Strategies
Configure your pegboard hooks and accessories thoughtfully to maximize storage capacity and efficiency, considering the size, shape, and frequency of use for each item. A well-planned hook arrangement is crucial for effective tool organization and space utilization.
Start by grouping similar tools together, such as hammers, wrenches, or pliers, to establish a logical workflow. Place frequently used items at eye level or near the front of the pegboard for easy access. Less frequently used items can be stored towards the top or bottom.
Consider the weight and size of each tool when selecting hooks. Use sturdy hooks for heavier items and smaller hooks for lighter ones. Leave enough space between hooks to prevent overcrowding and guarantee easy retrieval. Pay attention to pegboard aesthetics by balancing the arrangement to create a visually appealing display.
This won't only enhance functionality but also make your workspace more enjoyable. By following these hook placement strategies, you'll be able to optimize your pegboard's storage capacity, reduce clutter, and boost productivity.
Accessory Organization Tips
With your hooks strategically placed, turn your attention to accessory organization, where cleverly arranging bins, baskets, and trays can further enhance your pegboard's storage capabilities and keep small parts and supplies within easy reach.
To optimize your accessory organization, consider implementing a color coding system. Assign specific colors to different categories, such as red for power tools, blue for hand tools, and green for fasteners. This visual system will help you quickly identify where items belong and make it easier to find what you need.
To take it a step further, establish a labeling system for each bin, basket, and tray. Use clear and concise labels that indicate the contents, making it easy to identify what's inside without having to rummage through. This will save you time and reduce clutter.
Additionally, consider using dividers or compartments within larger bins to separate smaller items and prevent them from getting jumbled together. By implementing these accessory organization tips, you'll be able to efficiently store and retrieve small parts and supplies, making your pegboard a highly functional and efficient tool storage solution.
Customizing Your Pegboard Design
When customizing your pegboard design, you'll want to contemplate the layout options that'll best suit your needs.
Will you opt for a compact grid or a more sprawling design to accommodate your tools and accessories?
Pegboard Layout Options
You'll want to determine the best pegboard layout by taking into account the tools you need to hang, the space available, and your personal workflow preferences. A well-planned layout will ensure that your tools are easily accessible and your workspace remains organized.
Here are some pegboard layout options to ponder:
-
Tool grouping: Group similar tools together, such as all your hammers or screwdrivers, to create a logical and efficient workflow.
-
Color coding: Organize your tools by color to create a visually appealing and easy-to-navigate pegboard. For instance, you can use red hooks for power tools and blue hooks for hand tools.
-
Frequency of use: Place your most frequently used tools in easy-to-reach locations, and less frequently used tools towards the top or bottom of the pegboard.
- Space optimization: Make the most of your pegboard's space by using double hooks, stacking tools, or incorporating small bins and baskets for storing small items.
Designing for Efficiency
Designing an efficient pegboard requires tailoring your layout to your specific needs, so take inventory of your tools and identify patterns in how you use them. You'll want to group similar tools together, like all your hammers or screwdrivers, and prioritize the most frequently used items. Consider the weight and size of each tool, too, to guarantee heavier items are at the bottom and larger tools have ample space.
Here's an example of how you might organize your pegboard:
| Tool Category | Pegboard Section |
|---|---|
| Hanging Tools | Hooks for hammers, saws, and other heavy tools |
| Small Hand Tools | Small bins for screwdrivers, pliers, and wrenches |
| Power Tools | Dedicated space for drills, sanders, and other power tools |
Installing Pegboards on Walls
Mount your pegboard on a wall by first selecting a sturdy anchor point, such as a wall stud, to support the weight of the board and its future attachments. This is vital to make certain that your pegboard installation is secure and can hold the weight of your tools and accessories.
To get started, follow these pegboard installation tips:
-
Measure twice, drill once: Double-check your measurements to avoid errors and guarantee a precise fit.
-
Use wall anchors: Install wall anchors to provide extra support and distribute the weight of the pegboard and its attachments.
-
Level it up: Use a level to ensure your pegboard is straight and even, preventing tools from falling off.
- Secure with screws: Use screws to attach the pegboard to the wall anchors, making sure they're tightened securely.
Organizing Tools by Category
Now that your pegboard is firmly mounted, it's time to organize your tools by category, grouping similar items together to maximize storage space and make them easily accessible. This step is vital in creating a functional and efficient tool storage system.
Start by categorizing your tools into groups, such as hand tools, power tools, and accessories. Within each category, further sub-divide tools into smaller groups based on their function or type.
To take your organization to the next level, consider color coding tools using hook caps or labels in different colors. This visual system makes it easy to identify and locate specific tools quickly. Additionally, label each compartment or section on your pegboard to indicate what's stored there. This guarantees that you and others can quickly find what they need.
Maximizing Vertical Storage Space
To maximize your pegboard's vertical storage space, you'll want to install hooks, bins, and accessories that take advantage of the board's height, ensuring that every inch is utilized efficiently. This will allow you to store more tools and supplies in a compact area, keeping your workspace organized and clutter-free.
Here are some space-saving techniques to contemplate:
-
Double-layered hooks: Install hooks with multiple layers to hang multiple tools, such as hammers, wrenches, and screwdrivers, from a single hook.
-
Stackable bins: Use stackable bins to store small items like nuts, bolts, and screws, keeping them organized and easily accessible.
-
Vertical dividers: Add vertical dividers to separate different categories of tools, making it easy to find what you need quickly.
- Overhead storage: Utilize overhead space by installing bins or baskets to store infrequently used items, such as seasonal decorations or out-of-season tools.
Tips for Maintenance and Repair
You'll prolong the life of your pegboard and its components by regularly checking and replacing worn-out hooks, bins, and accessories. This proactive approach to tool maintenance will guarantee your organization system remains efficient and effective.
As you inspect your pegboard, look for signs of wear and tear, such as rusty hooks or bins with broken lids. Replace them promptly to prevent damage to your tools or other components.
To further enhance repair efficiency, designate a specific area of your pegboard for frequently used tools and accessories. This will save you time and effort when searching for what you need. Consider labeling each bin and hook to facilitate easy identification.
Frequently Asked Questions
Can I Use a Pegboard in a Humid or Wet Environment?
You can use a pegboard in a humid or wet environment, like outdoor use or bathroom storage, if you choose a durable, water-resistant material, like stainless steel or PVC-coated pegboards, and guarantee proper ventilation to prevent moisture buildup.
Are Pegboards Suitable for Storing Heavy Tools and Equipment?
You'll want to make sure the pegboard is designed for heavy-duty use, with a weight capacity that matches your tool's weight. Proper installation and regular maintenance are vital to maintain durability and prevent damage.
Can I Add a Pegboard to a Rental Property or Temporary Space?
"Before the Renaissance, even Leonardo da Vinci would've appreciated the flexibility of pegboards! You can easily add a pegboard to a rental property or temporary space using removable adhesive strips or command hooks, perfect for versatile storage in small spaces."
How Do I Prevent Pegboard Hooks From Getting Rusty or Damaged?
To prevent pegboard hooks from getting rusty or damaged, you'll want to apply a rust-resistant coating, store them in a dry area, and clean them regularly.
Are Pegboards Only Suitable for Garage or Workshop Spaces?
You might be surprised to know that 60% of homeowners have a dedicated workspace at home. Pegboards aren't limited to garages or workshops; you can use them in your home office for organized desk supplies or even in kitchen organization for utensils and spices.
Related Posts
-

Heavy-Duty Pegboard Hooks for Industrial Use
You need heavy-duty pegboard hooks that can withstand the rigors of industrial use, providing a reliable and efficien...
-

Portable Tool Chest Essentials
When stocking your portable tool chest, you'll want to prioritize essential hand tools like hammers, tape measures, a...
-

Top Garage Storage Bins for Organization and Style
You can enhance your garage's style and organization with the right storage bins. Top brands like Rubbermaid, Suncast...


