Efficiently Organize Garden Tools on Pegboard
Share
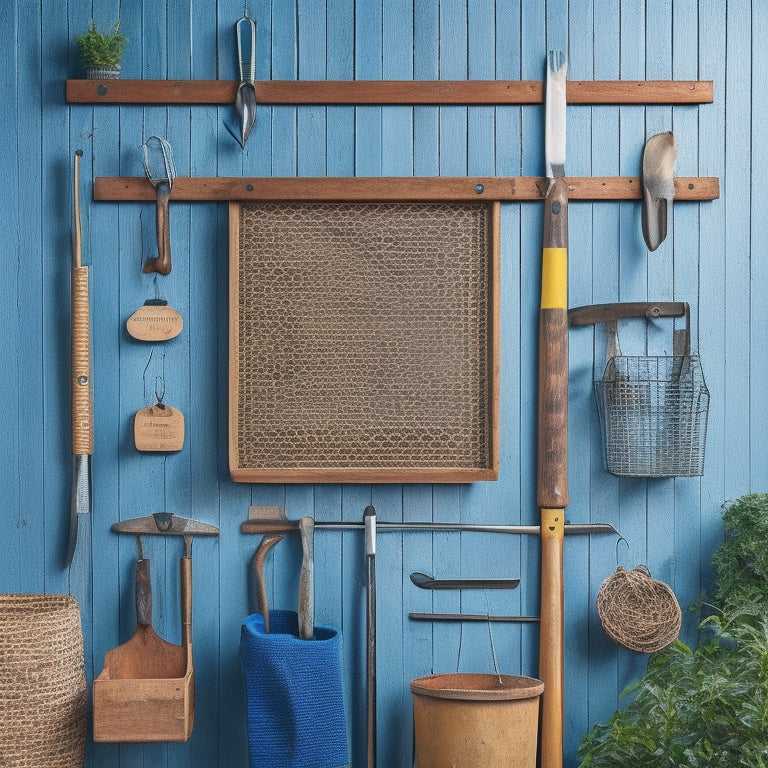
I've optimized my gardening workflow by organizing my tools on a pegboard. To get started, I carefully planned the layout, measured, and cut the pegboard to size. Then, I designed durable leather tags with my tool names using a Cricut, and secured them with waxed leather cording. Next, I grouped tools by maintenance needs, seasonal use, and frequency, assigning prime peg real estate accordingly. By storing tools in a dry area and using weather-resistant containers, I've guaranteed each tool is easily accessible. With this system, I've maximized space, reduced frustration, and enhanced my overall efficiency - and there's more to explore to take my pegboard organization to the next level.
Key Takeaways
• Design a pegboard layout that maximizes vertical storage and prioritizes frequently used tools at eye-level.
• Assign tools to pegs based on frequency of use, maintenance needs, and seasonal requirements.
• Use durable leather tags and labels with clear tool identification to ensure easy tool retrieval.
• Store tools in a dry, protected area and opt for weather-resistant containers for outdoor storage.
• Implement a system with designated spots for each tool to reduce frustration and enhance overall efficiency.
Preparing the Pegboard
Trimming a large pegboard to size is an essential step in creating a customized garden tool organization system. With the right tools and techniques, I can achieve a precise fit for my garden shed or workspace.
I plan my pegboard layout carefully, considering the tools I need to store and the space available. Next, I measure and mark the width needed, then use a jigsaw to cut the pegboard down to size.
To add a personal touch, I spray paint the pegboard with a color of my choice, applying two coats for even coverage. This step allows me to create a bespoke pegboard that not only functions well but also complements my garden's aesthetic.
Designing Tool Tags and Labels
With my pegboard cut and painted, I now turn my attention to designing tool tags and labels that will help me quickly identify my garden tools and keep them organized.
I opt for leather crafting to create durable and stylish tags. Using Cricut's Design Space, I design the tags and tool names, following the software's directions for cutting and writing.
I choose tooling leather and black leather for a rustic yet modern look. To secure the tags, I use waxed leather cording, ensuring they stay in place.
The Cricut pen feature allows me to fill in the words, making tool identification a breeze. With these custom labels, I'll be able to find exactly what I need in seconds, making my gardening tasks more efficient.
Assigning Tools to Pegs
Organization is key when it comes to assigning tools to pegs, so I take the time to carefully evaluate which tools I use most frequently and allocate prime peg real estate accordingly. This guarantees that I can quickly access the tools I need, making my gardening tasks more efficient.
Here are some key considerations I make when assigning tools to pegs:
-
Tool maintenance: I group tools that require regular maintenance, like pruning shears and loppers, together for easy access.
-
Seasonal storage: I designate pegs for seasonal tools, like snow shovels or leaf rakes, to keep them out of the way during off-seasons.
-
I prioritize frequently used tools, like trowels and cultivators, and place them at eye-level for easy reach.
- I also reserve pegs for tools that are used together, like my gardening knife and pruners, to keep them organized and convenient.
Organizing and Storing Tools
As I begin organizing and storing my garden tools, I focus on creating a system that allows me to efficiently store and retrieve each item, ensuring everything has its designated place. This means assigning a specific spot for each tool, making it easy to find what I need when I need it.
I also prioritize tool maintenance by storing them in a dry, protected area to prevent rust and damage. For outdoor storage, I opt for weather-resistant containers and pegboard covers to shield my tools from the elements.
Benefits of Pegboard Organization
By assigning a designated spot for each tool on my pegboard, I've noticed a significant reduction in the time it takes to find what I need, allowing me to focus on the task at hand.
This organized system has numerous benefits, including:
-
Maximizing space: By utilizing the pegboard's vertical space, I've freed up valuable storage areas in my garden shed.
-
Improving workflow: With everything in its place, I can quickly grab the tool I need and get back to work.
-
Reducing frustration: No more digging through cluttered drawers or searching high and low for a misplaced tool.
- Enhancing overall efficiency: My pegboard organization system has streamlined my gardening process, allowing me to accomplish more in less time.
With these advantages, I can confidently say that pegboard organization has revolutionized my gardening experience.
Frequently Asked Questions
Can I Use a Different Type of Board Instead of Pegboard?
"I consider alternatives to pegboard, like a Magnetic Board for easy rearrangement or a Chalkboard Panel for writing tool names; both options offer flexibility and customization, but I'll need to adapt my tool-hanging strategy accordingly."
How Do I Prevent Tools From Falling off the Pegboard?
To prevent tools from falling off, I use tool clips with rubber grips or hook designs with a secure screw-in mechanism, ensuring a snug fit that keeps my tools in place, even when the pegboard is bumped.
Are There Alternative Materials for Tooling Leather Labels?
As I venture into the domain of label-making, I discover that tooling leather isn't the only hero; I can summon vinyl alternatives, wielding their flexibility and water-resistance, or forge Metal stamps, imbuing my tags with industrial chic.
Can I Add a Locking System to Secure Valuable Tools?
I'm considering adding a locking system to prevent tool theft, ensuring my valuable tools are safely stored. I'll explore secure fastening options, like combination locks or keyed latches, to provide an extra layer of protection for my gardening essentials.
Is It Possible to Hang the Pegboard on a Curved or Uneven Surface?
"Crafting creative curves, I conquer challenging surfaces by using custom brackets and flexible mounts to securely hang my pegboard, ensuring a sturdy and stylish storage solution that adapts to any awkward angle."
Related Posts
-

Choosing the Right Stacked Storage Bins
When choosing the right stacked storage bins, you'll want to evaluate your storage needs, considering inventory types...
-

Benefits of Pegboard Racks in Your Garage
By installing a pegboard rack in your garage, you'll reveal a wealth of benefits that change your workspace into a hi...
-

Top Rolling Tool Box Drawers for Maximum Storage
When it comes to maximizing storage with rolling tool box drawers, you need a solution that combines durability, cust...


