Easy DIY Pegboard Projects for Garage Organization
You can easily create a customized pegboard for your garage organization project. Start by preparing the wall, choosing the right pegboard size, and designing a layout that maximizes storage and accessibility. Guarantee proper alignment and secure mounting with essential tools. Customize your hooks to fit your specific needs, and incorporate accessories like bins and shelves to increase storage potential. Label and organize your hooks, and consider implementing a system for regular decluttering. With a little planning, you'll be able to create a workflow-efficient pegboard that streamlines your project workflow - and you're just getting started on optimizing your garage organization!
Key Takeaways
• Prepare the wall by checking for obstructions and cleaning it thoroughly before installing a pegboard.
• Choose the right pegboard size based on the number of tools and available space for optimal storage.
• Customize hooks and accessories to maximize storage potential and utilize vertical space efficiently.
• Implement a system for regularly organizing and decluttering the pegboard to maintain workflow efficiency.
• Arrange tools based on frequency of use and project type to ensure easy access and improved workflow.
Simple Pegboard Installation Guide
Gather your tools and drill bits, because you're about to transform a blank wall into a customized pegboard that'll revolutionize your garage organization. With a pegboard, you'll enjoy the benefits of increased storage, reduced clutter, and improved accessibility.
Before you start, make sure your wall is prepared for the installation. Check for any electrical outlets or plumbing behind the area you've chosen, and mark them clearly. Clean the wall thoroughly to remove any dirt or grime that might affect the adhesive.
Next, measure the wall and mark the spot where you want to place your pegboard. Hold the pegboard against the wall, ensuring it's level, and mark the screw holes. Drill pilot holes into the marked spots, then screw the pegboard into place. Make sure it's secure and even.
Now, you're ready to add your hooks, bins, and accessories. With your pegboard installed, you'll be amazed at how easily you can find what you need, and how much more space you'll have in your garage. Get ready to reap the benefits of your new pegboard!
Choosing the Right Pegboard Size
With your pegboard installed, you're now ready to think about the size of your pegboard, and how it will accommodate all the tools and accessories you want to hang. When choosing the right pegboard size, consider the space constraints in your garage and the number of items you want to store. A larger pegboard may be ideal for extensive tool collections, while smaller boards are better suited for compact spaces.
Here's a rough guide to help you plan your pegboard size:
| Pegboard Size | Tool Capacity | Recommended Space |
|---|---|---|
| Small (24" x 36") | 10-20 tools | Compact spaces, e.g., above a workbench |
| Medium (36" x 48") | 20-40 tools | Standard garage walls or large workstations |
| Large (48" x 60") | 40-60 tools | Expansive garage spaces or commercial workshops |
| Extra Large (60" x 72") | 60+ tools | Industrial settings or massive tool collections |
| Custom | Varies | Tailored to your specific needs and space constraints |
Designing Your Pegboard Layout
Now that you've chosen the perfect pegboard size, it's time to visualize your tool arrangement and create a layout that maximizes storage efficiency and accessibility.
Take a few minutes to think about your workflow and how you move around your garage. Envision the tools you use most frequently and where you'd like them to be positioned for easy access. Consider the Pegboard Aesthetics – you want your board to look organized and visually appealing, not cluttered and chaotic.
As you design your layout, prioritize Workflow Optimization. Group similar tools together, and place them in zones according to their function. For example, you might've a zone for gardening tools, another for automotive tools, and another for DIY projects.
Make sure the tools you use most often are at eye level or near the front of the board, while less frequently used items can be stored towards the back or at the top and bottom.
Essential Tools for Pegboard Assembly
You'll need a set of essential tools to assemble your pegboard, including a drill, level, and stud finder, which will help you accurately position and secure your board to the wall. These Toolbox Essentials will guarantee a sturdy and level installation, giving you peace of mind and a professional-looking finish.
A cordless drill is a Workshop Must Have, allowing you to easily screw in hooks and accessories. A level will assure your pegboard is straight, while a stud finder will help you locate the wall studs for secure mounting. Don't forget a tape measure, pencil, and marker to mark your wall and pegboard. A socket set or wrench will come in handy for tightening screws.
With these essential tools, you'll be well-equipped to tackle your pegboard assembly with confidence. Take a moment to gather your tools and double-check your measurements before starting the assembly process. With a solid plan and the right tools, you'll be enjoying your new organized garage space in no time.
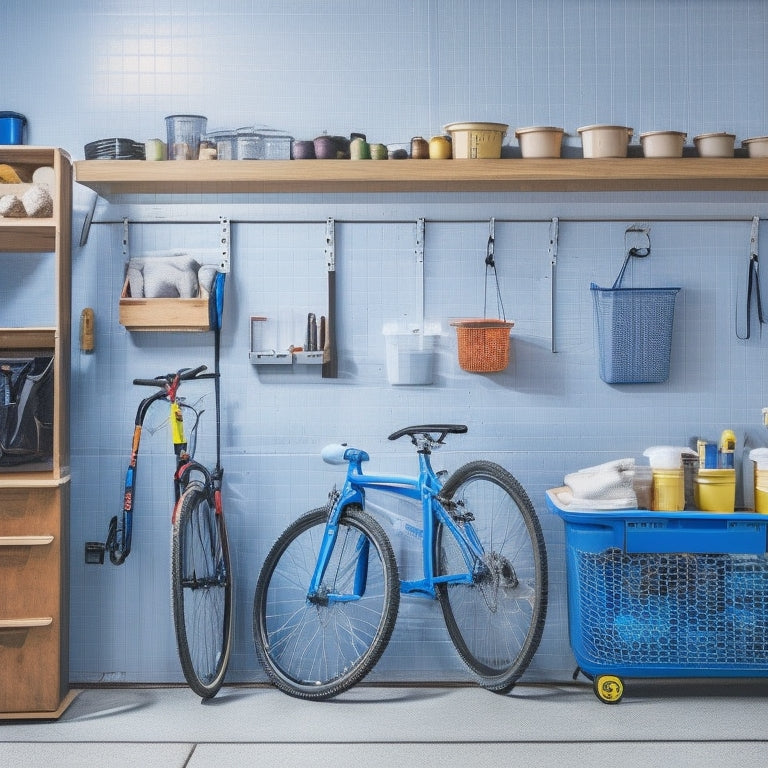
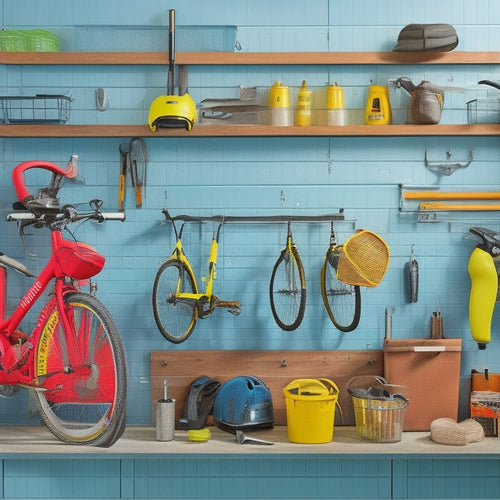
Customizing Your Pegboard Hooks
As you prepare to hang your pegboard, it's time to think about the specific hooks and accessories that will help you maximize your garage's storage potential. You'll want to choose hooks that fit your needs, and that's where customizing comes in. Consider the Hook Materials you need - will you opt for durable steel, rust-resistant aluminum, or heavy-duty plastic? Each material has its own benefits, so think about the weight and type of items you'll be storing.
Next, think about Specialty Hooks that'll help you corral specific items. Do you need hooks for hanging bikes, tools, or accessories? Maybe you need bins for storing small parts or baskets for holding larger items. Whatever your needs, there's a hook or accessory out there to help you stay organized.
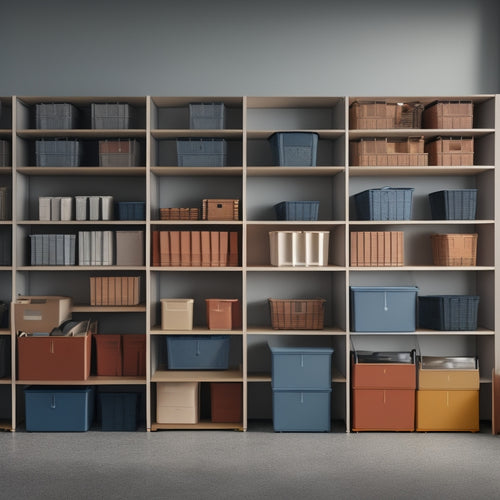
Maximizing Storage With Accessories
Frequently, the secret to maximizing storage potential on your pegboard lies in strategically incorporating accessories that complement your hooks. By doing so, you'll reveal a world of possibilities for organizing your garage, workshop, or storage space. Here are some essential accessories to ponder:
| Accessory | Description | Benefits |
|---|---|---|
| Bin Organization | Attachable bins for storing small items | Keeps small parts and accessories tidy, easy to find |
| Shelf Dividers | Vertical dividers for separating items on shelves | Prevents clutter, makes it easy to find what you need |
| Hanging Baskets | Suspended baskets for storing larger items | Frees up floor space, adds extra storage |
| Tool Holders | Specialized holders for specific tools | Keeps frequently used tools within easy reach |
| Cable Management | Clips and ties for organizing cords and cables | Reduces clutter, prevents tangles |
These accessories will help you optimize your pegboard's storage capacity, making it easier to find what you need when you need it. By incorporating these clever solutions, you'll be able to store more, stress less, and get back to tackling your projects with ease.
Common Pegboard Installation Mistakes
When you're installing a pegboard, it's easy to get caught up in the excitement of organizing your garage. But, if you're not careful, you might fall victim to some common mistakes that'll make your pegboard more frustrating than functional.
Take a step back and make sure you're avoiding these common pitfalls:
- Incorrect measurements
- A pegboard that's not level
- Hanging it too low
Incorrect Measurements
What's the most common culprit behind a pegboard installation gone wrong? It's incorrect measurements! You'd be surprised how often a simple measurement error can throw off your entire project. To avoid this mistake, make sure to double-check your measurements before drilling those holes or hammering in those pegs.
Here are some common measurement errors to watch out for:
-
Miscalculating the space between hooks: Make sure to measure the distance between your hooks accurately to avoid overcrowding or leaving too much empty space.
-
Incorrect wall measurements: Double-check the width and height of your wall to guarantee your pegboard fits snugly.
-
Misjudging the depth of your pegs: Measure the depth of your pegs to guarantee they fit comfortably on the board without protruding too far.
- Forgetting to account for obstructions: Take note of any obstructions like pipes or electrical outlets that may affect your pegboard's placement.
Pegboard Not Level
After verifying your measurements are accurate, you'll want to focus on getting your pegboard perfectly level, as a slight tilt can throw off the entire installation and make it look sloppy.
A wonky pegboard can be frustrating to work with and detract from the overall aesthetic of your garage. To avoid this common mistake, use a level to check the orientation of your wall and the pegboard. If you're installing multiple pegboards, make sure they're all aligned with each other.
When it comes to leveling methods, you can use a laser level or a traditional bubble level to guarantee accuracy. For added security, use wall anchors that are designed for your specific type of wall (drywall, concrete, or wood). These anchors will provide a sturdy base for your pegboard and prevent it from shifting over time.
Hanging Too Low
Frequently, DIYers hang their pegboards too low, which can lead to awkward bending or straining to reach tools and accessories. This common mistake can disrupt your workflow and create an uncomfortable working environment.
To avoid this, consider the following tips to make sure your pegboard is hung at a comfortable and visually appealing height:
-
Eye-level is key: Hang your pegboard so that the top row of hooks is at eye level or slightly below. This allows you to easily access tools without straining.
-
Aesthetics considerations: Consider the visual balance of your garage or workspace. A pegboard hung too low can throw off the entire aesthetic of the room.
-
Comfortable reach: Make sure the tools and accessories are within comfortable reach, avoiding the need to stretch or bend.
- Adjust for users: If multiple people will be using the pegboard, consider the height of the tallest user to ensure everyone can access tools comfortably.
Frequently Asked Questions
Can I Install a Pegboard on a Concrete or Brick Wall?
You can install a pegboard on a concrete or brick wall by using wall anchors specifically designed for masonry, and a drill with sturdy drill bits that can penetrate the hard surface.
Are Pegboards Suitable for Outdoor or High-Moisture Areas?
Imagine a pegboard weathering the storm, battered by rain and snow - but what if you want to install one outdoors? You'll need a weather-resistant pegboard with moisture protection, like those made from waterproof materials or coated with a protective finish.
Can I Use Pegboards for Heavy Tool Storage and Equipment?
When storing heavy tools, you'll need to take into account the pegboard's load capacity and weight distribution. Make sure to choose a sturdy board that can handle the weight, and arrange your tools thoughtfully to prevent overload and damage.
Do Pegboards Come With a Warranty or Guarantee?
You're wondering about warranty protection for your pegboard investment. Take, for instance, the Wall Control pegboard system, which offers a 10-year warranty. Typically, manufacturers provide a return policy within 30-60 days, ensuring you're covered in case of defects or dissatisfaction.
Are Pegboards Compatible With Existing Shelving Systems?
You're wondering if pegboards play nice with your existing shelving setup? Most pegboards are designed for shelf integration, making system upgrades a breeze. You can easily mix and match components to create a customized organization system that suits your needs.
Related Posts
-
Choosing the Right Stacked Storage Bins
When choosing the right stacked storage bins, you'll want to evaluate your storage needs, considering inventory types...
-

Top 7 Parts Tray Organizers for Productivity
You can optimize your workspace and enhance productivity with the right parts tray organizer, which can help you cate...
-
Benefits of Pegboard Racks in Your Garage
By installing a pegboard rack in your garage, you'll reveal a wealth of benefits that change your workspace into a hi...


