Drill Press Pegboard Organization Ideas to Get More Done
Share
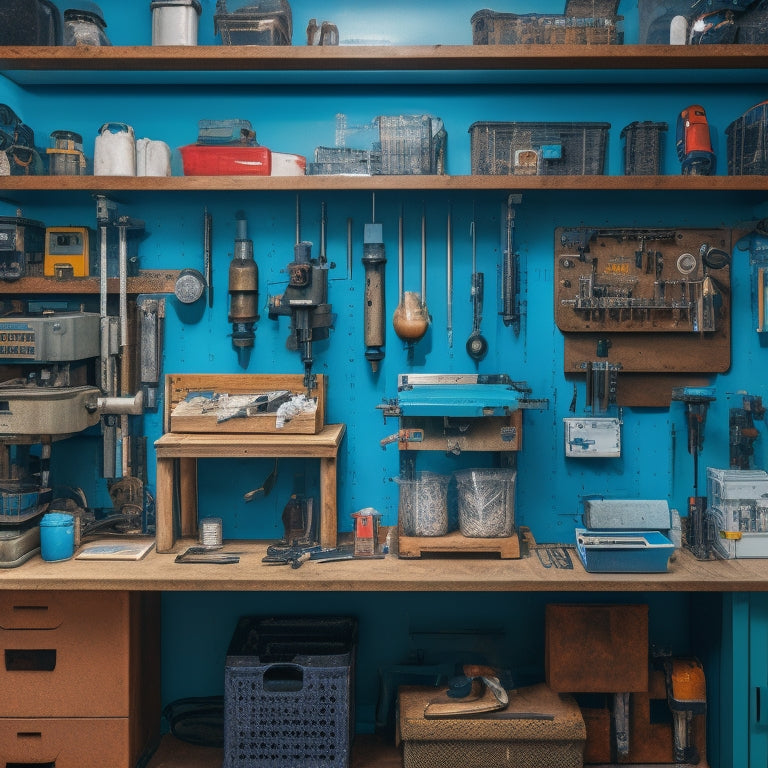
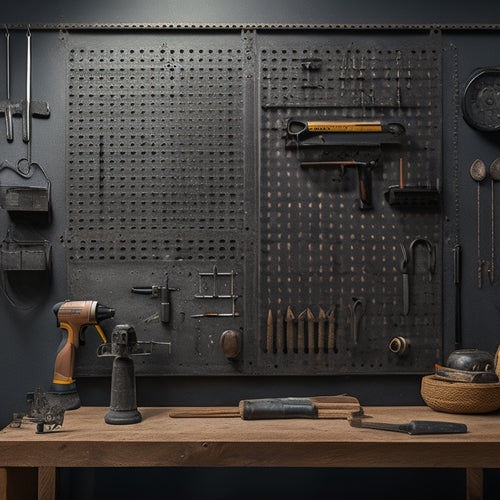
You're tired of wasting time searching for misplaced drill bits and accessories. To boost productivity, maximize your drill press pegboard's vertical storage space with hanging hooks, shelving units, and clutter-free zones. Proper labeling and signage are essential, so implement a color-coding system and use clear, concise labels. Organize tools by category, grouping similar items together, and consider a multi-tool station setup. Don't forget to explore custom hook options, magnetic strip storage, and ergonomic pegboard configurations. By streamlining your workspace, you'll get more done in less time - and there are even more strategies waiting to be discovered.
Key Takeaways
• Maximize vertical storage space by incorporating hanging hooks, shelving units, and clutter-free zones to focus on projects efficiently.
• Implement a tool-specific pegboard layout with color-coding, grouping similar tools, and placing frequently used tools in easy-to-reach locations.
• Organize drill bits using size labeling systems, color-coding, and storage options like drawers or trays to reduce search time and increase productivity.
• Utilize cord management strategies like cable ties, clips, and cord stations to prevent tangling and tripping hazards, and focus on projects without interruptions.
• Create a customized pegboard organization system with magnetic strips, hooks, and bins to reduce tool loss, declutter the workspace, and enhance accessibility.
Maximize Vertical Storage Space
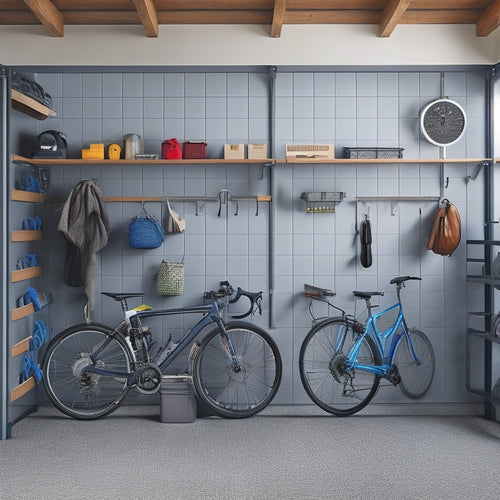
You can greatly expand your drill press pegboard's storage capacity by incorporating vertical storage solutions that take advantage of often-wasted space above and below the pegboard. By doing so, you'll create a more efficient and organized workspace, allowing you to focus on your projects rather than searching for misplaced tools.
Install hanging hooks above your pegboard to store infrequently used items, such as drill bits, sanding drums, or other accessories. This will keep them within easy reach while freeing up valuable space on your pegboard.
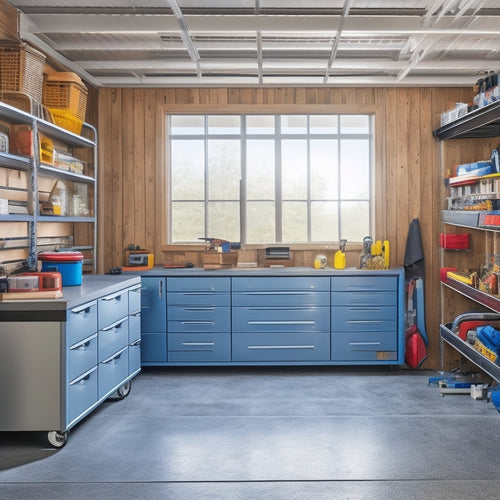
Consider adding shelving units below your pegboard to store larger items like drill presses, sanders, or other machinery. This will keep your workspace clutter-free and make it easier to move around.
Labeling and Signage Essentials
Proper labeling and signage are essential to maintaining a well-organized drill press pegboard, allowing it to function at its full potential. You'll be able to quickly identify where each tool is stored, saving you time and reducing frustration.
To take your labeling to the next level, consider implementing a color-coding system. Assign a specific color to each tool type or category, and use corresponding labels or stickers to differentiate them. This visual aid will make it easy to scan your pegboard and find what you need in an instant.
In addition to color coding, use clear and concise labels to identify each tool's name and purpose. You can also include additional information, such as the tool's size or type, to help you make quick decisions. Visual aids like icons or images can also be used to supplement your labeling system, making it even easier to understand at a glance.
Tool-Specific Pegboard Layouts
By grouping similar tools together and strategically placing them on your pegboard, you can create a customized layout that streamlines your workflow and maximizes efficiency. This approach allows you to quickly identify and access the tools you need, reducing downtime and increasing productivity.
When designing your tool-specific pegboard layout, consider the frequency of use and the type of projects you typically work on. Place your most frequently used tools in easy-to-reach locations, and group them by category, such as drilling, cutting, or measuring. This will help you develop muscle memory and make it easier to navigate your pegboard.
To take your organization to the next level, incorporate color coding into your layout. Use different colored hooks, bins, or labels to categorize your tools and create visual distinction. For example, you could use red for drilling tools, blue for cutting tools, and green for measuring tools. This visual system will help you quickly identify the tools you need, even in a cluttered workshop.
Drill Bit Organization Systems
When it comes to drill bit organization systems, you're likely seeking ways to maximize storage and simplify access to your bits.
You'll want to explore bit storage options that keep your bits organized, protected, and within easy reach.
A size labeling system will also aid you in quickly identifying and retrieving the right bit for your project.
Bit Storage Options
You'll need a reliable drill bit organization system to keep your bits organized, easily accessible, and protected from damage. A well-planned storage system will save you time and frustration when working on projects.
Consider using a color-coding system to categorize your drill bits by type or size. This visual system makes it easy to identify the right bit for the job. You can also use drawer dividers to separate bits by category, keeping similar bits together and preventing them from getting mixed up.
Another effective storage option is a drill bit holder or tray. These holders usually have individual slots for each bit, keeping them organized and preventing them from rolling around. You can mount these holders on your pegboard or place them in a nearby drawer for easy access.
When choosing a storage system, think about the type of projects you typically work on and the types of drill bits you use most often. This will help you design a system that meets your specific needs and keeps your bits organized and within reach.
Size Labeling System
To further optimize your drill bit organization, implement a size labeling system that assigns a unique identifier to each bit based on its diameter or length, ensuring you can quickly identify and retrieve the right bit for your task. This system will save you time and frustration, allowing you to focus on the task at hand.
Here are three ways to take your size labeling system to the next level:
-
Color coding: Use different colored labels or stickers to categorize bits by size or type, making it easy to scan and find the right bit.
-
Alphabetical arrangement: Organize your bits in alphabetical order by size, ensuring that similar bits are grouped together and easy to access.
-
Size range grouping: Group bits by size range (e.g., 1/16' to 1/8', 1/8' to 1/4', etc.), allowing you to quickly find the right bit for your specific task.
Accessories and Attachment Storage
Organize your drill press accessories and attachments by designating specific pegboard zones for each type, ensuring easy access and visibility. This attachment display strategy optimizes space and allows you to quickly identify what you need.
For instance, you can allocate a zone for drill bits, another for sanding drums, and a third for countersink bits. This visual organization system helps you locate the right accessory in seconds, saving you time and increasing tool efficiency.
You can also use bins, baskets, or small containers to store smaller accessories like collets, keyless chucks, or drill press vise accessories. Label each container so you can easily find what you need.
Consider installing a pegboard with adjustable hooks or bins to accommodate accessories of different sizes. By organizing your accessories and attachments in a logical and visible manner, you'll reduce clutter, increase productivity, and make your workshop a more enjoyable place to work.
Cord Management Strategies
Tangled cords and hoses can quickly overwhelm your drill press workspace, making it essential to implement effective cord management strategies to maintain a clutter-free and safe environment. You can't afford to waste time searching for misplaced cords or dealing with tripping hazards. By implementing cord management strategies, you'll be able to focus on your projects without interruptions.
Here are three cord management strategies to take into account:
-
Use cable ties and clips to keep cords organized and secured to the pegboard or a nearby surface. This will prevent cords from getting tangled and make it easier to access the tools you need.
-
Utilize vertical storage by installing cord organizers or hooks on the pegboard or nearby walls. This will maximize space utilization and keep your workspace clutter-free.
-
Designate a cord station where you can store and manage cords, hoses, and other accessories. This will help you maintain an organized and efficient workspace.
Custom Pegboard Design Ideas
You can maximize the full potential of your drill press pegboard by designing a custom layout that caters to your specific needs and workflow. This allows you to create a tailored system that streamlines your work process and boosts productivity.
Consider a color-coded pegboard design, where different tools and accessories are organized by category or frequency of use. This visual system helps you quickly identify what you need, reducing downtime and increasing efficiency.
Pegboard hooks are another essential component of a custom design. Choose hooks that are specifically designed for your drill press pegboard, and consider using a mix of short and long hooks to accommodate different tool sizes. You can also use hooks with labels or color-coding to further categorize your tools.
Magnetic Strip Storage Solutions
By incorporating magnetic strip storage solutions into your drill press pegboard, you'll be able to store small metal tools and accessories within easy reach. This won't only declutter your workspace but also reduce the time spent searching for misplaced items.
Here are three benefits of using magnetic strip storage solutions:
-
Easy tool retrieval: Magnetic strips allow you to store tools like drill bits, screwdrivers, and wrenches in a compact and organized manner, making them easily accessible when needed.
-
Reduced tool loss: By storing tools in a designated area, you'll reduce the likelihood of misplacing them, saving you time and frustration.
-
Customization options: Magnetic strips can be paired with storage container solutions or used as magnetic strip alternatives to create a customized storage system that suits your specific needs.
Multi-Tool Station Setup
As you set up your multi-tool station, you'll want to evaluate the best way to mount your tools for easy access.
You'll need to decide whether utilize pegs, clips, or a combination of both to keep your tools organized and within reach.
Tool Mounting Options
A pegboard's versatility is maximized with a multi-tool station setup, where multiple drill press accessories are mounted within easy reach, streamlining your workflow and boosting productivity. By cleverly utilizing tool mounting techniques, you can optimize your space and make the most of your pegboard.
Here are three essential tool mounting options to ponder:
-
Magnetic strips: Perfect for small accessories like drill bits and drivers, magnetic strips keep them organized and easily accessible.
-
Hook and bin combinations: Ideal for storing larger items like sanders and saws, these combos keep your tools organized and prevent clutter.
-
Adjustable tool holders: Customizable to fit your specific tools, these holders guarantee a snug fit and can be rearranged as needed.
Efficient Storage Solutions
You can create a multi-tool station setup that streamlines your workflow by strategically allocating space on your pegboard to specific drill press accessories. This efficient storage solution enables you to access the tools you need quickly, reducing downtime and increasing productivity.
Begin by grouping similar tools together, such as drill bits, countersinks, and sanding drums. Assign a designated spot for each tool, ensuring they're easy to retrieve and return.
Implementing a tool organization system like this promotes workspace efficiency, as you'll no longer waste time searching for misplaced tools. Label each station to maintain organization and encourage consistent returns. Consider adding a small tray or container to catch small parts or debris, keeping your workspace tidy.
Ergonomic Pegboard Configuration
Optimizing your pegboard's layout demands careful consideration of your body's natural movement patterns and workflow habits to create an ergonomic configuration that boosts efficiency and reduces fatigue. By doing so, you'll be able to work for extended periods without discomfort or strain.
To achieve this, consider the following key factors:
-
Height adjustment: Ensure your pegboard is at a comfortable height that allows you to stand or sit with good posture, minimizing strain on your back and shoulders.
-
Tool accessibility: Place frequently used tools and accessories within easy reach, reducing the need for excessive stretching or bending.
-
Workflow flow: Organize your tools and materials in a logical sequence, following the order in which you typically use them, to streamline your workflow and reduce downtime.
Frequently Asked Questions
Can I Use a Drill Press Pegboard With a Table Saw or Router?
When you're optimizing your workshop space, you'll wonder: can I use a drill press pegboard with a table saw or router? Yes, you can, but prioritize power tool safety and guarantee proper clearance to avoid accidents and maximize efficiency.
Are Pegboards Compatible With All Drill Press Models and Brands?
You'll find that pegboard compatibility varies across drill press models and brands, but most modern drill presses offer versatility, allowing you to adapt a pegboard to your specific machine with minimal modifications.
How Do I Prevent Drill Bits From Falling off the Pegboard?
"Don't worry, you won't lose those tiny drill bits! You'll prevent them from falling off by using sturdy drill bit holders and clever organization strategies, keeping your workspace clutter-free and your storage solutions on point."
Can I Mount a Pegboard on a Wall or Only on a Drill Press?
You can definitely mount a pegboard on a wall, giving you versatility and space-saving benefits. This alternative solution allows you to free up floor space and easily access your drill bits, making your workspace more efficient.
Are Drill Press Pegboards Suitable for Small or Cramped Workshops?
"In a cramped workshop, you're the master of juggling space, and drill press pegboards can be your trusty sidekick, offering space-saving solutions and alternative storage options to maximize every inch, making the most of your work area."
Related Posts
-

Heavy-Duty Pegboard Hooks for Industrial Use
You need heavy-duty pegboard hooks that can withstand the rigors of industrial use, providing a reliable and efficien...
-

Key Features of a Garage Wall Hanging System
You're looking for a garage wall hanging system that's built to last and adapts to your needs. Look for systems made ...
-

Top Rolling Tool Box Drawers for Maximum Storage
When it comes to maximizing storage with rolling tool box drawers, you need a solution that combines durability, cust...


