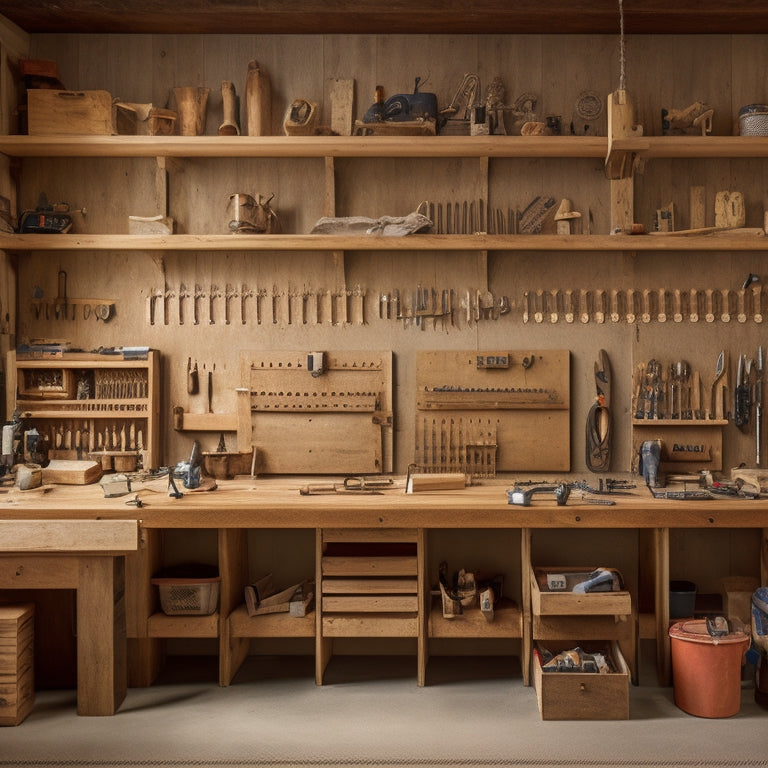
DIY Workcenter Project: Unleashing Creativity and Function
Share
I designed and built my DIY workcenter to spark creativity and function, combining efficient tool organization, sturdy construction, and a visually appealing design. I applied woodworking techniques to optimize space, strategically using friction and screws for stability. I mounted the workcenter to a vacuum, utilizing long, coarse threaded screws for a secure connection. I refined the design for functionality and aesthetics, experimenting with different finishes to protect and enhance the wood. With a focus on refining the design, I'm excited to see how my DIY workcenter evolves to meet my evolving needs.
Key Takeaways
• Apply woodworking techniques to optimize space and create a functional workcenter with tool organization in mind.
• Strategically use friction and screws for a sturdy structure, employing dry fitting and glue-up steps for a precise fit.
• Mount the workcenter on three legs outside the Systainer footprint using long, coarse threaded screws for stability.
• Focus on refining the design to maximize utility, considering redesigning elements for improved stability and functionality.
• Continuously test and refine the design to meet user needs, driving innovation and creativity in future DIY workcenter projects.
Designing and Building the Workcenter
How do I translate my inspiration from Festool's Workcenter Organizer WCR 1000 into a functional DIY project utilizing spare Baltic birch plywood?
I began by applying my woodworking techniques to optimize space and create a functional workcenter.
I designed the project with tool organization in mind, incorporating creative solutions to maximize storage capacity.
By strategically using friction and strategic screws, I assembled the workcenter, guaranteeing a sturdy structure.
I employed dry fitting and glue-up steps to secure a precise fit.
Throughout the process, I considered design flaws and potential challenges, making adjustments as needed.
The result is a functional workcenter that showcases my ability to think creatively and translate inspiration into a practical DIY project.
Mounting the Workcenter to Vacuum
I turned my attention to securing the workcenter to my vacuum, a critical step in creating a functional and efficient workstation.
I utilized long, coarse threaded screws to guarantee mounting stability and retained the hose garage to keep the workspace organized.
By mounting the workcenter on three legs outside the Systainer footprint, I achieved a strong and sturdy connection.
However, I encountered screw thread challenges during the hardware finishing process, which added complexity to the task.
Despite these obstacles, I successfully mounted the workcenter to the vacuum, establishing a secure and efficient workstation that meets my needs.
Finishing and Staining the Wood
After assembling the workcenter, I turned my attention to refining its appearance and protecting the wood through a meticulous finishing and staining process. I opted for a multi-step approach, starting with soaking the wood in vinegar to remove the zinc coating. Next, I applied Arm-R-Seal and General Finishes milk paint, followed by a High Performance finish for a glossy touch. The staining process was time-consuming, but the end result was well worth the effort.
Here are some key takeaways from my finishing and staining experience:
-
Staining techniques: Soaking the wood in vinegar effectively removed the zinc coating, allowing for a smooth finish.
-
Finishing options: I considered various finishes, ultimately choosing a combination of Arm-R-Seal, milk paint, and High Performance finish.
-
Woodworking tips: Working with Baltic birch plywood required patience and attention to detail to achieve a professional-looking finish.
- Design considerations: The finishing process influenced my design decisions, as I prioritized functionality and aesthetics in the final product.
Assembling and Refining the Design
With the finishing and staining process complete, I moved on to assembling the workcenter, carefully installing the mounting posts and pegboard divider to guarantee a sturdy and functional design.
I refined the layout to maximize utility, ensuring each component had a designated space. The pegboard divider, although functional, didn't quite meet my expectations, and I considered redesigning it for improved stability and utility.
I assembled the organizer, taking care to secure the mounting posts and ensuring the entire structure was robust. Throughout the process, I focused on refining the design to create a workcenter that's both functional and efficient.
Lessons Learned and Future Plans
The DIY workcenter project has yielded valuable insights and identified areas for improvement, paving the way for future refinements and potential redesigns. Through this project, I've learned that improving efficiency and maximizing utility require careful consideration of design and materials. In hindsight, using 5/8 Baltic birch plywood was overkill, and a fixed CNC machine would've streamlined the process.
Here are some key takeaways:
-
Optimize materials: Choose materials that balance durability and weight, ensuring the workcenter is stable yet portable.
-
Streamline assembly: Design the workcenter with ease of assembly in mind, minimizing the number of components and complexity.
-
Prioritize finish: Focus on a finish that enhances the workcenter's functionality, rather than aesthetics.
- Test and refine: Continuously test and refine the design to make certain it meets the needs of the user.
These lessons will inform my future plans, driving innovation and creativity in my DIY workcenter project.
Frequently Asked Questions
What Inspired the DIY Workcenter Project Design?
I drew inspiration from my personal taste for efficient workspaces and desire for creative freedom, seeking to craft a customized solution that merged functionality with aesthetics, ultimately driving the design of my DIY workcenter project.
How Do the Three Legs Affect the Workcenter's Stability?
I put my workcenter's stability to the test, and I'm amazed - those three legs can hold a small elephant! Seriously, they provide rock-solid stability, easily handling my weight capacity demands, making me confident in its ability to withstand heavy loads.
Can I Use a Different Type of Wood Instead of Baltic Birch?
I'd consider wood alternatives like MDF, plywood, or oriented strand board (OSB), weighing cost comparisons and durability; for instance, MDF might be cheaper, but it's denser and heavier, affecting the workcenter's overall stability.
Are the Mounting Posts Removable for Easy Storage?
'Just like a traveler sheds burdensome luggage, I designed my workcenter's mounting posts to be detachable, liberating portability options and disassembly benefits, allowing me to effortlessly stow and rearrange my creative sanctuary.'
Can I Add More Features or Accessories to the Workcenter Later?
"I can definitely add more features or accessories to my workcenter later, allowing for future upgrades and endless customization options, which is exactly what I need to maximize its functionality and adapt to my evolving needs."
Related Posts
-

Wall Mounted Hooks With Shelf for Maximum Storage
You'll find that wall mounted hooks with a shelf are a revolutionary solution for maximizing storage in your home, pr...
-

10 Essential Steps for Small Parts Bin Storage
To optimize your small parts bin storage, start by defining your storage needs and goals, considering factors like av...
-

Modular Garage Organizers for Clutter-Free Spaces
You're likely wasting precious space in your garage due to inefficient storage and poor organization, but modular gar...


