DIY Tool Storage for Beginners
Share
You'll start by evaluating your tool collection, categorizing them into handheld, power, and specialty groups, and identifying duplicates or unnecessary items to declutter and refine your collection. Next, choose the right storage type based on tool size and shape, and examine available storage space in your DIY area. You'll then build a basic toolbox, create a pegboard system, and employ vertical storage space to optimize your workspace. As you progress, you'll learn strategies for organizing small tools and accessories, designing a DIY tool cart and workstation, and maintaining your storage system. As you take the first steps in creating your DIY tool storage system, you'll reveal a more efficient and productive workshop.
Key Takeaways
- Categorize tools into handheld, power, and specialty groups to visualize your collection and identify storage needs.
- Assess tool size and shape to determine storage solutions, considering length, width, and fragility.
- Optimize storage space by repurposing areas like walls, ceilings, or corners and utilizing vertical storage options.
- Build or choose a toolbox with durable materials, considering size, shape, and organization inside the box.
- Plan a pegboard system, strategically placing tools for optimal organization, and ensuring the system aligns with specific storage needs.
Assessing Your Tool Collection
With your DIY project in mind, take a step back and gaze upon your tool collection. This is where you evaluate what you have, what you need, and how you'll store it all safely and efficiently.
Begin by categorizing your tools into groups like handheld, power, and specialty tools. This will help you visualize your storage needs. Next, consider the storage material options available to you, such as wood, metal, or plastic. Think about the durability and accessibility each material offers.
Once you've grouped and considered your tools, identify any duplicates or unnecessary items. This is an opportunity to declutter and refine your collection.
Take note of the tools you use most frequently and prioritize their storage. This will guarantee easy access when you need them.
Choosing the Right Storage Type
You need to contemplate the types of storage you'll require, such as shelves, cabinets, or drawers, based on the specific tools you'll be storing.
The size and shape of your tools will also influence your storage type, as larger or oddly-shaped tools may require custom storage solutions.
Additionally, you'll need to assess the available storage space in your DIY area to determine the most efficient way to organize your tools.
Types of Storage Needed
Determining the types of storage needed for your DIY tools is essential to creating an organized and functional workspace.
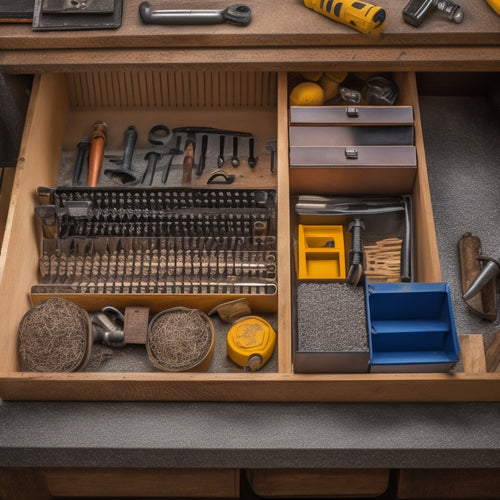
You'll want to take into account the tool types you have and the storage materials that will best suit them. For instance, if you have a lot of small tools like screwdrivers and pliers, you'll need storage with small compartments or dividers to keep them organized.
On the other hand, if you have larger tools like power saws and drills, you'll need more spacious storage with sturdy shelves or hooks.
You may also need to take into account the weight and fragility of your tools when choosing storage materials. For example, if you have heavy tools, you'll want storage made from durable materials like metal or heavy-duty plastic.
If you have fragile tools, you'll want storage with cushioning or padding to protect them from damage.
Lastly, think about the frequency of use and accessibility when determining the types of storage needed. Tools you use daily should be easily accessible, while less frequently used tools can be stored in harder-to-reach areas.
Tool Size and Shape
Tool size and shape play a significant role in choosing the right storage type. You'll want to take into account the dimensions of each tool to guarantee they fit comfortably in their designated storage space. This is essential for maintaining organization, preventing damage, and reducing the risk of accidents.
When evaluating tool size and shape, keep the following factors in mind:
-
Long and slender tools: Drill bits, screwdrivers, and pliers require storage with sufficient length and width to accommodate their shape.
-
Bulky tools: Power tools, such as circular saws and jigsaws, need storage with ample space to fit their larger dimensions.
-
Small and delicate tools: Precision tools, like wrenches and pliers, require storage with individual compartments to prevent scratching and tangling.
- Irregularly shaped tools: Tools with unique shapes, like hammers and trowels, need storage with customizable compartments or dividers to secure them safely.
Storage Space Availability
Having assessed the size and shape of your tools, it's now crucial to evaluate the storage space available in your workshop or garage. You need to determine how much space you have to dedicate to tool storage and identify any obstacles or challenges that may impact your storage solutions.
Consider the overall dimensions of your workshop or garage, as well as any existing storage units, shelves, or cabinets. Measure the width, depth, and height of each area to guarantee you choose storage solutions that fit comfortably.
Optimize your space by identifying areas that can be repurposed for tool storage, such as walls, ceilings, or corners. Consider vertical storage options like pegboards, hooks, or overhead storage racks to maximize your space.
Space optimization is key to creating an efficient and safe working environment. By evaluating your storage space availability, you'll be able to choose the right storage type that meets your tool storage needs and guarantees easy access to your tools. This will help you work more efficiently and reduce the risk of accidents caused by cluttered workspaces.
Building a Basic Toolbox
Your workspace is cluttered with scattered tools, making it difficult to find what you need when you need it.
This disorganization not only wastes time but also increases the risk of accidents and tool damage. A basic toolbox is a simple solution to this problem.
To get started, consider the following key elements:
-
Toolbox materials: You'll need a durable material like wood, metal, or plastic to build your toolbox. Each has its pros and cons, so choose one that fits your needs and skill level.
-
Toolbox design: Think about the size and shape of your toolbox. Will it be a compact box or a larger chest? Do you need separate compartments or dividers?
-
Tool organization: Plan how you'll organize your tools inside the box. You may want to use small trays or bins to store small items like screws or nails.
- Portability: Consider adding handles or a lid to make your toolbox easy to move around your workspace.
With these elements in mind, you'll be well on your way to building a basic toolbox that keeps your tools organized and within reach.
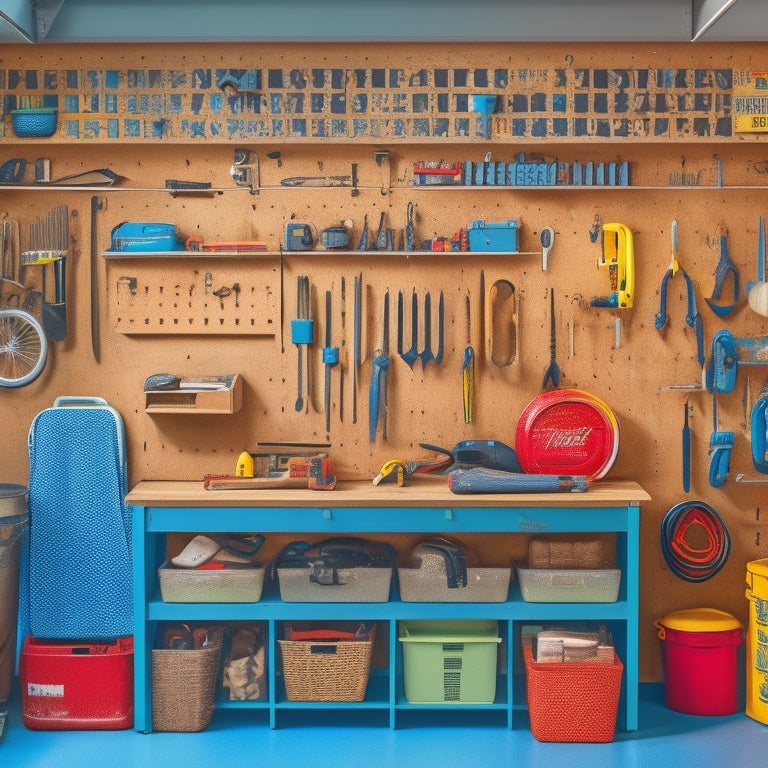
Creating a Pegboard System
You'll get the most out of your pegboard system by planning its layout carefully, considering the tools you use most frequently and the space you have available.
To maximize efficiency, it's crucial to identify the most accessible and convenient spots for your tools, so you can quickly grab what you need when you need it.
Pegboard Planning Essentials
Pegboard planning is an essential step in creating an efficient DIY tool storage system, as it allows you to maximize your available wall space and tailor your storage to your specific needs.
Before you start drilling holes and hanging pegs, take some time to plan your pegboard layout. This will guarantee you make the most of your space and avoid costly mistakes.
Consider the following essential factors when planning your pegboard:
-
Pegboard materials: Choose a durable material that can support the weight of your tools, such as plywood or MDF.
-
Mounting options: Decide how you'll attach your pegboard to the wall, such as using screws, nails, or adhesive strips.
-
Tool placement: Think about the tools you'll be storing and how you'll organize them on the pegboard.
- Expansion potential: Consider whether you'll need to add more pegs or accessories in the future.
Tool Placement Strategies
With your pegboard plan in place, it's time to think strategically about tool placement. You want to guarantee that your most frequently used tools are easily accessible, while less frequently used tools are stored out of the way.
Start by grouping similar tools together, such as all your hammers or screwdrivers. This will make it easier to find what you need when you need it.
Next, consider the "golden zone" – the area between your waist and shoulder height. This is the most comfortable area for reaching and should be reserved for your most frequently used tools. Less frequently used tools can be stored above or below this zone.
When organizing your pegboard, think about the workflow of your projects. Store tools in the order you'll need them to minimize walking back and forth.
Utilizing Vertical Storage Space
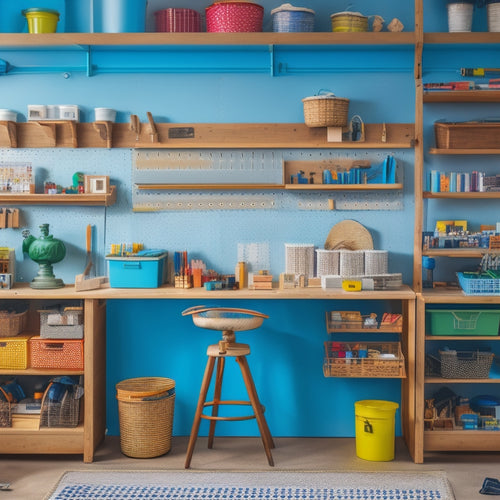
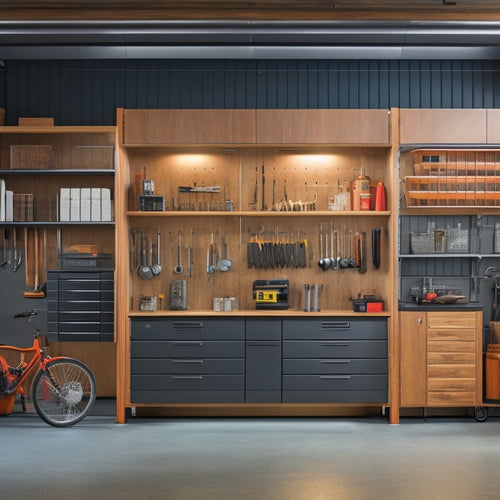
Hanging tools and accessories on walls or ceilings maximizes your garage or workshop's vertical storage space, keeping frequently used items within easy reach while freeing up precious floor space for heavier equipment or larger projects.
You can employ vertical storage space by installing:
-
Vertical shelving units to hold bins, baskets, or boxes containing items like nuts, bolts, and screws
-
Wall-mounted racks for hanging long-handled tools like shovels, rakes, and hoes
-
Hooks for hanging items like bikes, ladders, or cords
- Overhead storage racks for infrequently used items like seasonal decorations or out-of-season sporting equipment
Organizing Small Tools and Accessories
Organizing Small Tools and Accessories
Sort through your small tools and accessories to identify what you need to organize. This will help you determine the best storage solutions for each item. Consider the frequency of use, size, and shape of each tool or accessory.
| Tool/Accessory | Storage Solution |
|---|---|
| Small screwdrivers | Magnetic strip or small tray |
| Drill bits | Bit organizer or small container |
| Electrical connectors | Small compartmentalized box |
| Safety glasses | Hook or clip near workspace |
When organizing small tools and accessories, consider using dividers, bins, or compartments to keep similar items together. Label each storage solution so you can quickly find what you need. This will save you time and reduce frustration. Proper tool organization and accessory storage will also help prevent loss or damage to your tools, ensuring your safety while working.
DIY Tool Cart and Workstation
Now that you've sorted and organized your small tools and accessories, it's time to create a DIY tool cart and workstation that allows you to efficiently access and use them.
This workstation will be the hub of your DIY operations, providing a safe and convenient space to tackle projects.
To create an effective tool cart and workstation, consider the following key features:
- A sturdy, mobile base that can support the weight of your tools and withstand the rigors of frequent use
- Multiple storage compartments, such as drawers, shelves, and hooks, to keep your tools and accessories organized and within reach
- A durable, easy-to-clean work surface that can withstand spills and scratches
- Integrated power outlets and USB ports to keep your devices charged and ready to use
When designing your workstation, think about the tool cart features and workstation accessories that will make your workflow more efficient.
A well-planned DIY tool cart and workstation will help you stay focused on your projects and avoid wasting time searching for misplaced tools.
Maintaining Your Storage System
With your DIY tool cart and workstation up and running, it is essential to establish habits and routines that maintain your storage system's organization and efficiency.
Regularly perform tool maintenance by cleaning and lubricating tools to prevent rust and damage. Set aside time for storage cleaning to remove dust, dirt, and debris that can hinder tool accessibility and efficient retrieval. Implement an inventory tracking system to keep tabs on your tools and materials, guaranteeing you're always prepared for your next project.
To guarantee your storage system remains user-friendly, incorporate labeling systems and seasonal organization. This enables you to quickly locate the tools you need and adapt your storage to accommodate changing project demands.
Periodic auditing helps identify areas for improvement and prevents damage to your tools and storage system. By following these best practices, you'll maintain a safe, organized, and efficient storage system that supports your DIY projects.
| Task | Frequency | Purpose |
|---|---|---|
| Tool maintenance | Monthly | Prevent rust and damage |
| Storage cleaning | Quarterly | Remove dust, dirt, and debris |
| Inventory tracking | Ongoing | Guarantee tool availability |
| Seasonal organization | Seasonally | Adapt to changing project demands |
| Periodic auditing | Bi-annually | Identify areas for improvement |
Frequently Asked Questions
Can I Mix DIY and Store-Bought Storage Solutions?
You can definitely mix DIY and store-bought storage solutions, creating hybrid solutions that fit your needs and budget. By combining budget options, you'll save money and create a customized system that's both functional and safe.
How Do I Store Tools With Awkward Shapes or Sizes?
You'll need creative solutions for storing tools with unusual shapes or sizes. Consider using hanging racks for long, thin items or custom bins with dividers to keep irregularly-shaped tools organized and within easy reach.
Are There Any Safety Considerations for Tool Storage?
You'd be amazed how many hazards lurk in your tool storage! Make certain you're not creating a recipe for disaster by prioritizing tool accessibility, choosing storage materials that prevent rust and corrosion, and keeping flammable materials far from heat sources.
Can I Use DIY Storage for Tools in a Small Apartment?
In your small apartment, you'll face unique constraints, but don't worry, you can still find creative solutions for DIY tool storage that work for you, like repurposed furniture or wall-mounted organizers, to keep your tools safe and within reach.
How Do I Keep My Tool Storage System Organized Over Time?
You'll maintain your tool storage system's organization by implementing labeling techniques, like categorizing and color-coding, and committing to seasonal maintenance, like purging unused items and cleaning surfaces, to keep your setup efficient and safe.
Conclusion
You've built a DIY tool storage system that's a well-oiled machine, efficiently housing your tools and accessories. Just like a conductor leads an orchestra, your organized workspace now harmoniously guides you through projects. With a solid foundation in place, maintaining your storage system will be a breeze, allowing you to focus on creating masterpieces rather than searching for lost tools. Regular tune-ups will guarantee your system stays in perfect pitch, and you'll be playing to the beat of productivity in no time!
Related Posts
-

Best Screw Storage Bins for Organizing Your Toolbox
You need a reliable screw storage system to maximize your productivity and efficiency, and that's exactly what the ri...
-

Creative Workshop Storage Solutions and Ideas
You can revolutionize your workshop's storage by maximizing vertical space with wall-mounted racks, utilizing hidden ...
-

Best Materials for Garage Wall-Mounted Cabinets
When selecting materials for your garage wall-mounted cabinets, you'll want to evaluate options that balance durabili...


