DIY Garden Tool Organizer: Organize With Style
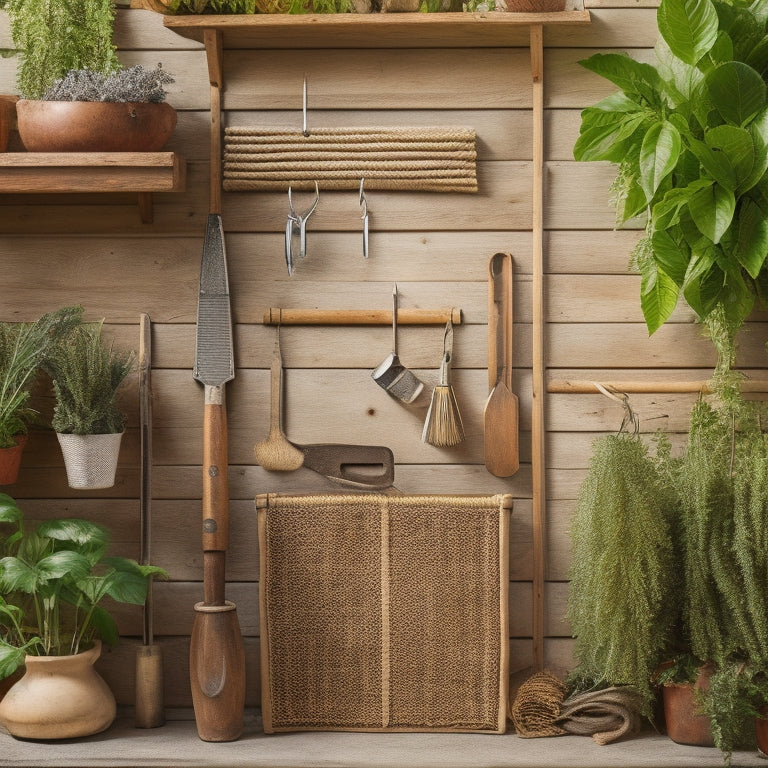
I'm excited to share my secrets for creating a DIY garden tool organizer that's both functional and stylish! To get started, I prep my organizer by securing heavier tools at the bottom and removing any unnecessary compartments. Then, I add a personal touch with vinyl graphics and labels that reflect my gardening personality. Finally, I hang my organizer on a pegboard wall or over a door, using hooks to secure my tools and keeping my gardening gloves easily accessible. With these simple steps, you can create a one-of-a-kind organizer that makes gardening a breeze - and adds a dash of style to your garden routine, too!
Key Takeaways
• Secure heavier tools at the bottom and remove unnecessary compartments to create a functional and stylish organizer.
• Add vinyl graphics and labels to personalize the organizer and make tools easily identifiable.
• Hang the organizer on a pegboard wall or over a door to maximize space and keep tools within easy reach.
• Store heavy tools at the bottom, keep gloves in an easy-to-reach pocket, and group pruning tools together for efficient access.
• A DIY garden tool organizer adds style to the gardening routine, makes tasks more efficient, and reflects the gardener's personality.
Prepare the Organizer
Securing the heavier tools at the bottom to prevent the organizer from toppling over is the next step in transforming my fabric over-the-door shoe organizer into a functional garden tool organizer that suits my needs.
I want to maximize the space for my gardening essentials, so I'm removing any unnecessary compartments. Next, I'll choose the perfect fabric for my organizer - something durable and easy to clean. I've opted for a sturdy canvas that can withstand the outdoors.
With my fabric selected, I can start envisioning the layout of my tools. I'll make sure the heavier tools are placed at the bottom to prevent the organizer from toppling over.
Now that my organizer is prepped, I'm ready to add the finishing touches and turn it into a stylish and practical garden tool haven.
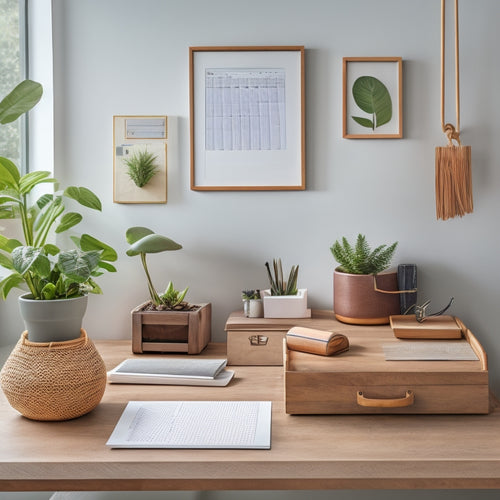
Add Vinyl Graphics and Labels
With my organizer prepped and ready, I'm excited to add a personal touch with vinyl graphics and labels that won't only make it look visually appealing but also help me quickly identify where each tool is stored.
I've got a few vinyl design ideas in mind, from cute gardening-themed icons to simple, bold text labels. For custom label placement, I'll strategically position them on each pocket to guarantee easy tool identification.
Using creative labeling and graphic placement techniques, I'll add a pop of color and personality to my organizer. I'll carefully iron on the designs, making sure they're secure and evenly spaced.
With these finishing touches, my DIY garden tool organizer is taking shape, and I can't wait to hang it up and get organized!
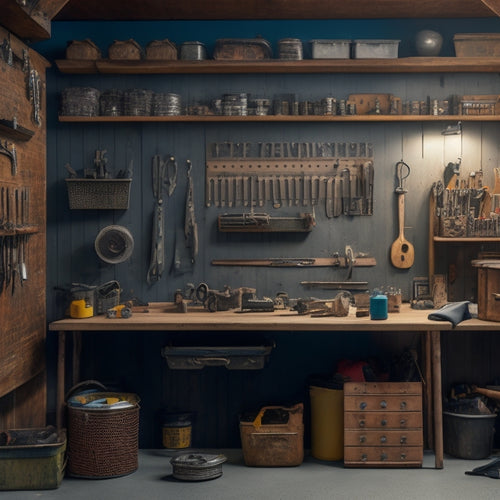
Hang and Organize Tools
Now that my DIY garden tool organizer is fully customized with vinyl graphics and labels, I'm ready to hang it up and fill it with my gardening essentials. To maximize space, I'll hang it on a pegboard wall or over a door, using hooks to secure it. This will provide ample tool storage and keep my gardening gloves easily accessible.
| Tool Category | Storage Tip |
|---|---|
| Heavy Tools | Store at the bottom to prevent falling |
| Gloves | Keep in an easy-to-reach pocket |
| Small Tools | Store in smaller pockets to prevent loss |
| Pruning Tools | Store together for easy access |
Frequently Asked Questions
Can I Use a Different Type of Fabric for the Organizer?
"I can definitely experiment with different fabrics for my organizer, considering durability and pattern options. I'll choose a sturdy, water-resistant material that fits my style, ensuring my tools stay organized and within reach."
How Do I Clean the Garden Tool Organizer?
I'm a tidy person, but even I need reminders to clean my garden tool organizer! For daily maintenance, I simply wipe it down with a damp cloth, while for deep cleaning, I remove the tools and soak the fabric in warm soapy water.
Are There Alternative Ways to Attach the Organizer to the Wall?
I'm considering alternative ways to attach my organizer to the wall, and I'm drawn to magnetic strips or adhesive hooks for a secure hold without damaging the paint or wallpaper.
Can I Customize the Size of the Pockets for Specific Tools?
I prioritize my tools and take pocket measurements to make sure a snug fit, then trim and adjust the pockets accordingly, giving my most-used tools prime real estate for easy access.
Is the Iron-On Label Method Suitable for Outdoor Use?
Did you know 80% of gardeners struggle with tool organization? I've found iron-on labels can be weather-resistant, but their durability is questionable. For outdoor use, I'd recommend vinyl labels for a more reliable, long-lasting solution.
Related Posts
-
Design Considerations for a Custom Pegboard
When designing a custom pegboard, you'll want to start by evaluating your storage needs, considering factors like too...
-
Best Organizing Tools for a Clutter-Free Space
You're on a mission to change your cluttered space into a peaceful oasis, and you're looking for the best organizing ...
-

Heavy-Duty Commercial Rolling Shelving Racks
You need heavy-duty commercial rolling shelving racks that optimize your storage capacity, streamline operations, and...


