Custom Pegboard Solutions for Motorcycle Enthusiasts
Share
As a motorcycle enthusiast, you need a custom pegboard solution that caters to your specific tool requirements. Start by selecting a sturdy pegboard and design a layout that groups similar tools together, prioritizing frequently used ones for easy access. Choose materials that balance durability with aesthetic appeal, and measure your garage space carefully to guarantee a seamless installation. Avoid common mistakes like inadequate planning and poor installation, and instead, focus on maximizing tool storage capacity and creating a visually appealing workspace. By following these guidelines, you'll be well on your way to optimizing your motorcycle garage - and there's more to explore.
Key Takeaways
• Design a custom pegboard layout that groups similar motorcycle tools together for easy access and organization.
• Choose heavy-duty, adjustable hooks and bins that resist corrosion and can hold various tool sizes and weights.
• Measure the garage space carefully to ensure a proper fit and consider electrical outlets, switches, and shelving systems.
• Plan the pegboard layout before installation, considering tool frequency, weight, and size to maximize storage space and functionality.
• Regularly inspect and maintain the pegboard system to ensure durability and make adjustments as needed for optimal performance.
Motorcycle Garage Pegboard Essentials
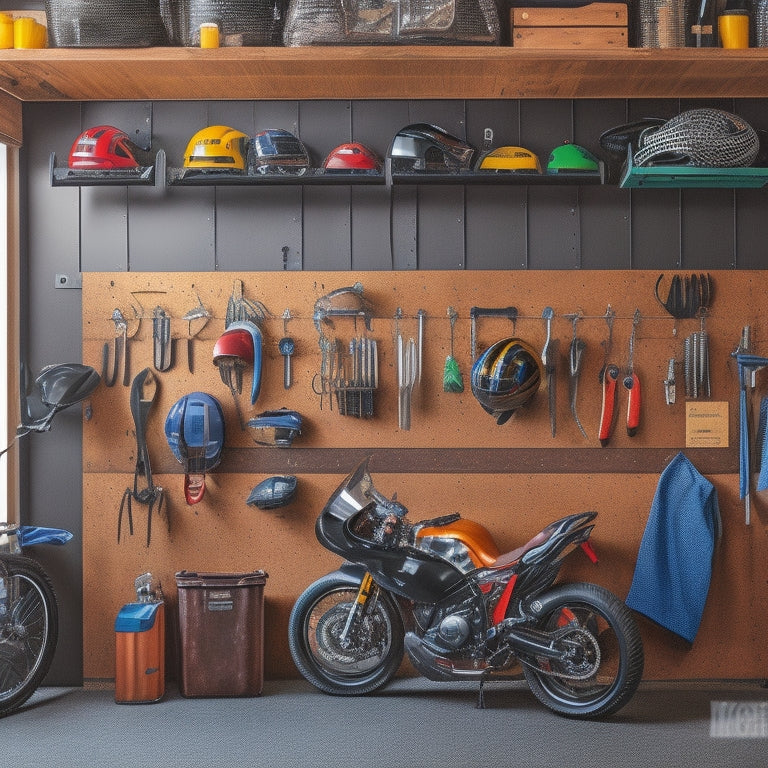
When setting up a motorcycle garage pegboard, you'll need to start with the essentials: a sturdy pegboard, hooks, and bins specifically designed to hold your motorcycle tools and accessories. These must-haves will help you stay organized and guarantee that your garage looks great while keeping your bike in top condition.
A pegboard with a durable finish, such as powder-coated or stainless steel, will withstand the rigors of bike maintenance and resist corrosion. Hooks should be heavy-duty and adjustable to accommodate various tool sizes. Bins and containers should be designed to store small parts, lubricants, and cleaning supplies, keeping them within easy reach.
Designing a Custom Pegboard Layout
You'll need to measure your pegboard and motorcycle tools to create a custom layout that maximizes storage capacity and streamlines your workflow. This step is important in guaranteeing your pegboard is tailored to your specific needs and preferences.
Take into account the size and shape of each tool, as well as how frequently you use them. Consider grouping similar tools together, such as all your wrenches or pliers, to create a sense of organization and efficiency.
When designing your custom layout, keep the following tips in mind:
- Prioritize your most frequently used tools and place them in easy-to-reach locations
- Consider the weight and size of each tool when determining its placement
- Leave some empty space to avoid clutter and ensure easy tool retrieval
- Don't forget about pegboard aesthetics – choose a layout that looks visually appealing to you, as it will make your workspace more enjoyable
Choosing the Right Pegboard Materials
With your custom layout design in hand, it's time to select the pegboard materials that will bring your organizational vision to life.
You're looking for materials that balance durability with aesthetic appeal, ensuring your pegboard stays functional and visually appealing for years to come.
When it comes to pegboard durability, you'll want to contemplate materials that can withstand the weight and wear of your motorcycle gear.
Look for high-density pegboards made from robust materials like steel or heavy-duty plastic.
These will provide a solid foundation for your organizational system, resisting scratches and dents with ease.
Material aesthetics are just as important, as they'll greatly impact the overall look and feel of your garage.
Consider pegboards with a sleek, powder-coated finish or a stylish wood grain design.
These will add a touch of sophistication to your space, making it feel more like a showroom than a storage area.
Measuring Your Motorcycle Garage Space
Measure your motorcycle garage space carefully to guarantee a precise fit for your pegboard system, taking into account any obstacles, such as pillars or windows, that may affect the layout. You'll want to maximize your garage organization and space efficiency by making the most of every inch.
To get started, grab a tape measure and record the dimensions of your garage walls, including any alcoves or recesses. Don't forget to note the location of any electrical outlets, switches, or other features that may impact your pegboard design.
Here are some key things to keep in mind when measuring your space:
-
Record the width, height, and depth of each wall section
-
Identify any areas with limited clearance, such as near doors or corners
-
Measure the distance between any obstacles, like pillars or windows
- Note the location of any existing shelving or storage systems
Installing a Pegboard for Beginners
Installing a Pegboard for Beginners
Your pegboard installation begins by preparing the wall, which involves cleaning and degreasing the surface to establish a strong bond between the pegboard and the wall. This step is important to prevent the pegboard from falling or peeling off over time. Don't let pegboard anxiety get the best of you - take your time, and make sure the surface is spotless.
Next, measure the wall to determine the ideal location for your pegboard. Consider the height and accessibility you need for your tools. You don't want to strain your back or struggle to reach your tools, so plan carefully. If you're feeling overwhelmed, take a deep breath and focus on one step at a time. Tool intimidation is normal, but with a clear plan, you'll be hanging your tools in no time.
Once you've marked the wall, drill the holes for the pegboard's mounting hardware. Make sure to follow the manufacturer's instructions for the type of wall anchors required.
With the pegboard mounted, you're ready to start organizing your tools and accessories. Remember, the key to a successful installation is patience and attention to detail.
Maximizing Tool Storage Capacity
As you start maximizing your tool storage capacity, you'll want to optimize your pegboard layout to fit all your motorcycle maintenance essentials.
You can achieve this by grouping similar tools together, reserving prime space for frequently used items, and utilizing corner spaces for lesser-used tools.
Optimize Pegboard Layout
You can fit more tools on your pegboard by strategically arranging bins, baskets, and hooks to maximize vertical storage and corner space. This thoughtful approach won't only increase your storage capacity but also improve your pegboard's overall aesthetic appeal.
A well-designed pegboard layout can boost your productivity and enhance your workspace psychology, making it a more enjoyable and efficient space to work on your motorcycle.
Here are some tips to help you optimize your pegboard layout:
-
Group similar tools together: Store tools of the same type, such as pliers or wrenches, in the same area to reduce clutter and make them easier to find.
-
Use vertical space: Install hooks or bins on the top and bottom of your pegboard to take advantage of unused vertical space.
-
Reserve corners for bulky items: Store larger items, like toolboxes or bins, in corners to keep them out of the way while still keeping them accessible.
- Leave some breathing room: Avoid overcrowding your pegboard, leaving some space between tools and bins to create a visually appealing and easy-to-navigate layout.
Increase Storage Efficiency
By strategically selecting and arranging storage solutions, you can greatly enhance your pegboard's tool storage capacity, ensuring that every item has a designated home and is easily accessible when working on your motorcycle.
To maximize storage efficiency, consider incorporating Space Savers, such as narrow bins and baskets, to store small parts and tools. These compact solutions can be mounted on the pegboard, keeping frequently used items within easy reach.
Don't overlook Corner Utilization – the often-wasted space in the corners of your pegboard. By installing corner-mounted hooks, bins, or shelves, you can reclaim this area and store items like cords, hoses, or other accessories. This thoughtful design approach will help you make the most of your pegboard's real estate, keeping your workspace organized and clutter-free.
With a well-planned storage strategy, you'll be able to quickly locate the tools you need, saving time and frustration when working on your motorcycle. By optimizing your pegboard's storage capacity, you'll be able to focus on what matters most – getting back on the road and enjoying the ride.
Common DIY Pegboard Mistakes
As you start your DIY pegboard project, it's crucial to avoid common mistakes that can lead to pegboard pitfalls and DIY disasters. Incorrectly sizing the pegboard for your motorcycle's specific storage needs is a common DIY mistake that can lead to a cluttered and inefficient garage space. You might end up with a pegboard that's too small to hold all your tools and accessories or one that's too large, wasting valuable space.
To avoid these mistakes, keep the following in mind:
-
Insufficient planning: Failing to plan your pegboard layout can result in a cluttered and disorganized space.
-
Inadequate tool selection: Using the wrong type or quality of pegs and hooks can lead to a pegboard that's not functional or durable.
-
Poor installation: Improperly installing your pegboard can cause it to fall or become damaged, rendering it useless.
- Lack of customization: Failing to customize your pegboard to your specific needs can result in a pegboard that doesn't meet your storage requirements.
Frequently Asked Questions
Can I Customize a Pegboard for a Specific Motorcycle Brand?
You can definitely customize a pegboard for your specific motorcycle brand, achieving seamless brand integration and bike personalization. You'll get a tailored fit, ensuring your gear is organized and within reach, enhancing your overall riding experience.
Are Pegboards Compatible With Both Metric and SAE Tools?
"Are you stuck in a world where tools don't speak the same language? You'll be relieved to know that pegboards can accommodate both metric and SAE tools, eliminating the need for tool conversion between measurement standards."
Do Pegboards Come With a Warranty or Guarantee?
You get peace of mind with a solid return policy and lifetime support on your pegboard purchase, ensuring you're protected in case anything goes wrong, and receive help whenever you need it.
Can I Add a Pegboard to an Existing Motorcycle Lift Table?
You're wondering if you can add a pegboard to your existing motorcycle lift table. The good news is, yes, you can! Just confirm lift compatibility and optimize space to securely mount the pegboard, maximizing your workshop's efficiency.
Are Pegboards Suitable for Outdoor or Garage Storage Only?
You'll need to take into account weather resistance when deciding where to store your pegboard. If you're short on space, compact designs can help overcome storage constraints, making them suitable for indoor or outdoor use.
Related Posts
-

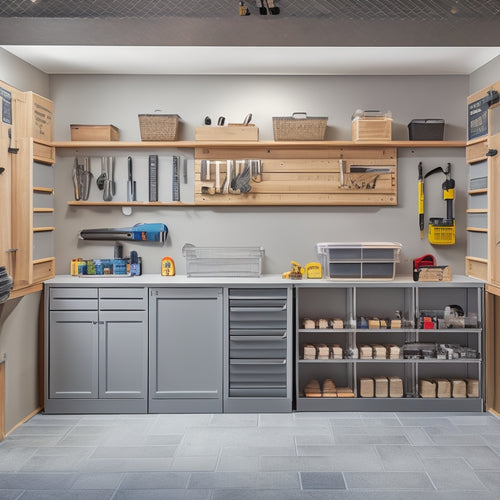
Essential Steps for Garage Storage System Design
You're about to change your cluttered garage into an organized haven by following a structured approach to garage sto...
-

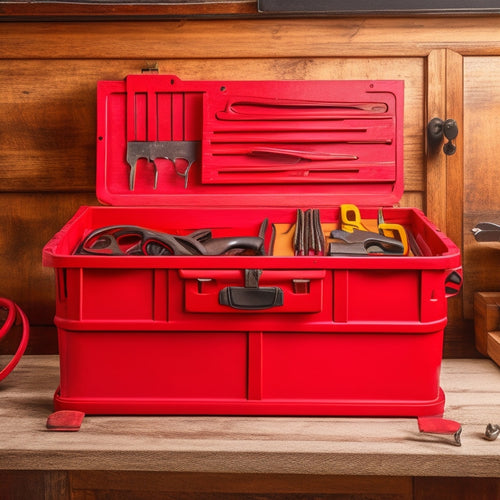
Portable Tool Chest Essentials
When stocking your portable tool chest, you'll want to prioritize essential hand tools like hammers, tape measures, a...
-

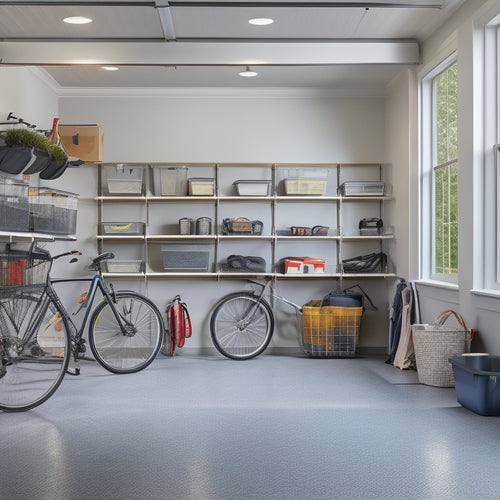
Bin Garage Storage Ideas for Maximizing Space
You can greatly maximize your garage's storage space by utilizing vertical space with ceiling storage bins, stacking ...


