Building a Large Pegboard for Maximum Storage
Share
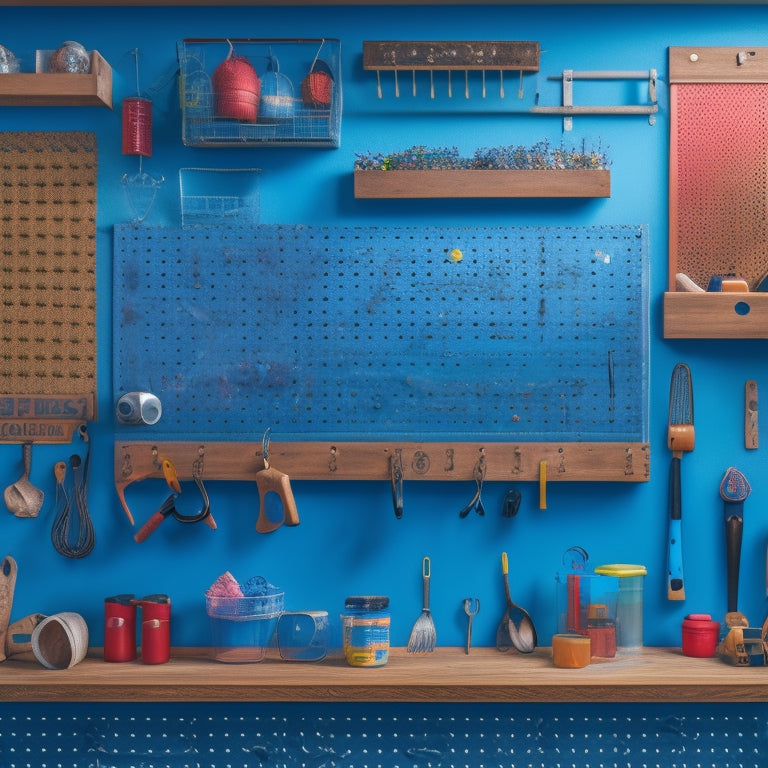
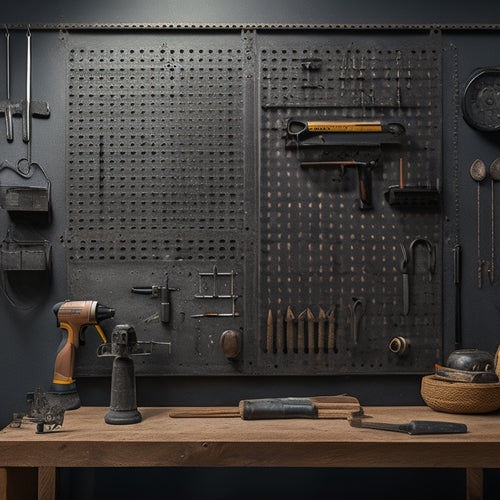
When building a large pegboard for maximum storage, start by planning a layout that groups similar items together, considering frequency of use and visual appeal. Choose durable materials, such as 1/4-inch thick fiberboard, and sturdy lumber for the frame. Assemble the frame with precision, ensuring corners are secure and square. Next, prepare the wall by checking its sturdiness and selecting a mounting method that suits the wall type. Secure the pegboard to the wall, then add hooks and accessories, spaced strategically for easy retrieval and categorized for efficiency. With a solid foundation in place, you're ready to take your pegboard to the next level - and uncover the ultimate storage solutions waiting for you.
Key Takeaways
- Plan your pegboard layout considering item frequency, size, and categorization to optimize storage and accessibility.
- Choose durable pegboard material and sturdy frame to ensure stability and resistance to warping and moisture damage.
- Implement a hook placement strategy based on item types and groupings, leaving enough space between hooks to prevent overcrowding.
- Select a mounting method compatible with your wall type, and ensure the pegboard is level and securely attached to the wall.
- Organize items into distinct sections and categories, and consider vertical storage and decorative elements to enhance aesthetics and functionality.
Planning the Perfect Pegboard Layout
You're about to create a pegboard that will revolutionize your storage, but before you start drilling holes, take a step back and plan the perfect layout. A well-planned pegboard guarantees ideal spacing for your tools and accessories, making it easier to find what you need when you need it.
Start by grouping similar items together, such as hand tools, power tools, and accessories. Consider the frequency of use and the size of each item to determine the best placement.
Next, think about the visual appeal of your pegboard. A cluttered or disorganized board can be overwhelming, so aim for a clean and balanced design. Leave enough space between hooks and bins to create a sense of breathing room.
You can also use dividers or separate sections to categorize your items and create a sense of order. Remember to plan for future additions or changes to your storage needs.
With a solid plan in place, you'll be able to create a pegboard that's both functional and visually appealing.
Choosing the Right Materials and Tools
With your pegboard layout planned, it's time to gather the necessary materials and tools to bring your storage vision to life. For the pegboard itself, opt for a durable material that can support the weight of your tools and equipment. A 1/4-inch thick pegboard made of high-density fiberboard or medium-density fiberboard is a great option.
Verify the material is resistant to warping and moisture damage to maintain its structural integrity over time.
For the frame, choose sturdy lumber that can hold the pegboard securely. You'll also need screws, hooks, and bins to hang your tools and accessories.
Select tools that are suitable for the task, such as a circular saw or jigsaw for cutting the lumber, and a drill for screwing the pieces together.
Don't forget safety gear like safety glasses, a dust mask, and a first aid kit. When selecting tools, consider the material durability and the task at hand. A high-quality tool selection will make the building process smoother and safer.
Assembling the Pegboard Frame
Now that you've gathered all the necessary materials and tools, it's time to start building the pegboard frame.
Begin by cutting the frame materials according to your planned frame dimensions. Verify the cuts are precise and safe, using a miter saw or a circular saw with a stable work surface.
Assemble the frame pieces, using wood screws or nails, and make certain the corners are secure and square.
Next, focus on frame stability by adding supports or brackets to prevent the frame from warping or sagging. You can use metal or wooden brackets, depending on your frame materials and aesthetics.
Adjust the frame assembly as needed to confirm it's level and plumb.
Installing Hooks and Accessories
You'll need a solid hook placement strategy to maximize your pegboard's storage capacity, so take some time to think about the types of items you'll be hanging and group similar items together.
With a wide range of accessory options available, from bins and baskets to tool holders and organizers, you can customize your pegboard to fit your specific needs.
Now it's time to get creative and investigate customization ideas that will make your pegboard a functional and efficient storage solution.
Hook Placement Strategy
By the time you've completed the pegboard's frame and mounted it to the wall, you're ready to tackle the most critical aspect of this storage system: strategically placing hooks and accessories to maximize storage capacity and ease of use. A well-planned hook placement strategy guarantees that your tools and equipment are easily accessible, organized, and safely stored.
To achieve peak storage, consider the following hook types and spacing techniques:
| Hook Type | Spacing Technique | Purpose |
|---|---|---|
| Heavy-duty hooks | 6-8 inches apart | Hold heavy tools and equipment |
| Standard hooks | 4-6 inches apart | Store medium-sized items |
| Small hooks | 2-4 inches apart | Organize small tools and accessories |
When placing hooks, consider the size and weight of the items you'll be storing. Leave enough space between hooks for easy retrieval and to prevent overcrowding. Additionally, group similar items together to enhance workflow and efficiency. By following these guidelines, you'll create a functional and safe storage system that meets your specific needs.
Accessory Options Abound
Several dozen hook and accessory options are available to customize your pegboard, making it essential to choose the right combination for your specific storage needs.
You'll find various accessory types, from bins and baskets to trays and shelves, each designed to provide creative solutions for tool organization and space optimization.
When selecting accessories, consider the practical uses of each. For instance, multi-functional accessories like hooks with built-in trays can hold small items like nuts and bolts, while keeping frequently used tools within easy reach.
Aesthetic enhancements, such as decorative bins or color-coded labels, can also enhance the overall look of your pegboard.
As you install your accessories, think about seasonal adjustments you may need to make. For DIY projects, you might require more storage for specific tools or materials during certain times of the year.
Customization Ideas
As you prepare to customize your pegboard with hooks and accessories, take a moment to assess your storage needs and prioritize the items you'll be hanging. This will help you determine the type and quantity of hooks, bins, and other accessories you'll need.
Consider the weight capacity of your pegboard and the items you'll be storing to guarantee you're using the right type of hooks and accessories.
When it comes to customization, think beyond functional designs and incorporate personal touches. Choose hooks and accessories that fit your color theme, adding decorative elements to create a visually appealing pegboard.
You can also add labels or signs to identify specific areas or items, making it easier to find what you need.
Remember to prioritize safety when customizing your pegboard. Make certain hooks are securely attached, and bins are stable to prevent accidents.
With a little creativity and planning, you can create a customized pegboard that meets your unique storage needs while adding a personal touch to your space.
Maximizing Storage With Organization
Organizing your tools and accessories on a pegboard enhances storage capacity when you strategically arrange your most frequently used items in easy-to-reach locations. This maximizes space efficiency, allowing you to fit more items in a smaller area.
To achieve this, implement vertical storage by grouping similar items together, such as all your hammers or screwdrivers. This decluttering technique will help you quickly identify what you need, reducing the time spent searching for tools.
Create an organizational system that works for you by categorizing items into sections, like hand tools, power tools, and fasteners. This will help you maintain a clutter-free workspace, reducing the risk of accidents and injuries.
When designing your pegboard layout, consider the frequency of use and the size of each item to guarantee maximum utility optimization. Don't be afraid to get creative with your DIY project – a well-organized pegboard can enhance your creativity and improve your workspace aesthetics.
Final Touches and Installation Tips
With your pegboard layout designed and your tools categorized, you're now ready to add the final touches and install your pegboard. This is the exciting part – you get to see your hard work come together!
Before you start drilling holes and hanging your pegboard, make certain you've considered the following:
-
Wall preparation: Verify the wall is sturdy and can hold the weight of your pegboard and tools. You may need to add additional support or use wall anchors for extra security.
-
Mounting techniques: Choose the right mounting method for your pegboard, such as screws, nails, or adhesive strips. Consider the weight distribution of your tools and the type of wall you're working with.
-
Securing hardware: Double-check that all screws, nuts, and bolts are securely tightened to prevent your pegboard from falling or tools from getting loose.
Remember to also think about aesthetic considerations, like the color and style of your pegboard, to guarantee it fits with your workspace decor.
Frequently Asked Questions
Can I Customize My Pegboard to Fit a Specific Wall Size or Shape?
You can create a custom pegboard design to fit your specific wall size or shape by considering wall shape considerations, like corners, angles, and obstructions, to guarantee a safe and efficient installation that meets your storage needs.
How Do I Protect My Pegboard From Rust or Corrosion Over Time?
Remember how a rusty bike left outside can seize up? Don't let that happen to your pegboard! You'll want to apply a rust prevention coating, like a clear enamel or silicone-based spray, and consider corrosion treatment options like galvanizing or powder coating for long-term protection.
Are There Any Safety Considerations When Installing a Pegboard With Heavy Tools?
When installing a pegboard, you'll want to guarantee it can handle the load capacity of your heavy tools. Use sturdy wall anchors that can support the weight, and always follow the manufacturer's instructions to avoid accidents and injuries.
Can I Add a Pegboard to an Existing Workbench or Cabinet?
You're like a skilled chef adding a secret ingredient to a recipe - you can seamlessly integrate a pegboard into your existing workbench or cabinet by choosing compatible pegboard materials and accessorizing with hooks, bins, and holders that fit your needs.
How Do I Clean and Maintain My Pegboard to Prevent Clutter Buildup?
You'll prevent clutter buildup on your pegboard by implementing regular cleaning techniques, such as dusting with a soft brush and wiping with a damp cloth, and following maintenance tips like reorganizing hooks and bins every few months.
Conclusion
You've built a pegboard that's a storage powerhouse, capable of holding a million and one tools and accessories! With its sturdy frame, cleverly designed layout, and plethora of hooks and bins, this behemoth of organization is ready to tame even the most chaotic workshop or garage. Now, get ready to revel in the bliss of a clutter-free space that's a joy to work in!
Related Posts
-

7 Essential Foldable Workbenches for Garages
When selecting a foldable workbench for your garage, you'll want to contemplate factors such as space-saving design, ...
-

Heavy-Duty Pegboard Hooks for Industrial Use
You need heavy-duty pegboard hooks that can withstand the rigors of industrial use, providing a reliable and efficien...
-

Top Garage Storage Bins for Organization and Style
You can enhance your garage's style and organization with the right storage bins. Top brands like Rubbermaid, Suncast...


