Build Your Own Ninja Training Pegboard
Share
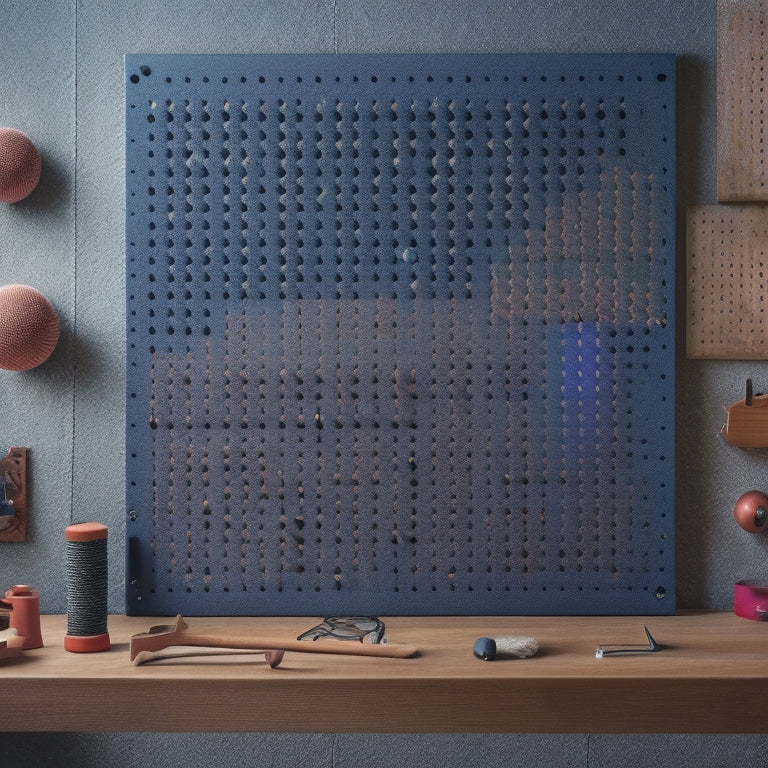
You're about to take your ninja training to the next level by building a custom pegboard tailored to your needs. First, gather essential materials like wood, dowel, and drill bits. Measure twice to avoid mistakes and guarantee durability. Construct the pegboard by cutting wood, marking hole locations, and drilling precise holes for the pegs. Sand the board for a smooth finish and cut the dowel into uniform pegs. Mount the pegboard securely to a wall, considering safety and training needs. With a little planning and effort, you'll be ready to tackle your ninja training - and that's just the starting point.
Key Takeaways
• Gather all necessary materials, including wood, dowel, drill bits, and mounting equipment, to avoid mid-project setbacks.
• Measure twice and cut once to ensure accurate hole spacing and a professional finish.
• Use durable materials that can withstand heavy use and invest in quality tools for a successful build.
• Mount the pegboard securely to a wall, considering safety factors like crash pads and soft surfaces below.
• Customize the pegboard arrangement before mounting to ensure a functional and efficient design for ninja training.
Gather Essential Materials
Gather all the necessary materials, including wood, dowel, drill bits, wood sealant, and mounting equipment, to guarantee a successful build of your ninja training pegboard. Shop smart and make sure you have everything you need before you start building.
Measure twice to avoid costly mistakes and make certain your pegboard turns out exactly as you envisioned. Don't skimp on quality - invest in durable materials that can withstand heavy use.
Take your time to double-check your list and verify that you have all the necessary tools, such as a drill, saw, sandpaper, and measuring tape. With all your materials in hand, you'll be ready to start building your ninja training pegboard and take your training to the next level.
Construct the Pegboard
Cut your wood in half to create two identical pieces, then mark the hole locations on each piece using a measuring tape and pencil to guarantee precise spacing for your pegs.
Next, use a drill with a spade bit to create holes for your pegs, employing a steady drill technique to avoid splintering. Sand the board to smooth out any rough edges, following sanding tips to achieve a professional finish.
Now, cut your dowel into pegs, taking care to maintain uniform lengths for consistent peg placement. Assemble your pegboard by placing the pegs into their designated holes.
With your pegboard constructed, you're one step closer to starting your ninja training.
Mount and Customize
Now that your pegboard is assembled, you're ready to mount it securely to a wall, guaranteeing a sturdy base for your ninja training.
To customize your design, consider the following:
-
Choose a mounting location that allows for comfortable movement and easy access to all pegs.
-
Select a mounting type, such as horizontal or vertical, based on your training needs and available wall space.
-
Add safety considerations, like crash pads or a soft surface below, to minimize the risk of injury.
- Finalize your pegboard arrangement before mounting to ensure a functional and efficient design.
Frequently Asked Questions
Can I Use a Hand Saw Instead of a Power Saw for Cutting Wood?
Did you know that 70% of DIYers prefer hand saws for precise cuts? Yes, you can use a hand saw for cutting wood, but it's important to master a smooth, consistent cutting technique to avoid uneven edges and splinters.
How Do I Ensure the Pegs Are Evenly Spaced on the Board?
To guarantee evenly spaced pegs, you'll use measuring techniques like marking increments on a straightedge or creating a template. Apply spacing formulas, such as dividing the board's width by the number of pegs, to achieve consistent gaps.
Are There Any Alternative Materials to Wood for the Pegboard?
Did you know that 75% of DIY enthusiasts experiment with alternative materials? When it comes to pegboards, you can ditch wood for metal options like aluminum or steel, or plastic alternatives like PVC or HDPE for a unique, durable, and weather-resistant training surface.
Can I Add Additional Features Like a Pull-Up Bar or Climbing Holds?
You can definitely add features like pull-up bars or climbing holds to your pegboard. Use wall anchors for secure mounting, and consider recessed grips for a seamless integration that won't interfere with your training flow.
How Do I Prevent the Board From Warping or Splitting Over Time?
As you craft your masterpiece, remember that warping and splitting are the silent assassins of wooden creations. To outsmart them, you'll need to wield the power of humidity control and moisture protection, ensuring your board remains sturdy and resilient over time.
Related Posts
-

10 Essential Steps for Small Parts Bin Storage
To optimize your small parts bin storage, start by defining your storage needs and goals, considering factors like av...
-

Garage Wall Storage Ideas to Boost Productivity
You can enhance your garage's productivity by capitalizing on your ceiling height with overhead racks, storing bulky ...
-

Must-Try Bike Storage Ideas in Small Spaces
You're tired of sacrificing precious living space to store your bike, especially in small homes where every square fo...


