7 Essential Tips for Efficient Pegboard Systems
Share
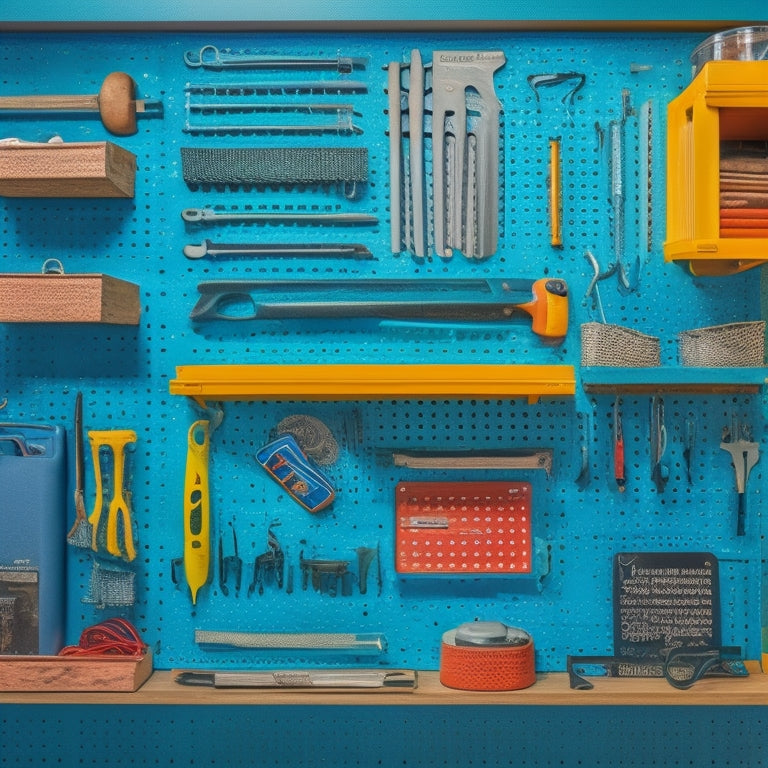
To create an efficient pegboard system, you'll want to start by selecting the appropriate material based on your needs and preferences. Next, develop a tool placement strategy that prioritizes frequently used items in the 'golden zone' at eye level. Choose peg hooks that suit each tool's size and weight, and consider color-coding for a visually appealing system. Maximize vertical space by using stackable bins and hanging long-handled tools. Label and sign your pegboard to guarantee easy identification, and incorporate adjustable components for versatility. Finally, maintain a clutter-free system by scheduling regular decluttering sessions and implementing storage hacks. By following these essential tips, you'll be well on your way to streamlining your workspace and boosting productivity. Now, take the next step towards creating a customized system that works for you.
Key Takeaways
• Choose the right pegboard material based on weight and type of items, considering durability and resistance to wear and tear.
• Organize tools by frequency of use, placing most-used items in the 'golden zone' at eye level for easy access.
• Select the right hook type for each tool, considering weight and size, and use color coordination for a visually appealing system.
• Maximize storage capacity by utilizing vertical space with stackable bins, shelves, and baskets for small and large items.
• Schedule regular decluttering sessions to maintain a clutter-free system, assigning a home for each item and implementing the 'one in, one out' rule.
Choose the Right Pegboard Material
When selecting a pegboard material, consider the weight and type of items you plan to hang, as well as the level of durability and resistance to wear and tear you need. You don't want your pegboard to buckle under the weight of your tools or corrode quickly, rendering it useless.
For high-traffic areas or heavy tools, opt for a durable material like steel or aluminum. These options provide excellent material durability and are cost-effective in the long run.
On the other hand, if you're looking for a more visually appealing option, consider a wooden pegboard. Not only does it add a touch of warmth to your workspace, but it also offers customization opportunities through staining or painting. Additionally, wooden pegboards are often more affordable than metal ones.
Whatever material you choose, make sure it aligns with your needs and preferences. By doing so, you'll create an efficient pegboard system that serves you well and enhances your productivity.
Optimize Your Tool Placement Strategy
Optimize Your Tool Placement Strategy
By strategically positioning your tools on the pegboard, you'll create a workflow that's both efficient and intuitive, allowing you to quickly access the items you need and stay focused on the task at hand.
To maximize space utilization, categorize your tools into groups based on their frequency of use and the tasks they're used for. This will help you identify the most essential tools that need to be easily accessible. Consider the "golden zone" – the area between your shoulders and hips – where you can place your most frequently used tools for quick access.
Here's a sample tool organization strategy:
| Tool Category | Pegboard Placement |
|---|---|
| Frequently Used Tools | Golden Zone (eye-level) |
| Less Frequently Used Tools | Upper or Lower Sections |
| Heavy or Bulky Tools | Lower Sections (for easy lifting) |
Select the Perfect Peg Hooks
As you start building your pegboard system, it's important to choose the right peg hooks that fit your tool collection.
You'll need to think about the type of hook that suits each tool, whether it's a bin hook, screw hook, or u-hook.
Hook Type Matters
You'll need to choose the right type of peg hook to maximize the efficiency of your pegboard system, considering factors such as the weight and size of the items you'll be storing. The hook size is pivotal, as it determines the type of items that can be hung. For example, larger hooks are ideal for bulky items like power tools, while smaller hooks are better suited for smaller accessories like screwdrivers.
Color coordination is also vital when selecting peg hooks. Using hooks of the same color can create a visually appealing and organized system. You can also use different colored hooks to categorize items, making it easier to find what you need. For instance, you can use blue hooks for tools, red hooks for accessories, and yellow hooks for frequently used items.
Optimize Hook Placement
Selecting the ideal peg hooks and strategically placing them on your pegboard is essential to maximizing storage capacity and streamlining your workflow. To achieve the best hook placement, start by categorizing your tools and accessories into groups based on their frequency of use and size. This will help you determine the most suitable hook type and placement for each item.
Next, consider the 'golden zone' – the area between your waist and shoulder height – where you'll want to place your most frequently used tools for easy access. Organize your hooks in a logical and visually appealing way, grouping similar items together and leaving enough space between each hook to prevent overcrowding. This will improve tool accessibility and reduce clutter.
Utilize Vertical Space Efficiently
When designing your pegboard system, you'll want to make the most of your available wall space by maximizing storage capacity.
To do this, you'll need to optimize your shelf arrangement to fit your specific storage needs.
Maximize Storage Capacity
To maximize storage capacity, install pegboards that span from floor to ceiling, taking advantage of often-wasted vertical space to store bulky items like bins, baskets, and tools. This will allow you to make the most of your available space, keeping your workspace organized and clutter-free.
Here are some additional space-saving solutions to contemplate:
-
Use stackable bins and baskets to store small items, keeping them out of the way but still easily accessible.
-
Hang tools with long handles, like hammers and screwdrivers, from hooks to free up shelf space.
-
Install shelves or baskets specifically designed for storing larger items, like power tools or equipment.
- Utilize the back of a door or a wall by attaching a pegboard or a storage rack to hang items like bags, accessories, or cleaning supplies.
Optimize Shelf Arrangement
Arrange your shelves in a staggered formation to create a visually appealing and functional storage system, where each shelf is positioned slightly higher or lower than the one above or below it, allowing you to store items of varying heights and maximize vertical space. This arrangement enables you to store more items in a smaller footprint, making the most of your pegboard's vertical space.
To further optimize your shelf arrangement, consider grouping similar items together. For instance, store all your cleaning supplies on one shelf, and your DIY tools on another. This makes it easy to find what you need when you need it.
You can also use color coding to categorize your items. Use labels or bins of different colors to distinguish between categories, such as red for power tools and blue for hand tools. By grouping similar items and using color coding, you'll be able to quickly identify what's on each shelf, saving you time and effort.
With a well-organized shelf arrangement, you'll be able to focus on serving others with greater efficiency and effectiveness.
Label and Sign Your Pegboard
Label each hook and bin on your pegboard with its contents or purpose, so you can quickly identify where everything goes and maintain a clutter-free workspace. This simple step will save you time and frustration in the long run. By marking your pegboard, you'll guarantee that everything has a designated spot, making it easier to put things back in their place.
Here are some ways to take your marking to the next level:
-
Use color coding to categorize similar items or tools, making it easier to find what you need at a glance.
-
Create custom signage for frequently used items or bins, so you can quickly identify what's inside.
-
Add labels with icons or images to help you visualize what's stored in each bin or hook.
- Use a label maker to create clear, easy-to-read labels that won't smudge or fade over time.
Incorporate Adjustable Components
Make your pegboard system more versatile by incorporating adjustable components that can be easily reconfigured to accommodate changing storage needs and tool sizes. This adaptability and versatility allow you to create tailored organization that grows with your needs.
With adjustable components, you can effortlessly reorganize your pegboard to accommodate new tools, accessories, or supplies.
Incorporate adjustable hooks, bins, and shelves to create customizable configurations that cater to your specific requirements. These components enable you to adjust the layout of your pegboard to optimize storage and accessibility.
For instance, you can adjust the height and spacing of hooks to accommodate tools of varying sizes or swap out bins to store different types of supplies.
Maintain a Clutter-Free System
As you customize your pegboard system with adjustable components, it's equally important to establish habits that prevent clutter from building up, ensuring your organized space remains functional and efficient over time.
A clutter-free system not only saves you time but also reduces stress and increases productivity.
To maintain a clutter-free pegboard system, follow these essential organization tips:
-
Schedule regular decluttering sessions: Set aside time each week to remove any unnecessary items and tidy up your pegboard.
-
Assign a home for each item: Designate a specific spot for each tool or accessory, making it easier to find what you need and preventing clutter from accumulating.
-
Use storage hacks: Utilize bins, baskets, or hooks to store small items, keeping them out of the way but still accessible.
- Implement the 'one in, one out' rule: Whenever you add a new item to your pegboard, remove or donate an old one to maintain a balanced and organized system.
Frequently Asked Questions
Can Pegboards Be Used for Storing Small Parts and Supplies?
You can definitely use pegboards for storing small parts and supplies, as they're versatile storage solutions that help you stay organized, perfect for DIY projects and home improvement tasks where clutter can hinder progress.
How Often Should I Clean and Maintain My Pegboard System?
Like a well-oiled machine, your pegboard system hums along smoothly when regularly cleaned and maintained. You should aim to dust and wipe down your pegboard every week, and deep clean it every quarter to maximize durability and prolong its lifespan.
Are Pegboards Suitable for High-Traffic or Heavy-Use Areas?
You're wondering if pegboards can handle high-traffic or heavy-use areas? Well, you'll want to ponder durability concerns and weight capacity to guarantee they can withstand the demands, especially in busy settings where tools and equipment are constantly being accessed.
Can I Customize My Pegboard to Fit Non-Standard Tool Sizes?
You can create custom tool holders to fit non-standard tool sizes, maximizing space on your pegboard by designing holders that snugly fit each tool, ensuring a secure hold and organized storage.
Are Pegboards Compatible With Existing Shelving or Storage Systems?
"You're the master builder of your workshop, and versatility is your superpower! Pegboards seamlessly integrate with existing shelving or storage systems, allowing you to customize your space with ease and maximize tool accessibility."
Related Posts
-

Design Considerations for a Custom Pegboard
When designing a custom pegboard, you'll want to start by evaluating your storage needs, considering factors like too...
-

Small Storage Bins to Maximize Shelf Space
When maximizing shelf space, you want to make the most of every inch. Small storage bins are the answer, but choosing...
-

How to Maximize Storage Space With Parts Storage Bins
To maximize storage space with parts storage bins, start by evaluating your available storage space and examining you...


