7 Essential Steps to Create a DIY Pegboard
Share
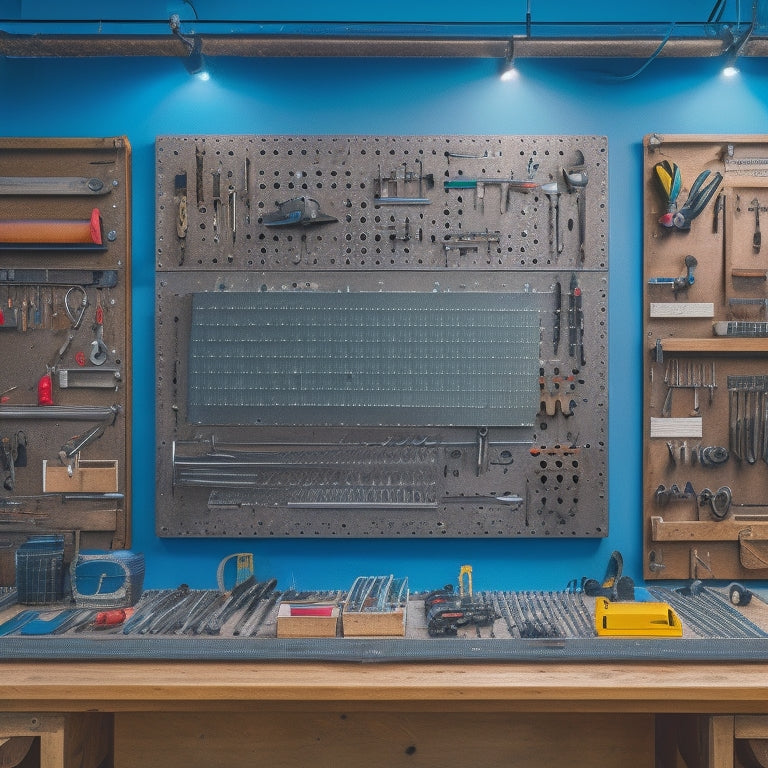
To create a DIY pegboard, start by planning your layout, categorizing items into groups, and optimizing workflow. Next, choose the right materials, considering durability, ease of installation, and aesthetic preferences. Cut the pegboard to size, ensuring a smooth surface, and drill evenly spaced holes for hooks. Install hooks and accessories, grouping similar items together, and mount the pegboard to a wall stud for stability. Finally, add labels and customize your workstation to boost productivity. By following these essential steps, you'll be well on your way to a functional and organized workspace that reflects your personal style - and there's more to explore to take it to the next level.
Key Takeaways
• Plan your pegboard layout by categorizing items into groups and optimizing workflow for easy access to frequently used tools.
• Choose the right materials, considering durability, ease of installation, and aesthetic preferences, and opt for sustainable sources when possible.
• Cut the pegboard to size, ensuring a smooth surface, and drill evenly spaced holes for hooks using a template or guide for precise placement.
• Install hooks and accessories securely, grouping similar items together, and consider frequency of use when determining hook placement.
• Mount the pegboard to a wall stud securely, using the right anchor type, to prevent accidents and ensure safe and efficient use.
Plan Your Pegboard Layout
Determine the space where you'll install your pegboard and take inventory of the items you want to hang, as this will help you visualize the ideal layout and maximize storage efficiency. Consider the frequency of use and categorize your items into groups, such as 'frequently used' and 'occasionally used'. This will enable you to create Pegboard Zones, where similar items are clustered together, making it easier to access what you need when you need it.
Think about your workflow and how you can optimize it with your pegboard. Identify the tasks you perform most often and place the necessary tools in close proximity. This will streamline your workflow and reduce wasted time searching for misplaced items. By grouping similar tasks together, you'll create a seamless workflow that boosts your productivity.
As you plan your layout, remember to leave some empty space for future additions or changes. A well-planned pegboard layout won't only save you time but also reduce clutter and stress.
Choose the Right Materials
Now that you've planned your pegboard layout, it's time to choose the right materials to bring your design to life.
You'll need to decide on the type of pegboard material, considering factors like durability and ease of installation.
Next, you'll select the perfect hooks and holders to store your tools and accessories, ensuring a sturdy and functional pegboard that meets your needs.
Pegboard Material Options
You'll frequently find pegboard material options ranging from economical to premium, each with its own set of benefits and drawbacks. When selecting the right material, consider sustainable sources, such as reclaimed or FSC-certified wood. Not only will you reduce your environmental footprint, but you'll also add a touch of uniqueness to your pegboard.
Aesthetic considerations also play a significant role in your decision. Do you prefer a natural wood grain look or a sleek, modern finish? If you're on a budget, MDF or oriented strand board (OSB) might be the way to go. These affordable options are durable and can be easily customized with a coat of paint or stain.
However, if you're looking for a more premium look and feel, consider solid wood or bamboo. These materials offer a touch of sophistication and can withstand heavy use. Ultimately, the right material for you'll depend on your specific needs and preferences. Take your time, weigh your options, and choose the material that best fits your DIY pegboard vision.
Plywood Thickness Matters
Having chosen your pegboard material, it's time to contemplate the thickness of your plywood, as it will greatly impact the overall functionality and durability of your DIY project. When selecting the perfect plywood, you'll encounter various thickness options, ranging from 1/4 inch to 3/4 inch. For a pegboard, you'll want to opt for a thicker plywood to guarantee it can hold the weight of your tools and accessories.
Aim for a minimum of 1/2 inch thickness, but if you want added sturdiness, consider 3/4 inch or even 1 inch. Plywood grading also plays an important role, as it affects the wood density and overall quality. Look for higher-grade plywood with a density of around 0.7-0.8 g/cm³ for best performance.
Keep in mind that thicker plywood might be more expensive, but it's a worthwhile investment for a durable and long-lasting pegboard. By choosing the right thickness and grade, you'll create a sturdy foundation for your DIY project that can withstand the test of time.
Selecting Hooks and Holders
Select the appropriate hooks and holders for your pegboard by taking into account the type of tools and accessories you'll be hanging, as well as the weight capacity and durability you need. You want to make sure that your hooks and holders can support the weight of your items without bending or breaking.
Here are some options to take into account:
-
Heavy-duty hooks for hanging heavy tools like drills and saws
-
Small bins and baskets for storing small parts and accessories like screws and nuts
-
Magnetic strips for holding metal tools and scraps
When choosing hooks and holders, think about the type of items you'll be storing and the frequency of use. You may want to opt for hook variations that offer adjustable arms or swiveling heads for added flexibility. You can also customize your holders to fit specific tools or accessories, making it easier to find what you need at a glance.
Cut the Pegboard to Size
Measure the space where you plan to install the pegboard, taking into account any obstructions or edges, to determine the ideal size for your pegboard. Make sure to note the dimensions and transfer them to your pegboard material. If you're using a large sheet of plywood or MDF, you'll need to cut it down to size.
For a clean and accurate cut, use a circular saw. Remember to prioritize circular saw safety by wearing protective gear, including safety glasses and a dust mask. Also, make certain the saw is set to the correct depth to avoid damaging the material or the saw itself. If you don't have a circular saw, consider Miter saw alternatives like a jigsaw or a hand saw. These may take more time and effort, but they'll get the job done.
Once you've cut your pegboard to size, inspect the edges for any splinters or rough spots. Sand them down to create a smooth surface for your hooks and holders.
Now that your pegboard is the right size, you're ready to move on to the next step – drilling holes for your hooks.
Drill Holes for Hooks
Drill a series of evenly spaced holes across your pegboard, using a drill press or a handheld drill with a template or guide to guarantee precise hole placement. This step is important in creating a functional and organized pegboard.
-
Imagine rows of neatly aligned holes, waiting to hold your favorite tools and accessories.
-
Picture the satisfaction of hanging your prized possessions, knowing they're secure and within easy reach.
-
Envision the sense of accomplishment as you step back to admire your handiwork, a proof of your DIY skills.
When it comes to Drill Bit Selection, choose bits that match the size and type of hooks you'll be using. For most standard hooks, a 1/8' or 1/4' drill bit will suffice.
Consider the Hole Spacing as well – a general rule of thumb is to space holes 1-2 inches apart, depending on the size and type of items you'll be hanging.
Install Hooks and Accessories
With your pegboard now equipped with evenly spaced holes, you're ready to start installing hooks and accessories that will bring your organizational vision to life. Begin by selecting the hooks that fit your specific needs. You can choose from a variety of hook types, such as bins, baskets, or tool holders, to create a customized storage system.
Consider the items you want to store and the frequency of use to determine the best hook placement.
When installing hooks, make sure they're securely fastened to the pegboard to prevent them from coming loose over time. Use screws or rivets that match the material of your pegboard for a sturdy hold.
For added convenience, consider grouping similar accessories together, such as all your painting supplies or gardening tools, to create a functional and efficient storage system. This will make it easy to find what you need when you need it, saving you time and frustration.
Mount the Pegboard to Wall
You'll need to secure your pegboard to a wall stud to guarantee it can hold the weight of your accessories and tools. This essential step ensures your pegboard remains stable and safe to use.
To find the wall stud, knock gently on the wall to locate the spot where the sound changes, indicating the presence of a stud.
-
Imagine the pegboard mounted securely to the wall, holding your favorite tools and accessories within easy reach.
-
Picture the satisfaction of knowing your pegboard is safely attached, giving you peace of mind as you work.
-
Envision the organized workspace you'll create, with every item having its designated spot on the pegboard.
When choosing an anchor type, consider the weight capacity and type of wall you're working with. For example, hollow-wall anchors are suitable for drywall, while molly bolts are better for concrete or brick walls. Make sure to follow the manufacturer's instructions for the specific anchor type you choose.
Add Final Touches and Labels
Your pegboard is nearly complete, and adding labels and final touches will transform it into a customized workstation that boosts your productivity. It's time to add those finishing details that make your pegboard truly yours.
Labeling and Color Scheme Tips
| Label Type | Label Placement | Color Scheme |
|---|---|---|
| Tool labels | Above each hook | Matching your workshop's color scheme |
| Category labels | Above each section | Contrasting with tool labels |
| Personalized labels | In a decorative corner | Accent color from your workshop |
| Instructional labels | Near frequently used tools | High-visibility color |
When it comes to label placement, consider the flow of your workspace and where you'll be standing most often. Place labels at eye-level or slightly above to reduce strain. Don't forget to choose a color scheme that complements your workshop's aesthetic. You can use a mix of label types to create a visually appealing and functional pegboard. Finally, add any decorative touches, such as a fun quote or a personal message, to make your pegboard truly unique.
Frequently Asked Questions
How Much Weight Can a Pegboard Typically Hold?
You're worried your pegboard won't hold up? Don't be! Typically, a well-made pegboard can handle a decent load capacity, depending on the material strength of the board and hooks. You can expect around 10-20 pounds per hook, but it varies.
Can I Use a Pegboard in a Humid or Outdoor Environment?
'You can use a pegboard outdoors or in humid areas, but don't forget to take into account moisture resistance and weatherproofing options, like sealing the wood or using rust-resistant hooks, to make sure your pegboard stays functional and durable.'
Are Pegboards Suitable for Use With Heavy Machinery or Equipment?
You'll be surprised to know that 70% of workshop accidents occur due to improper tool storage. When working with heavy machinery or equipment in industrial settings, you shouldn't use pegboards, as they can't support heavy loads, and safety concerns arise from falling objects.
Can I Customize My Pegboard With Different Hook Styles or Sizes?
You can definitely customize your pegboard with different hook styles or sizes to fit your needs. Choose from a hook variety that ranges from bins to tool holders, and explore aesthetic options like finishes and arrangements to reflect your personal taste.
Are Pegboards a Good Organization Solution for Small Spaces or Apartments?
You'll love how pegboards optimize space in small apartments, increasing functionality by maximizing vertical storage and keeping essentials within easy reach, making the most of every inch in your cozy abode.
Related Posts
-

Large Wall Hooks to Maximize Garage Space
You can effectively double your garage's storage capacity by installing large wall hooks that keep items off the floo...
-

10 Best Tool Boxes for Every Budget and Job
You're looking for a tool box that fits your budget and job requirements. Whether you're a DIY enthusiast, electricia...
-

Tool Storage Chests for a More Organized Workspace
You're looking to enhance productivity and reduce stress in your workspace by getting your tools organized, and that'...


