7 Best Tool Pegboard Design and Layout Strategies
Share
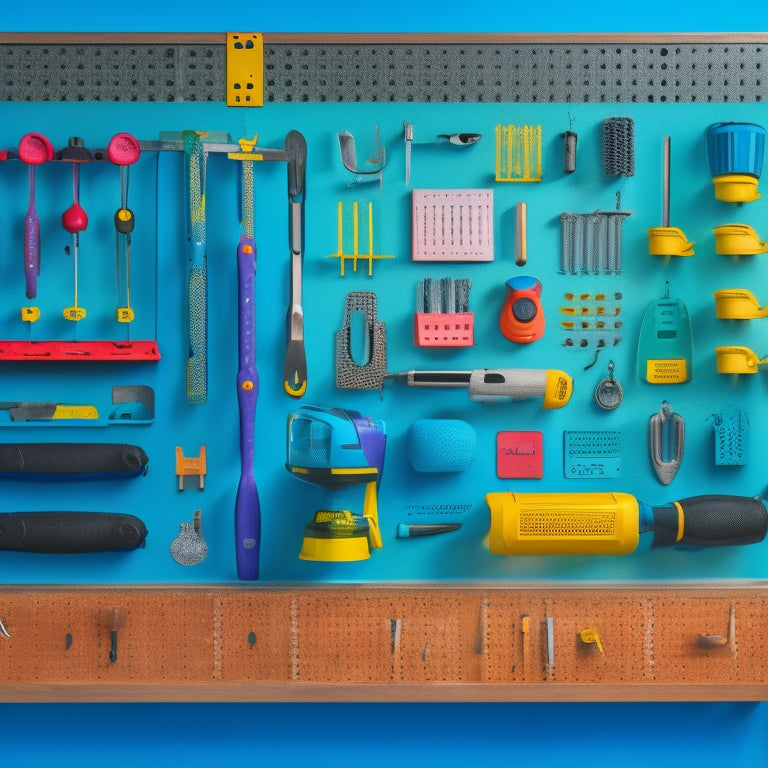
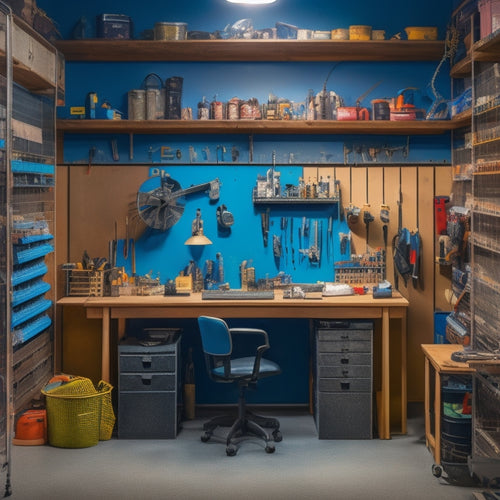
You can maximize your tool pegboard's storage capacity and efficiency by applying strategic design and layout principles. Start by mapping out your tool collection and categorizing items by frequency, size, and type. Then, optimize your pegboard design, utilizing vertical space and creating separate zones for different tools. Position frequently used tools strategically, ensuring easy accessibility. Segment tools into distinct groups, implementing a visual hierarchy and color-coding system. Consider leaving space for expansion and incorporating multi-functional hooks. By implementing these strategies, you'll create a functional workspace that boosts productivity - and there's even more to discover to take your pegboard to the next level.
Key Takeaways
• Map out your tool collection and categorize items by frequency, size, and type to optimize pegboard design and maximize storage.
• Position frequently used tools strategically and ensure tool accessibility by grouping analogous tools together and considering frequency of tool usage.
• Segment tools into distinct groups, creating a visual hierarchy, and implement a color-coding system to enhance organization and visual appeal.
• Plan for 10-20% empty space to accommodate future tool additions, and use adjustable hooks to allow for flexibility and customization.
• Prioritize ergonomic use by positioning tools between waist and shoulder height, and incorporate sliding storage bins for small parts to reduce clutter and strain.
Designing for Maximum Storage
To maximize storage capacity, start by mapping out your tool collection and categorizing items by frequency of use, size, and type. This will give you a clear understanding of what you need to store and how to optimize your pegboard design.
Next, consider the layout of your pegboard. You'll want to utilize vertical space to make the most of your available area. Install hooks, bins, and shelves to create separate zones for different types of tools. This will prevent clutter and make it easier to find what you need.
To take your organization to the next level, try color coding categories. For example, use blue bins for hand tools, red for power tools, and green for accessories. This visual system will help you quickly identify where each tool belongs, making it easier to maintain your organized space.
Prioritizing Frequently Used Tools
By positioning your most frequently utilized implements in easily accessible locations, you'll save time and enhance efficiency in your workflow. This strategy guarantees tool accessibility, allowing you to swiftly grab what you need without wasting valuable minutes searching through your pegboard.
Consider the implements you utilize daily, such as mallets, screwdrivers, and pliers, and reserve prime real estate for them. Store them in a manner that aligns with your workflow, considering the sequence of tasks you typically execute.
To optimize implement organization, group analogous tools together, such as all your screwdrivers or wrenches. This method fosters storage efficiency, as you can accommodate more tools in a compact space.
Moreover, take into account the frequency of implement usage and store less frequently utilized tools towards the bottom or back of your pegboard. By doing so, you'll establish a well-ordered and functional workspace that streamlines your implement utilization.
With your most crucial tools at your disposal, you'll be able to tackle projects with assurance and celerity.
Segmenting Tools by Category
You can further optimize your pegboard's organization by categorizing tools into distinct groups, such as hand tools, power tools, and measuring instruments, which allows you to quickly locate a specific tool when needed. This segmentation allows you to create a visual hierarchy, making it easier to navigate your tool collection.
To take it a step further, consider implementing a color-coding system, where tools within each category are assigned a specific color. This visual cue will help you quickly identify the tool you need, even from a distance.
Additionally, labeling each tool with its name or function will eliminate any confusion and make certain that you're grabbing the right tool for the job. By grouping similar tools together and using color coding and tool labeling, you'll be able to find what you need in an instant, saving you time and boosting your productivity.
With a well-organized pegboard, you'll be able to focus on the task at hand, rather than wasting time searching for the right tool.
Leaving Space for Expansion
As your tool collection grows, it's crucial to reserve some vacant space on your pegboard to accommodate new tools and accessories, ensuring that your organizational system remains effective and adaptable over time.
When designing your pegboard layout, it's vital to prioritize future proofing and flexibility. Reserving space for expansion allows you to adjust to changing needs and tools without having to reorganize your entire system.
Here are some tips to keep in mind when reserving space for expansion:
-
Plan for 10-20% empty space: This will provide you with room to add new tools or accessories without overcrowding your pegboard.
-
Group similar tools together: This will make it simpler to add new tools to a specific category without disrupting the entire layout.
-
Use adjustable hooks: These can be easily moved or adjusted as your tool collection grows or changes.
- Leave space between categories: This will make it simpler to add new categories or sections as your tool collection expands.
Incorporating Multi-Functional Hooks
Incorporating multi-purpose hooks into your pegboard design enables you to maximize storage capacity while minimizing clutter, allowing you to efficiently hang and organize multiple tools and accessories from a single hook. This approach provides customizable configurations, catering to your specific needs and preferences. By choosing hooks with adjustable arms or swiveling heads, you can create space-saving solutions that accommodate tools of varying sizes and shapes.
Multi-purpose hooks offer versatile storage options, enabling you to hang items like cords, hoses, and accessories alongside your tools. This efficient organization system keeps your workspace tidy and easily accessible, reducing the time spent searching for misplaced items. Additionally, these hooks can be rearranged as your tool collection evolves, guaranteeing your pegboard remains functional and adaptable.
When selecting multi-purpose hooks, consider the weight capacity, material, and durability to ensure they can support your tools and withstand frequent use. By incorporating these hooks into your design, you'll create a streamlined and organized workspace that boosts productivity and reduces stress.
Creating a Visual Hierarchy
When creating a visual hierarchy on your pegboard, you'll want to prioritize essential tools and organize them by frequency of use.
This means placing your most-used tools in easy-to-reach locations and grouping similar tools together.
Prioritize Essential Tools
Designate a prominent pegboard zone for your most frequently used tools, like hammers, pliers, and screwdrivers, to create a visual hierarchy that saves you time and effort. This organized approach allows you to quickly identify and access the tools you need, streamlining your workflow. By prioritizing essential tools, you can reduce frustration and increase productivity.
To maximize tool visibility, consider the following organizing techniques:
-
Group similar tools together: Store tools with similar functions, such as screwdrivers or wrenches, in the same area to create a logical workflow.
-
Use visual cues: Utilize color-coding, labeling, or icons to differentiate between tools and make them easier to spot.
-
Keep frequently used tools front and center: Position your most-used tools in easy-to-reach locations, reducing the need to stretch or search for them.
- Store less-used tools out of the way: Reserve less prominent areas for less frequently used tools, keeping them organized but out of the way.
Organize by Frequency
You can create a visual hierarchy on your pegboard by categorizing tools into three zones based on frequency of use, with the most frequently used tools occupying the prime real estate. This approach guarantees that the tools you need most are easily accessible, saving you time and effort.
Divide your pegboard into three zones: high-frequency tools, medium-frequency tools, and low-frequency tools. Place your most-used tools in the high-frequency zone, which should be at eye level and within easy reach. This will reduce tool rotation and make it easier to grab what you need quickly.
In the medium-frequency zone, place tools that you use regularly but not as often as those in the high-frequency zone. This zone can be located above or below the high-frequency zone, depending on your personal preference.
The low-frequency zone can be relegated to the top or bottom of your pegboard, where tools are less accessible but still organized. By organizing your tools by frequency of use, you'll experience significant accessibility improvements, making your workflow more efficient and reducing frustration.
This thoughtful design strategy will help you maximize your pegboard's potential and streamline your work process.
Optimizing for Ergonomic Use
Optimizing for Ergonomic Use
By positioning frequently used tools between waist and shoulder height, you'll reduce strain on your back and shoulders, making it easier to work for extended periods. This is especially important when designing your tool pegboard, as you'll likely be standing and moving around while working.
To take your pegboard's ergonomics to the next level, consider the following strategies:
-
Adjustable shelf placement: Install shelves that can be adjusted to accommodate tools of different sizes, ensuring that everything is within easy reach.
-
Customizable hook sizes: Use hooks that can be customized to fit tools of varying shapes and sizes, reducing clutter and strain.
-
Color coded organization: Organize your tools by color or category, making it easier to find what you need quickly and efficiently.
- Sliding storage bins: Incorporate sliding bins or drawers to store small parts and accessories, keeping them out of the way but still accessible.
Frequently Asked Questions
How Do I Prevent Tools From Falling off the Pegboard Over Time?
You prevent tools from falling off the pegboard by ensuring proper tool retention through regular pegboard maintenance, like the auto shop that adds rubberized coatings to hooks to prevent wear, and installing reinforcements like metal reinforcements or adhesives.
Can I Use a Pegboard in a Humid or Outdoor Environment?
You can use a pegboard in a humid or outdoor environment if you choose a weather-resistant material, apply a moisture-control coating, and guarantee proper ventilation to prevent moisture buildup and maintain outdoor durability.
Are Pegboards Suitable for Heavy or Large Tools and Equipment?
You'll need to take into account a pegboard's weight capacity and space optimization when using it for heavy or large tools and equipment, ensuring the board is durable and weather-resistant to withstand the load and environmental conditions.
How Do I Secure Valuable or Sensitive Tools on the Pegboard?
Don't you wish you had a foolproof way to safeguard your valuable tools on the pegboard? You can guarantee tool security and organization by using pegboard accessories like locking pegs, tool clips, and bins, or investing in specialized solutions like pegboard-mounted cabinets.
Can I Customize a Pegboard to Fit a Non-Standard Wall Size?
You can customize a pegboard to fit a non-standard wall size by opting for custom sizing or exploring creative solutions like modular panels, adjustable frames, or even DIY projects to guarantee a perfect fit.
Related Posts
-

Adjustable Modular Shoe Racks for Versatility
Adjustable modular shoe racks are your go-to solution for versatile and organized footwear storage. These racks maxim...
-

Tool Storage Chests for a More Organized Workspace
You're looking to enhance productivity and reduce stress in your workspace by getting your tools organized, and that'...
-

3 Key Steps to Streamline Your Workshop Organization
You're likely wasting 30% of your workshop's productivity and profitability due to disorganization, a common problem ...


