7 Best Space-Saving Workshop Layouts for Beginners
Share
You're setting up a workshop, but space is tight. Don't worry, you can still create an efficient workspace. Consider a compact corner workshop design, maximizing that often-wasted space. Alternatively, an L-shaped layout or U-shaped plan can optimize your floor plan. Organize your tools with a linear tool station or vertical system, keeping them within easy reach. You can also invest in a modular workbench with storage or a sliding cabinet layout. With these designs, you'll be well on your way to a functional workshop. Now, take a closer look at each of these options to find the perfect fit for your unique space.
Key Takeaways
• Compact Corner Workshop Design efficiently uses a 4x4 area with wall-mounted shelves, a folding workbench, and overhead storage racks.
• Space-Maximizing L-Shaped Layout utilizes two adjacent walls for shelving, cabinets, and a workbench to enhance tool accessibility and workflow efficiency.
• Optimal Linear Tool Station minimizes walking distances, groups similar tools, and positions frequently used tools within easy reach for improved workflow efficiency.
• Modular Workbench with Storage is highly functional, space-efficient, and customizable with hidden storage compartments underneath based on project types.
• A well-optimized workshop layout increases storage capacity, provides easy access to tools and materials, and creates a functional and organized workspace.
Compact Corner Workshop Design
You can create a highly functional compact corner workshop design by strategically placing essential tools and equipment within a 4-foot by 4-foot area. To maximize space, consider installing wall-mounted shelves to store frequently used items, such as hand tools, drill bits, and accessories.
A compact folding workbench is also a great addition, providing a sturdy surface for projects without taking up too much floor space.
For added storage, look up – overhead storage racks can hold less frequently used items, like seasonal decorations or infrequently used power tools.
Meanwhile, a portable tool cart can keep your most-used tools within easy reach, while also allowing you to move it out of the way when not in use.
By carefully planning your layout, you can fit all the essentials into this small space, making it perfect for small garages, basements, or apartments.
With a little creativity, your compact corner workshop will be a productive and efficient space that helps you get the job done.
Space-Maximizing L-Shaped Layout
By creating an L-shaped layout, you're able to effectively utilize two adjacent walls, resulting in a more spacious and organized workshop area. This design allows you to maximize your storage solutions, keeping your tools and materials within easy reach.
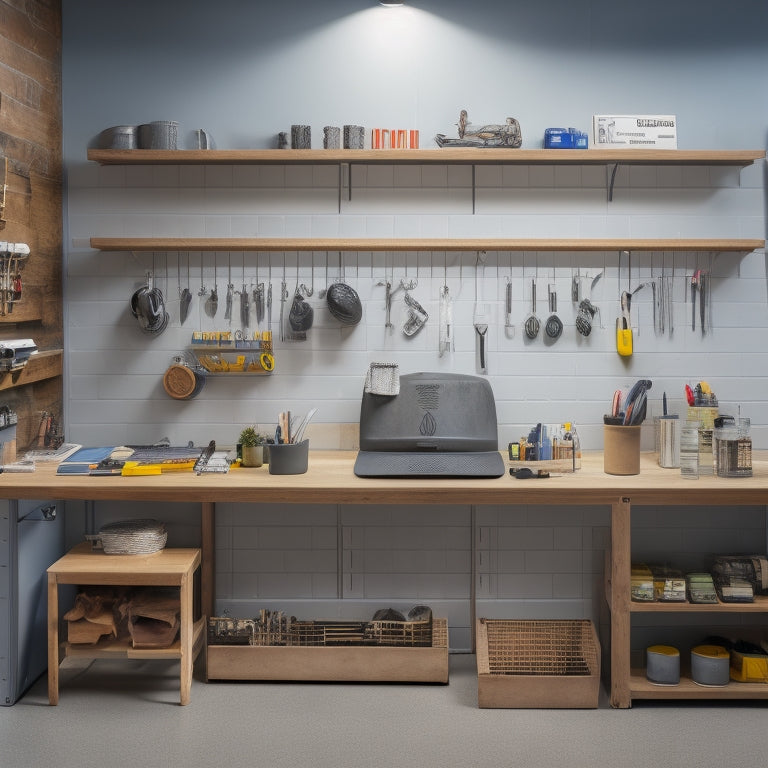
With an L-shaped layout, you can install shelving, cabinets, or pegboards along the longer wall, and a workbench or countertop along the shorter wall. This setup provides ample workspace flexibility, enabling you to adapt to different projects and tasks. In addition, tool accessibility is greatly improved, as your most frequently used tools are easily accessible, reducing workflow inefficiencies.
By positioning your workbench near the corner, you can create a comfortable and efficient workspace that promotes workflow efficiency. Furthermore, the L-shaped layout enables you to create separate zones for different tasks, such as a dedicated area for painting or assembly.
Efficient U-Shaped Workshop Plan
When designing your efficient U-shaped workshop, you'll want to focus on best tool placement to maximize your workflow.
You'll also need to organize your workzones to minimize clutter and increase productivity.
Optimal Tool Placement
In an efficient U-shaped workshop, positioning your most frequently used tools within easy reach of your main work area can reduce walking distances and boost productivity. This means you'll spend less time searching for tools and more time focusing on your project. To achieve ideal tool placement, consider the tools you use most frequently and prioritize their storage.
Here's a suggested tool placement layout to maximize workspace efficiency:
| Tool | Storage Location |
|---|---|
| Hammer | Top shelf, within arm's reach |
| Drill Press | Corner workstation, adjacent to main work area |
| Tape Measure | Pegboard, near main work area |
| Hand Saw | Lower shelf, near workbench |
| Level | Near main work area, on a designated level station |
Workzone Organization Tips
You'll want to divide your workzone into distinct areas, each dedicated to a specific task or process, to maintain a clutter-free and efficient U-shaped workshop. This means designating zones for tasks like measuring, cutting, and assembly.
Within each zone, organize your tools and materials in a logical and accessible manner. For instance, store frequently used tools in easy-to-reach locations, while less frequently used tools can be stored in higher or lower shelves. Consider investing in a pegboard or tool chest for efficient tool storage.
When setting up your workbench, prioritize ergonomics and workflow. Position your workbench in a way that allows you to move comfortably between tasks, and consider adding a vice or clamping system to secure your workpieces.
Keep your work surface clean and clear of clutter by using a bench mat or tray to corral small parts and scraps. By organizing your workzone and workbench thoughtfully, you'll be able to work more efficiently, reduce errors, and enjoy a more satisfying workshop experience.
Corner Space Utilization
Corner Space Utilization
By incorporating space-saving corner solutions, such as carousels, lazy susans, or angled shelves, into your U-shaped workshop plan, you can effectively maximize the often-wasted space in these areas. This is especially important in compact workshops, where every inch counts.
Here are some ideas to get you started:
| Corner Solution | Benefits |
|---|---|
| Corner Workbench | Provides additional workspace and storage for tools |
| Carousel Shelving | Rotates to bring items to you, reducing strain and increasing accessibility |
| Lazy Susan Storage | Spins to reveal hidden storage for small items and supplies |
| Angled Shelving | Maximizes vertical space and makes items easy to retrieve |
Optimal Linear Tool Station
When designing an efficient linear tool station, you'll want to start by developing a tool placement strategy that makes sense for your workflow.
This means grouping similar tools together and positioning them in a way that minimizes walking distances and maximizes efficiency.
Tool Placement Strategy
Tool Placement Strategy
In a well-designed efficient linear tool station, place your most frequently used tools within easy reach to maximize efficiency and reduce walking distances. This strategy allows you to quickly access the tools you need, saving time and energy. By optimizing your tool placement, you can improve your workshop workflow and reduce fatigue.
Here's a suggested layout for your linear tool station:
| Tool Category | Tool | Placement |
|---|---|---|
| Measuring | Tape measure, level | Near the workbench |
| Cutting | Circular saw, jigsaw | Near the cutting area |
| Fastening | Drill, impact driver | Near the workbench |
| Hand tools | Pliers, wrenches | Near the workbench |
| Storage | Toolbox, cabinets | Along the wall or in a corner |
Efficient Workspace Design
By strategically locating your tools within an ideal linear tool station, you can create an efficient workspace that streamlines your workflow and boosts productivity. This setup allows you to access your tools quickly, reducing downtime and increasing the quality of your work.
When designing your linear tool station, consider incorporating portable workspace solutions, such as mobile workbenches or carts, to maximize flexibility. You can also utilize DIY storage solutions, like pegboards or shelves, to keep your tools organized and within reach.
To further optimize your workspace, think creatively about tool storage. Consider investing in multipurpose workstations that can accommodate various tools and tasks. For instance, a workstation with built-in vice and storage compartments can help you stay organized and focused.
Additionally, look for opportunities to repurpose or upcycle materials to create unique storage solutions that fit your specific needs. By implementing these strategies, you'll be able to create an efficient workspace that helps you work smarter, not harder.
Modular Workbench With Storage
You can create a highly functional and space-efficient workshop by building a modular workbench with storage, which allows you to customize the layout to suit your specific needs. This setup is perfect for beginners who want to maximize their workshop's potential.
A mobile workbench, for instance, can be easily moved around the workshop to accommodate different projects. You can also incorporate hidden storage compartments underneath the workbench to keep tools and materials organized and out of sight.
When designing your modular workbench, consider the types of projects you'll be working on most often. This will help you determine the size and layout of your workbench, as well as the type of storage you'll need.
For example, if you'll be working on small projects, you may want to include small drawers or compartments for storing tiny parts and tools. By customizing your workbench to your specific needs, you'll be able to work more efficiently and effectively, making the most of your workshop's space.
With a modular workbench and storage, you'll be well on your way to creating a functional and organized workshop that meets your needs.
Sliding Cabinet Workshop Layout
To further optimize your workshop's space, consider incorporating a sliding cabinet workshop layout that allows you to easily access frequently used tools and materials while keeping them out of the way when not in use. This layout is ideal for small workshops where every inch counts.
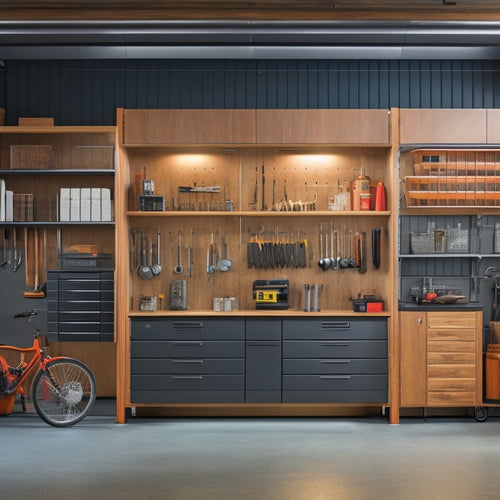
With a sliding cabinet workshop layout, you can maximize your wall space by installing wall-mounted cabinets with sliding drawers. This will enable you to store a large number of tools and materials within a compact area, making it easy to find what you need when you need it.
Here are some benefits of a sliding cabinet workshop layout:
| Benefits | Description |
|---|---|
| Increased Storage | Store more tools and materials in a compact area |
| Easy Access | Sliding drawers allow for easy access to frequently used items |
| Space Saving | Maximizes wall space, leaving floor space for other uses |
| Organization | Keeps tools and materials organized and out of the way |
Vertical Tool Organization System
Optimize your workshop's vertical space with a vertical tool organization system that keeps your tools and accessories within easy reach. This setup guarantees you're making the most of your workshop's walls, freeing up floor space for more important things – like your projects.
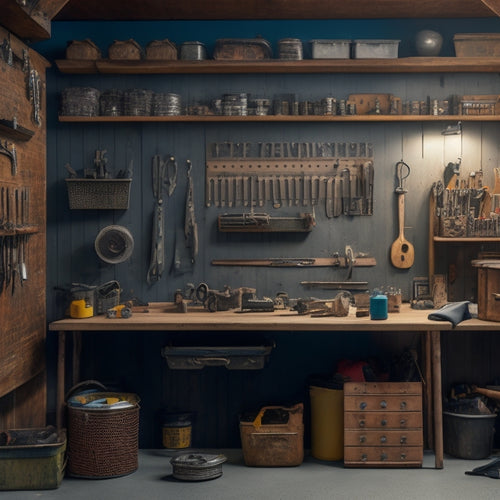
Wall-mounted storage solutions, such as hanging tool racks, are perfect for storing frequently used items like hammers, screwdrivers, and pliers. You can also use overhead organization systems to maximize your ceiling's storage potential. Install shelves or hooks to hang items like bikes, bins, or even entire workstations.
By keeping your tools organized and easily accessible, you'll save time and energy searching for them. Plus, a clutter-free workshop is a safer and more enjoyable place to work.
With a vertical tool organization system, you'll be able to focus on what matters most – creating and serving others with your skills. So, take advantage of your workshop's vertical space and get organized today!
Frequently Asked Questions
What Is the Ideal Workshop Size for a Beginner?
When planning your workshop, you'll want to think about a space that's around 100-150 square feet, allowing for efficient workshop organization and storage, while also accommodating essential equipment and placement for best workflow.
How Do I Choose the Right Workshop Lighting?
"You'll need a million lights to illuminate your entire workshop, but don't worry! You choose the right lighting by strategically placing task lights, overhead lights, and ambient lights, and opting for energy-efficient options like LEDs to save money and the planet."
Can I DIY My Workshop Layout or Hire a Professional?
You're weighing DIY vs professional layout design, considering cost comparison for your workshop layout. If you're handy, DIY can be cost-effective, but if you're short on time or expertise, hiring a pro might be worth the investment.
What Are the Must-Have Tools for a Beginner's Workshop?
As you set up your workshop, you'll need essential tools like a table saw, drill press, and hand tools. Organize them efficiently using tool chests and pegboards to optimize space, ensuring easy access and a clutter-free work area.
How Do I Ensure Workshop Safety and Prevent Accidents?
As you step into your workshop, remember, safety is like a shield - it's your first line of defense. Guarantee accident prevention by following safety tips, identifying hazards, and having emergency procedures in place, so you can serve others with confidence.
Related Posts
-

Design Considerations for a Custom Pegboard
When designing a custom pegboard, you'll want to start by evaluating your storage needs, considering factors like too...
-

Top 5 Small Tool Organizers for Your Workshop
You're looking to optimize your workshop's efficiency with high-quality small tool organizers. Compact storage soluti...
-

Best Materials for Garage Wall-Mounted Cabinets
When selecting materials for your garage wall-mounted cabinets, you'll want to evaluate options that balance durabili...


