5 Simple Tool Shed Organization Ideas for a Clutter-Free Space
Share
You can reclaim your tool shed from clutter and disorganization by implementing a few strategic changes to how you store and manage your tools and supplies. Start by clearing the floor to enhance safety and efficiency, then maximize your vertical space with wall-mounted organizers and shelving. Next, label and categorize your tools to streamline access, designate zones for specific tasks, and implement a regular maintenance routine to keep your space organized and functional. By following these simple steps, you'll be well on your way to a clutter-free space that enhances productivity - and uncover even more ways to optimize your tool shed's potential.
Key Takeaways
- Clear the floor by installing shelving solutions and designating areas for larger items to enhance safety and efficiency in the workspace.
- Maximize vertical space with wall-mounted organizers and pegboards to store frequently used tools and small parts.
- Label and categorize tools by function and group similar tools together for easy access and organization.
- Designate task-focused zones for specific projects and group necessary tools and materials together for each zone.
- Implement a regular maintenance routine to ensure tool safety and functionality, and to prevent clutter buildup.
Clear the Floor for Efficiency
How much time do you waste maneuvering around cluttered tool sheds, searching for that one specific wrench or screwdriver?
Clearing the floor is a vital step in achieving a clutter-free space. It's not just about aesthetics; a clear floor is safer and more efficient.
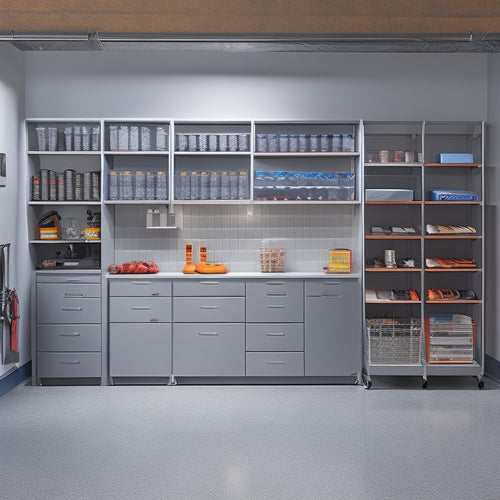
Start by installing shelving solutions that keep frequently used tools and equipment off the floor. This will create a sense of organization and make it easier to find what you need.
Next, designate a specific area for larger items like lawn mowers or generators. This will prevent them from taking over the entire floor.
Utilize Vertical Storage Space
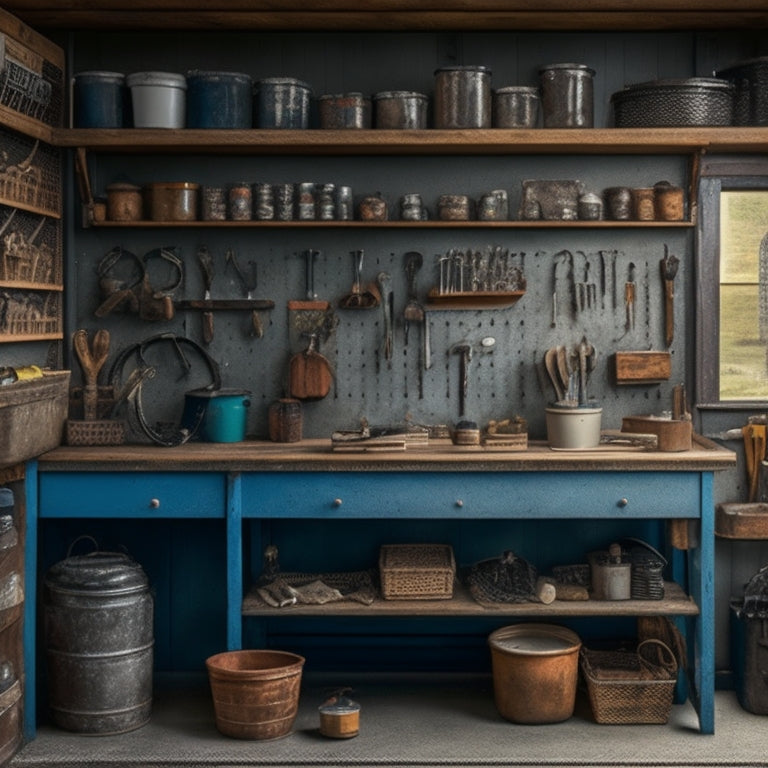
Maximize your tool shed's vertical space by installing wall-mounted organizers, pegboards, and hooks. This will help keep your tools and equipment off the floor, reducing tripping hazards and making it easier to find what you need.
Consider installing wall-mounted shelves to store bins, baskets, or small tools. Pegboard systems with hanging hooks can hold items like hammers, screwdrivers, and pliers, keeping them within easy reach. Tool racks can be mounted on walls or ceilings to store items like bikes, ladders, or long-handled tools.
Make the most of your shed's vertical space by using stackable storage containers or bins to store items like nuts and bolts, screws, or other small parts. Label each bin so you can quickly identify what's inside.
Installing a pegboard on the back of a door or on a wall can provide additional storage for items like gardening tools, extension cords, or hoses. By utilizing your tool shed's vertical space, you'll create a safer, more organized workspace that makes it easier to get the job done.
Label and Categorize Tools
By the time you've organized your tool shed's vertical space, you're likely to have a sense of accomplishment, but you're not done yet.
Labeling and categorizing your tools is essential for a clutter-free space. This step guarantees that you can easily find the tool you need when you need it, reducing frustration and increasing productivity.
To label and categorize your tools effectively, follow these steps:
-
Group similar tools together: Store tools of the same type, such as hammers or screwdrivers, in the same area. This makes it easy to find what you need and prevents tools from getting scattered throughout the shed.
-
Use a labeling system: Label each tool and its storage location using a clear and consistent labeling system. This can be as simple as using stickers or labels with the tool's name.
-
Implement categorization methods: Categorize tools by their function or the task they're used for, such as "gardening tools" or "woodworking tools." This helps you quickly identify the tool you need and prevents clutter from building up.
Designate Zones for Tasks
Now that you've labeled and categorized your tools, it's time to take your tool shed organization to the next level. Designating zones for tasks will help you create an efficient workflow and guarantee that you're using your space wisely.
Start by identifying the tasks you perform most frequently in your tool shed, such as woodworking, gardening, or repairs.
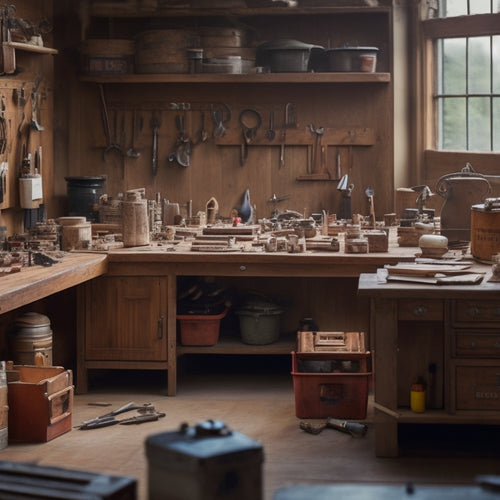
Create task-focused areas by grouping the tools and materials needed for each task together. For example, designate a specific area for your woodworking projects, complete with a workbench, necessary hand tools, and storage for lumber and other materials.
This will help you stay organized and focused while working on a project.
Implement a Maintenance Routine
You've invested time and effort into organizing your tool shed, and it's vital to maintain this setup to guarantee it continues serving you well.
A well-maintained tool shed isn't only more efficient but also safer, as it reduces the risk of accidents and injuries.
To verify your tool shed remains organized and functional, implement a maintenance routine.
Schedule regular check-ups to:
-
Inspect tools and equipment: Check for signs of wear and tear, and perform necessary repairs or replacements.
-
Clean and dust surfaces: Remove dirt, dust, and debris that can attract pests and create an unhealthy work environment.
-
Restock supplies: Replenish consumables, such as sandpaper, drill bits, and other essentials, to avoid last-minute trips to the store.
Frequently Asked Questions
How Do I Store Small Parts and Accessories Without Losing Them?
When dealing with tiny items, you'll want to use small container solutions like mini bins or jars to keep them organized. Consider magnetic strip storage for metal parts, and label each container so you can easily find what you need.
Can I Use a Tool Shed for Non-Tool Storage as Well?
You can definitely use a tool shed for non-tool storage, leveraging its versatility for creative storage solutions. You'll find it's perfect for stashing outdoor gear, seasonal decorations, or even gardening supplies, keeping them organized and out of the way.
Are There Any Eco-Friendly Tool Shed Organization Options Available?
As you're sipping your morning coffee, you're probably thinking about reducing your carbon footprint. Coincidentally, you can do just that in your tool shed! Look for sustainable materials and repurposed containers to organize your space, ensuring a clutter-free and eco-friendly haven.
How Often Should I Clean and Disinfect My Tool Shed?
You should clean your tool shed every 1-2 months and disinfect high-touch areas weekly to prevent germ buildup. Set a schedule to maintain a safe and healthy environment, and always wear gloves and a mask when disinfecting.
Can I Customize Tool Shed Organization Ideas for My Specific Needs?
You can tailor tool shed organization to your unique needs by creating a personalized storage system and functional layout that maximizes space, ensuring you have quick access to tools and materials while maintaining a safe and clutter-free environment.
Conclusion
You've finally tamed the tool shed beast! Now, imagine your newly organized space as a well-oiled machine, humming along like a Swiss watch. Just as each gear has its precise place, your tools and supplies have their designated spots, ready to be called into action at a moment's notice. By implementing these 5 simple organization ideas, you've converted a cluttered cave into a productive paradise, saving yourself time and frustration with every project.
Related Posts
-

Building a Garage Storage System With Built-Ins
You're about to build a garage storage system with built-ins that fits your unique needs, starting by evaluating your...
-

Top 7 Parts Tray Organizers for Productivity
You can optimize your workspace and enhance productivity with the right parts tray organizer, which can help you cate...
-

Best Cheap Tool Boxes for Budget-Conscious Buyers
You need a reliable tool box that gets the job done without breaking the bank. Look for durable materials, rust-resis...


