5 Best Pegboard Installation Secrets for Beginners
Share
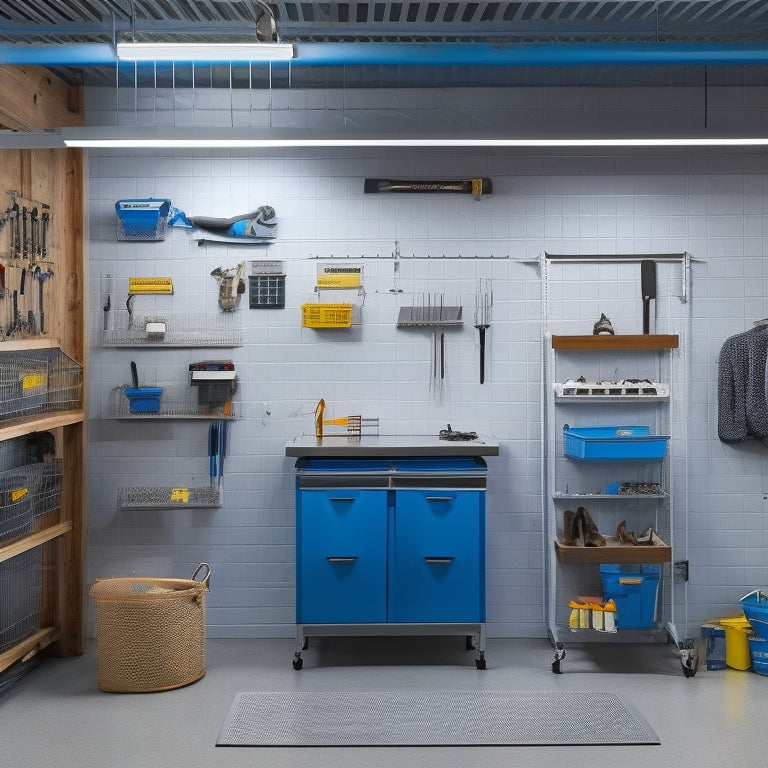
You're about to transform your workspace into a highly efficient and organized hub with a pegboard installation that maximizes storage and streamlines your workflow. To get started, measure twice and install once to avoid mistakes. Choose the right pegboard type that fits your tool storage needs and preferences. Plan your tool layout strategically, prioritizing most-used tools and leaving space for future additions. Maximize vertical storage space with hooks, bins, and shelves. Finally, secure your pegboard correctly to prevent tipping and damage. By following these secrets, you'll be well on your way to creating a workspace that boosts productivity - and that's just the beginning.
Key Takeaways
• Double-check measurements before installation to avoid costly mistakes and ensure a smooth process.
• Choose the right pegboard type based on tool storage needs, material options, and color coordination for a functional workspace.
• Plan your tool layout strategically, prioritizing most-used tools and leaving space for future acquisitions to optimize storage capacity.
• Maximize vertical storage space by utilizing hooks, bins, and shelves to increase storage capacity and reduce clutter.
• Secure your pegboard correctly by locating wall studs, choosing appropriate fasteners, and double-checking weight capacity to prevent damage and messy workspaces.
Measure Twice, Install Once
Before you start drilling holes and hammering pegs, take a few minutes to double-check your measurements, as a simple mistake can throw off your entire pegboard installation. You've likely invested time and effort into planning your pegboard layout, so don't risk it all by rushing into the installation process. Confirm you've accounted for the space needed for each tool and accessory, considering factors like handle length and hook placement.
Proper tool placement is key to an efficient storage solution. Consider the tools you use most frequently and position them in easy-to-reach locations. This will save you time and energy in the long run.
Take note of any obstructions, such as electrical outlets or pipes, and plan your pegboard installation accordingly. By taking the time to double-check your measurements, you'll avoid costly mistakes and confirm a smooth installation process.
Choose the Right Pegboard Type
What type of pegboard will best support your tool storage needs - a sturdy metal pegboard, a versatile pegboard with modular accessories, or a budget-friendly MDF pegboard? When choosing the right pegboard type, consider the pegboard material options. Metal pegboards are durable and ideal for heavy-duty tool storage, while MDF pegboards are a cost-effective option for lighter tool storage. If you want a pegboard that can adapt to your changing tool needs, consider a pegboard with modular accessories.
Don't forget to think about color coordination for aesthetics. You can choose a pegboard that matches your workshop's color scheme or complements your tools. A well-coordinated pegboard can create a visually appealing workspace that inspires productivity.
Ultimately, the right pegboard type for you'll depend on your specific tool storage needs and preferences. Take the time to research and compare different options before making a decision. By choosing the right pegboard type, you'll be able to create a functional and organized workspace that makes your tools easily accessible.
Plan Your Tool Layout Strategically
Mapping out your tool layout strategically guarantees that every tool has a designated home, saving you time and frustration when you need it most. When planning your tool layout, consider the tools you use most frequently and group them together. This will help you optimize your space and reduce clutter.
Here are three essential tips to keep in mind:
-
Prioritize your most-used tools: Place your most frequently used tools in easy-to-reach locations, such as the top row or center of your pegboard.
-
Group similar tools together: Organize your tools by category, such as all your screwdrivers or wrenches, to make them easy to find and access.
-
Leave space for growth: Don't overcrowd your pegboard – leave some space for new tools or accessories you might acquire in the future.
Maximize Vertical Storage Space
You can multiply your pegboard's storage capacity by making the most of its vertical space, which is especially important if you have a smaller pegboard or a large collection of tools. To optimize space, consider installing hooks, bins, and shelves that take advantage of the board's vertical real estate. This will allow you to store more items without taking up valuable floor space.
When it comes to storage solutions, think beyond the basics. For instance, you can use stackable bins to store small parts and accessories, or hang long-handled tools like brooms and shovels from the top of the pegboard. This will keep them out of the way but still easily accessible.
Secure Your Pegboard Correctly
Before drilling holes and screwing in pegs, make sure your pegboard is securely fastened to the wall studs to prevent it from tipping over or falling under the weight of your tools and accessories. This is an important step in pegboard organization, as a poorly secured board can lead to a messy workspace and even damage to your tools.
To avoid common beginner mistakes, follow these steps to secure a sturdy installation:
-
Locate the wall studs: Use a stud finder to identify the wooden beams behind your drywall. This is where you'll want to anchor your pegboard.
-
Choose the right fasteners: Select screws or anchors that are designed for the type of wall you have (e.g., drywall, concrete, or wood).
-
Double-check the weight capacity: Make sure the fasteners and wall studs can support the combined weight of your pegboard, tools, and accessories.
Frequently Asked Questions
How Do I Organize My Pegboard for Frequent Tool Usage?
You'll maximize tool organization and efficiency by grouping frequently used tools together, placing them at eye level, and arranging them in a logical order, ensuring quick access and minimizing workflow disruptions.
Can I Install a Pegboard in a Small or Narrow Space?
You think a pegboard is only for large spaces, but think again! You can install a pegboard in a small or narrow space with creative pegboard solutions, like maximizing vertical space, and add personality with pegboard color options.
Are Pegboards Suitable for Heavy or Bulky Tool Storage?
You'll find pegboards suitable for heavy or bulky tool storage if you consider weight distribution and storage capacity. Look for sturdy hooks and bins, and strategically place heavier items near the board's center to guarantee stability.
Can I Customize My Pegboard With Non-Standard Tool Holders?
You can customize your pegboard with non-standard tool holders, like using a 3D-printed holder for a specific drill bit. Get creative with unique accessories, DIY solutions, and unconventional hooks to achieve tailored, efficient storage that suits your needs.
How Do I Clean and Maintain My Pegboard Over Time?
You'll want to regularly wipe down your pegboard with a soft cloth and mild detergent to prevent rust and damage. For deeper cleaning, mix baking soda and water to create a paste, then scrub and rinse to keep your pegboard in top shape.
Related Posts
-

Modular Tool Storage Systems for Small Spaces
You can optimize your small workspace by leveraging modular tool storage systems that intelligently employ vertical s...
-

Top Wrench Tool Box Sets for Every Mechanic
You're looking for high-quality wrench tool box sets that cater to your specific needs as a mechanic. From top-rated ...
-

Best Materials for Garage Wall-Mounted Cabinets
When selecting materials for your garage wall-mounted cabinets, you'll want to evaluate options that balance durabili...


