3 Essential Tips for DIY Pegboard Installation
Share
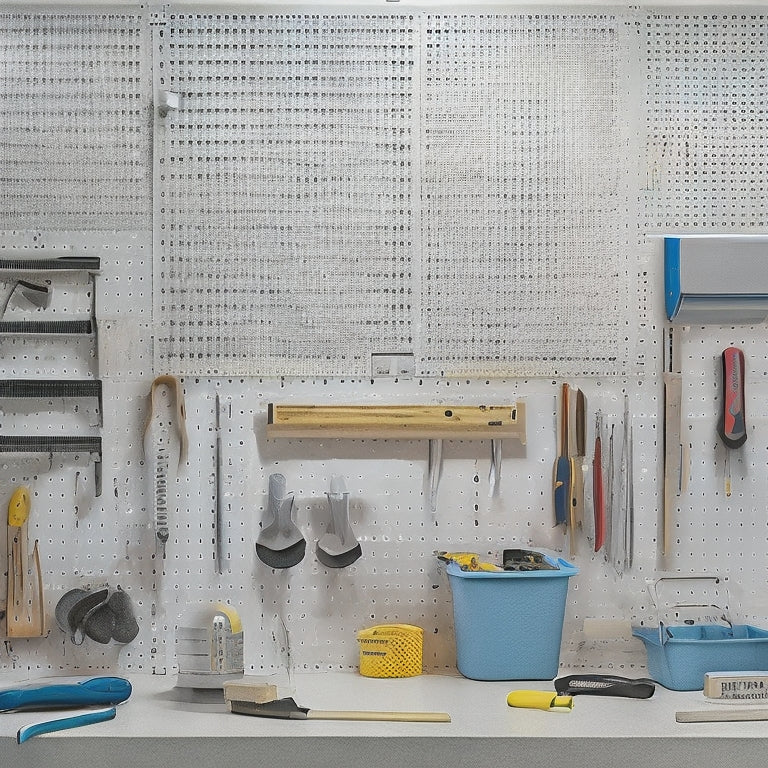
You're on your way to maximizing your space with a DIY pegboard installation! First, prep the surface by clearing debris, inspecting for imperfections, and lightly sanding to create a smooth surface. Next, choose the right hooks by considering durable materials, specialty hooks, and weight capacity. Finally, plan for future expansion by designing a modular layout, leaving empty space, and using removable hooks. By following these essential tips, you'll set yourself up for a successful installation that grows with your needs. Now, get ready to take your organization to the next level with a tailored pegboard system that's all about you!
Key Takeaways
• Prepare the pegboard surface by clearing debris, lightly sanding, and priming for a strong bond between the pegboard and hooks.
• Choose the right hooks based on material, size, shape, weight capacity, and usage frequency to ensure they meet storage needs and item types.
• Plan for future expansion by designing a modular layout, leaving empty space, and using removable hooks for flexibility and adaptability.
• Maximize storage efficiency by optimizing vertical space, grouping similar items, utilizing baskets, and labeling hooks for quick identification.
• Enhance organization and accessibility by arranging frequently used items at eye level, installing pegboards near workstations, and using color-coded hooks.
Prepare the Pegboard Surface
Clear the pegboard of any debris, dust, or protective film to guarantee a clean surface for installation. You'll want to make sure the surface is spotless to achieve a strong bond between the pegboard and the wall. Use a soft cloth or brush to wipe away any dirt or particles. If your pegboard has a protective film, gently peel it off to expose the raw surface.
Next, inspect the surface for any imperfections or rough spots. Lightly sand the area to create a smooth, even surface. This is important for paint preparation, as any bumps or ridges can affect the paint's adhesion. Once you've sanded the surface, use a tack cloth to remove any dust or debris.
Now, you're ready to prime and paint the pegboard. Choose a paint specifically designed for pegboards, and apply a thin, even coat. Allow the paint to dry completely before moving on to the next step.
Choose the Right Hooks
Selecting the right hooks for your pegboard is essential, as they'll determine the type of items you can hang and the overall functionality of your storage system. You'll want to choose hooks that fit your specific needs and the types of items you plan to store.
Here are a few considerations to keep in mind:
-
Hook Materials: Look for hooks made from durable materials like steel, aluminum, or heavy-duty plastic. These will be able to hold more weight and withstand frequent use.
-
Consider Specialty Hooks designed for specific items, such as bike hooks, tool hooks, or hooks with a built-in level. These can help maximize your pegboard's storage capacity and keep your items organized.
-
Think about the Size and Shape of your hooks. Will you need long, thin hooks for hanging bikes or ladders, or shorter, sturdier hooks for holding heavy tools?
Plan for Future Expansion
As you finalize your hook selection, consider how your storage needs might evolve over time, and plan your pegboard layout accordingly to accommodate future additions or changes. You might think you've got all your storage needs covered, but trust us, your needs will change.
A modular design is key to a pegboard that can adapt to your evolving needs. Think of your pegboard as a scalable layout that can grow or shrink as needed.
When planning for future expansion, consider leaving some empty space on your pegboard for future additions. You can also use removable hooks or accessories that can be easily swapped out or rearranged as your needs change. This will give you the flexibility to add or remove storage components without having to redo the entire pegboard.
Frequently Asked Questions
Can I Use a Pegboard With a Non-Standard Thickness?
You can definitely use a pegboard with a non-standard thickness, but you'll need to find custom screws or alternative materials that fit your unique board. Measure carefully and plan ahead to guarantee a secure installation.
How Do I Protect My Pegboard From Moisture and Humidity?
You'll want to shield your pegboard from moisture and humidity by applying a silicone coating or attaching a weatherproof backing, ensuring your organizational system remains durable and functional in any environment.
Are Pegboards Suitable for Heavy-Duty Industrial Use?
You'll want to check the pegboard's load capacity and confirm it meets industrial standards for heavy-duty use. Look for durable materials, sturdy hooks, and a robust frame that can withstand the demands of your industrial environment.
Can I Install a Pegboard on a Curved or Angled Surface?
When dealing with curved or angled surfaces, you'll need custom brackets to securely attach your pegboard. Consider flexible panels that can conform to the shape, ensuring a seamless installation that's both functional and visually appealing.
Are Pegboards Compatible With All Types of Wall Anchors?
You'll find that pegboards work with most wall anchors, but it's important to choose the right anchor material for your wall type - like plastic anchors for drywall or metal anchors for concrete or brick walls.
Related Posts
-

Heavy-Duty Pegboard Hooks for Industrial Use
You need heavy-duty pegboard hooks that can withstand the rigors of industrial use, providing a reliable and efficien...
-

Choosing the Right Stacked Storage Bins
When choosing the right stacked storage bins, you'll want to evaluate your storage needs, considering inventory types...
-

Modular Garage Organizers for Clutter-Free Spaces
You're likely wasting precious space in your garage due to inefficient storage and poor organization, but modular gar...


