10-Step Guide to Creating the Ultimate Garage Workbench and Shelves
Share
You're about to change your garage into a highly functional workspace by building the ultimate garage workbench and shelves, customized to your specific needs and project requirements. Start by planning your garage workspace, evaluating available space, and designating work zones for your workbench, tools, and heavy equipment. Next, choose durable materials that can withstand frequent use and exposure to elements, considering factors like weight capacity, wear resistance, and safety. Then, build a sturdy workbench frame, add shelving and storage, and install electrical outlets strategically placed for maximum efficiency and comfort. As you move forward, you'll uncover the finer details that will make your garage workspace truly exceptional.
Key Takeaways
- Assess available garage space and identify specific project needs to create a functional workbench and shelving layout.
- Choose durable materials, such as Birch, Maple, or Oak, that can withstand frequent use and exposure to elements.
- Build a sturdy workbench frame with a rectangular design and attach shelves for ample storage and workflow efficiency.
- Incorporate adjustable shelving and storage solutions to accommodate varying item sizes and facilitate easy rearrangement.
- Install outlets strategically, following safety precautions, to ensure convenient access to power tools and equipment.
Plan Your Garage Workspace
As you set out to create your ideal garage workspace, take a step back to assess the available space and identify your specific needs. Consider the types of projects you'll be working on, the tools you'll need, and the frequency of use. This will help you determine the best workspace layout.
You'll want to create a layout that maximizes efficiency and minimizes clutter. Think about the "work zones" you'll need, such as a dedicated area for your workbench, storage for tools and supplies, and potentially a space for a vise or other heavy equipment.
Consider the "traffic path" through your garage and verify there's enough clearance to move around comfortably.
Invest in organizational tools like pegboards, bins, and shelving to keep your tools and supplies within easy reach. This will help reduce distractions, improve productivity, and prevent accidents caused by tripping hazards or misplaced items.
With a well-planned workspace layout, you'll be able to focus on your projects with confidence, knowing you have a safe and efficient environment to work in.
Choose the Right Materials
Your workbench's materials will play an essential role in its durability, functionality, and overall performance.
You'll want to choose materials that can withstand the rigors of frequent use and potential exposure to chemicals, moisture, and heavy loads.
When it comes to wood types, you have several options to evaluate:
- Birch: A durable, affordable option with a smooth finish.
- Maple: A hardwood with excellent resistance to scratches and stains.
- Oak: A sturdy, long-lasting wood with a distinctive grain pattern.
Examine the material durability, weight capacity, and resistance to wear and tear when making your selection.
You'll also want to think about the type of finish you'll apply, as this can impact the material's performance over time.
Remember to prioritize safety by choosing materials that can support the weight of your tools and equipment, and that won't pose a risk to your health or well-being.
Build the Workbench Frame
The foundation of your garage workbench is the frame, which must be sturdy enough to support the weight of your tools, equipment, and materials. To guarantee frame stability, you'll need to carefully plan and construct the frame according to your workbench dimensions.
Start by cutting four legs and four aprons from 2x4 lumber using a miter saw. Assemble the legs and aprons into a rectangular frame, using 3-inch wood screws to secure them. Make sure the frame is square and level before moving on to the next step.
Next, cut two shelves from 3/4-inch plywood to fit inside the frame, spaced 30 inches apart. Attach the shelves to the frame using 2-inch wood screws. This will provide additional support and create a solid base for your workbench top.
Remember to double-check your measurements and verify the frame is level and plumb to prevent any potential safety hazards. A sturdy frame is essential for a safe and functional garage workbench.
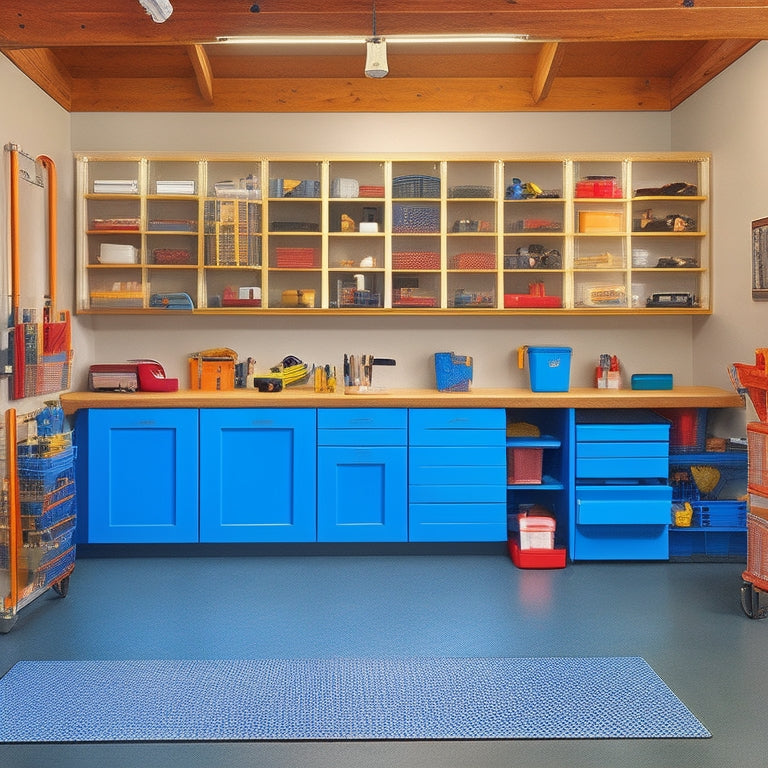
Add Shelving and Storage
Frequently, a well-organized garage workbench incorporates ample shelving and storage to keep tools and materials within easy reach, maximizing workflow efficiency. This allows you to quickly access the items you need, reducing downtime and increasing productivity.
When it comes to shelving options, you have several choices:
-
Fixed shelving: Ideal for storing heavy or bulky items, fixed shelving provides a sturdy and stable surface.
-
Adjustable shelving: Perfect for storing items of varying sizes, adjustable shelving allows you to customize the shelf height to fit your specific needs.
-
Modular shelving: Offering maximum flexibility, modular shelving can be easily rearranged or expanded as your storage needs change.
When selecting storage solutions, consider the types of items you'll be storing and the frequency of use. For example, you may want to store frequently used tools in easy-to-reach locations, while less frequently used items can be stored on higher or lower shelves.
Install Electrical Outlets
With your garage workbench's shelving and storage needs met, it's time to focus on powering your tools and equipment efficiently. To guarantee you can work safely and effectively, you'll need to install electrical outlets strategically throughout your garage.
Start by identifying areas where you'll be using power tools and equipment most frequently, such as near your workbench or in corners where you'll be setting up stations.
When determining outlet placement, consider the flow of your workspace and the types of tools you'll be using. Install outlets at a comfortable height, usually around 42-48 inches from the floor, to reduce strain on your back and neck.
It's also vital to follow safety precautions, such as avoiding outlet placement near water sources, like sinks or overhead doors, and keeping them at least 3 feet away from any combustible materials.
Use tamper-resistant outlets and GFCI (Ground Fault Circuit Interrupter) outlets in areas where water is present to prevent electrical shocks.
Frequently Asked Questions
Can I Use Reclaimed Wood for My Garage Workbench and Shelves?
You can definitely use reclaimed wood for your garage workbench and shelves, taking advantage of its unique character and environmental benefits, but be certain to apply proper wood finishing techniques to guarantee durability and safety.
How Do I Protect My Tools From Moisture in the Garage?
You'll want to implement moisture barriers within your tool storage to safeguard against humidity damage; consider investing in waterproof containers, silicone-based coatings, or desiccant packets to maintain a dry environment and protect your precious tools from corrosion.
Can I Add a Vice to My Workbench for Extra Stability?
You're building a rock-solid foundation, and now you're ready to anchor it with a vice, the anchor that holds your project in place. You'll enhance workbench stability by installing a vice, ensuring precise control and preventing accidents.
Are There Any Specific Safety Features I Should Consider?
When designing your workspace, you'll want to evaluate safety features like workbench ergonomics to prevent strain and shelf stability to avoid collapse, ensuring a secure environment that lets you focus on your projects, not potential hazards.
How Often Should I Clean and Maintain My Garage Workbench?
You should clean your garage workbench regularly, ideally weekly, to maintain organization and prevent clutter buildup. Keep necessary cleaning supplies nearby, and dedicate 30 minutes each month to deep cleaning and inspecting your workbench for damage or wear.
Conclusion
As you stand back to admire your handiwork, your garage workspace evolves into a well-oiled machine, humming with efficiency. The workbench, sturdy and strong, is the backbone of this operation, supporting the weight of your projects and ambitions. The shelves, like outstretched arms, hold and organize your tools and supplies, ready to be deployed at a moment's notice. You've built a fortress of productivity, where creativity and ingenuity can thrive.