10 Tool Pegboard Hacks for a Clutter-Free Garage
Share
You're tired of wasting time searching for misplaced tools in your cluttered garage. To maximize storage and boost productivity, try these 10 tool pegboard hacks. First, install pegboards from floor to ceiling to capitalize on vertical space. Utilize corner areas with custom pegboards and shelves to create hidden storage. Designate zones for hand, power, and automotive tools, and label them clearly. Store small items separately using drawer dividers and nut organizers. Add a shelf for clear bins and incorporate a cord organizer to keep cords tidy. Create a centralized tool station hub and consider a pegboard backsplash for frequently used tools. Now, take the first step towards a clutter-free garage and uncover more expert tricks to optimize your space.
Key Takeaways
• Install pegboards from floor to ceiling to maximize vertical storage space and keep tools within easy reach.
• Designate zones on the pegboard for hand, power, and automotive tools to reduce clutter and improve workflow.
• Utilize label makers and color codes to clearly identify tools and reduce frustration.
• Incorporate small parts organizers, drawer dividers, and bolt bins to effectively store and categorize small items.
• Create a tool station hub with a pegboard, bins, and hooks to centralize frequently used tools and reduce wasted time.
Maximize Vertical Storage Space
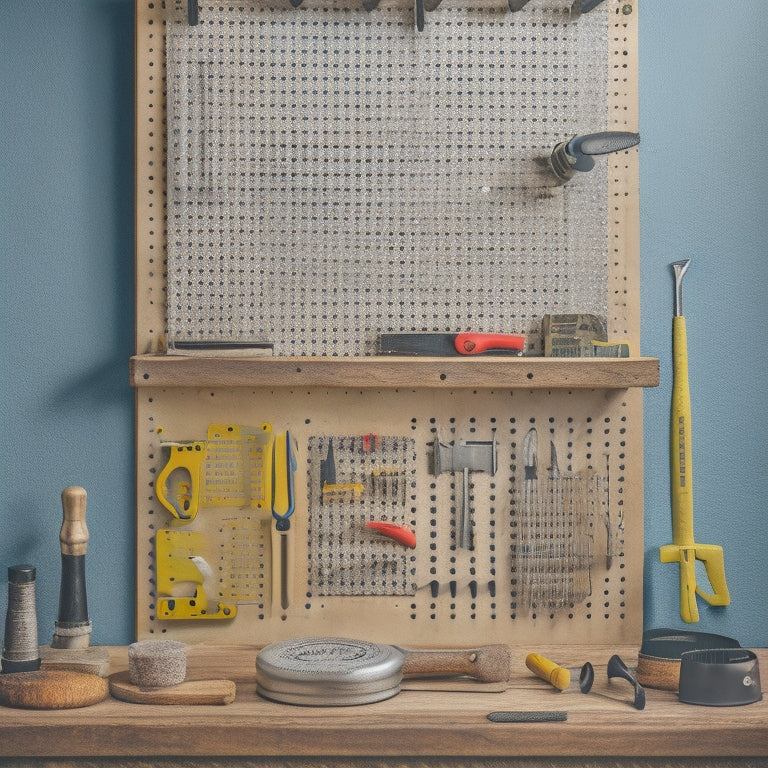
By installing pegboards that span from floor to ceiling, you can capitalize on your garage's often-wasted vertical space and keep frequently used tools within easy reach. This effective tool organization strategy allows you to make the most of your garage's storage capacity.
To take it to the next level, consider color coding your tools and accessories to create a visually appealing and functional system. This visual categorization will help you quickly identify the tool you need, saving you time and frustration.
When it comes to pegboard accessories, the possibilities are endless. From bins and baskets to hooks and holders, you can customize your pegboard to fit your specific needs. If you're feeling crafty, consider taking on a DIY project to create your own pegboard accessories.
With a little creativity, you can turn a plain pegboard into a functional work of art. By maximizing your vertical storage space, you'll be able to reclaim your garage floor and create a more efficient workspace.
Utilize Corner Areas Effectively
When it comes to maximizing storage in your garage, you're probably not thinking about the often-wasted corner areas.
However, with the right strategies, you can turn these spaces into productivity hubs.
Corner Space Maximizer
You can reclaim the often-wasted corner areas of your garage by installing a custom pegboard that wraps around the corner, providing a convenient spot to hang frequently used tools and accessories. This corner space maximizer hack is a game-changer for garage organization.
By adding corner shelving, you can create hidden storage for items like bins, baskets, or small equipment. This keeps them out of the way but still easily accessible.
Consider incorporating a corner workbench into your design. This will give you a dedicated space for projects and repairs, keeping your main work area clutter-free. A corner workbench also provides a prime spot for tool display, allowing you to showcase your favorite tools and making them easy to grab when needed.
With a little creativity, you can turn a previously underutilized corner into a functional hub of activity. By maximizing this corner space, you'll be amazed at how much more efficient and organized your garage can be.
Optimize Angular Areas
Taking advantage of angular areas in your garage can greatly enhance your tool organization. These often-overlooked spaces can be repurposed to hold a surprising amount of gear and accessories. By optimizing these areas, you can create a more efficient layout that makes the most of your available space.
To maximize space utilization, consider installing pegboards or hooks in these angular areas. This will allow you to hang tools, accessories, and other items, keeping them organized and within easy reach.
You can also use corner shelves or baskets to store smaller items, such as nuts, bolts, or screws.
Designate Zones for Tools
As you set up your pegboard, think about the types of tools you use most frequently and group them into categories, such as hand tools, power tools, and accessories.
This will help you create distinct zones on your board, making it easier to find what you need when you need it.
Tool Categories Defined
Organize your tool collection into categories, such as hand tools, power tools, and automotive tools, to designate zones on your pegboard that cater to specific tasks or projects. This tool organization strategy allows you to create storage solutions that make sense for your workflow. By grouping similar tools together, you'll reduce clutter and make it easier to find what you need when you need it.
Here are three key categories to take into account:
- Hand tools:
- Wrenches
- Pliers
- Screwdrivers
- Other manual tools that don't require a power source.
- Power tools:
- Drills
- Saws
- Sanders
- Other electric or battery-powered tools that get the job done faster.
- Automotive tools:
- Specialized tools for car maintenance and repair
- Socket sets
- Air compressors
- Diagnostic equipment.
Optimize Zone Layout
Now that you've categorized your tools, how will you allocate space on your pegboard to ensure each zone flows efficiently and supports your workflow? A well-planned workspace layout is essential for efficient tool organization. Divide your pegboard into zones based on the tool categories you defined earlier. This will help you create a logical and functional layout that streamlines your workflow.
Here's a suggested zone layout to get you started:
| Zone | Tool Category |
|---|---|
| Zone 1 | Hand tools (hammers, screwdrivers, pliers) |
| Zone 2 | Power tools (drills, saws, sanders) |
| Zone 3 | Fasteners and fixings (nails, screws, bolts) |
| Zone 4 | Measuring and testing tools (tapes, levels, multimeters) |
Label and Sign Tools Clearly
How can you quickly identify the tool you need amidst a sea of pegboard hooks and bins? In a clutter-free garage, clearly labeling and signing your tools is crucial to save time and reduce frustration. This hack is simple yet effective: by labeling and signing your tools, you can swiftly locate the one you need.
Here are three ways to label and sign your tools:
-
Utilize a label maker: Create clear labels for each tool or category of tools, and attach them to the pegboard or bin. This will help you spot the tool you need at a glance.
-
Implement color codes for tools: Assign a specific color to each category of tools (e.g., blue for hand tools, red for power tools). This visual cue will help you quickly identify the tool you need.
-
Craft custom tool holders: Design or purchase custom holders that fit each tool perfectly. This won't only keep your tools organized but also make them easy to spot.
Store Small Items Separately
When it comes to storing small items like screws, nuts, and bolts, you know how easily they can get lost in the shuffle.
To keep them organized and within reach, you'll want to implement a system that keeps them separate from your larger tools.
Small Parts Organizer
By dedicating a specific section of your pegboard to a small parts organizer, you'll be able to categorize and store tiny items like screws, nuts, and bolts in a way that makes them easy to find and access. This is especially important for small parts that are easily lost or misplaced, causing frustration and wasting valuable time.
To maximize your small parts organizer, consider the following strategies:
-
Use drawer dividers to separate screws, nuts, and bolts into distinct categories, making it easy to find what you need at a glance.
-
Utilize bolt bins to store small bolts and screws, keeping them organized and preventing them from getting jumbled together.
-
Implement a nut organizer to keep nuts of various sizes and types separate, making it easy to find the right one for your project.
Designate a Zone
Designate a specific zone on your pegboard for storing small items like drill bits, socket sets, and other accessories, keeping them separate from larger tools and equipment to guarantee easy access and visibility. This zone will become your go-to spot for quick grabs, saving you time and frustration.
Implement a color coding system to further organize your small items, using different colored bins or labels to categorize similar items. This visual organization system will help you quickly identify what you need.
In this designated zone, consider adding a small parts organizer or a pegboard with small hooks to hang accessories like wire cutters or pliers. This will keep them off the floor and prevent them from getting lost or damaged.
Regularly clean and maintain your tools to prevent rust and corrosion. Set aside time each week to wipe down your tools and accessories with a soft cloth and mild soap.
Hang Bikes and Large Items
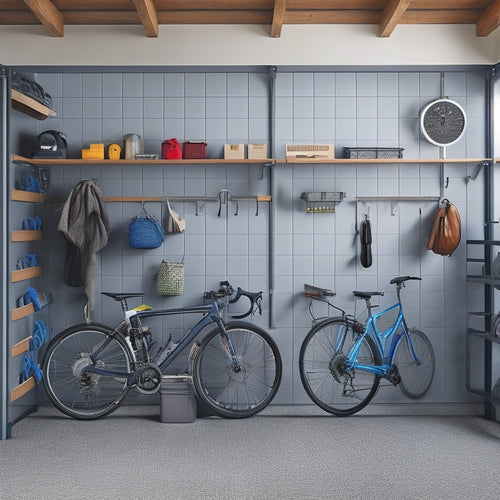
Install sturdy hooks or a slatwall system on your pegboard to maximize storage for bulky items like bicycles, lawn mowers, and other large equipment. This will help you utilize your garage's vertical space and keep the floor clear.
When it comes to bike storage, consider using wall-mounted hooks that can hold multiple bikes, freeing up space for other items.
Here are three ways to hang bikes and large items efficiently:
-
Heavy-duty pegs: Use heavy-duty pegs that can hold a substantial amount of weight, making them perfect for hanging heavy equipment like lawn mowers or generators.
-
Adjustable hooks: Install adjustable hooks that can be customized to fit different sizes of equipment, ensuring a secure and snug fit.
-
Overhead storage racks: Consider installing overhead storage racks that can hold bulky items like kayaks or paddleboards, keeping them out of the way but still accessible.
Install a Pegboard Backsplash
As you work to optimize your garage's storage capacity, consider adding a pegboard backsplash behind your workbench to create a centralized hub for frequently used tools and accessories. A well-designed pegboard backsplash can transform your workspace, keeping essential items within easy reach and promoting a clutter-free environment.
To get started, choose a pegboard design that fits your needs, taking into account the types of tools you'll be storing and the available space. Consider the height, width, and material of the pegboard, as well as the type of hooks and bins you'll need. For inspiration, browse online pegboard DIY projects to find ideas that resonate with your style and budget.
When it comes to organization tips, remember to group similar items together, and reserve prime real estate for your most frequently used tools. With a pegboard backsplash, you'll be able to quickly locate what you need, saving time and reducing frustration.
Add a Shelf for Bins
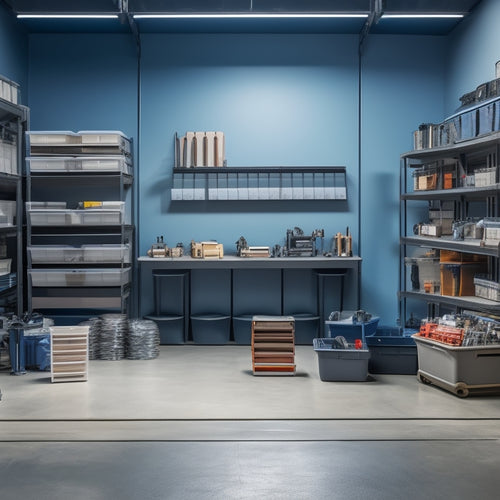
Considering the versatility of bins in storing small items, outfitting your pegboard with a shelf dedicated to holding them will maximize your storage capacity and keep clutter at bay. This will allow you to take full advantage of bin organization, ensuring that everything has its designated place.
To get the most out of your bin shelf, follow these tips:
-
Choose the right bins: Select bins that are the right size for your pegboard and the items you want to store. Consider using clear bins to make it easy to identify what's inside.
-
Implement a labeling system: Label each bin so you can quickly identify what's inside. This will save you time and frustration when searching for a specific item.
-
Keep frequently used items accessible: Place your most frequently used bins at eye level or near the front of the shelf, making it easy to grab what you need when you need it.
Create a Tool Station Hub
By designating a specific area of your pegboard as a tool station hub, you'll be able to centralize your most-used tools and equipment, making it easier to stay focused on the task at hand. This dedicated space will allow you to quickly access the tools you need, reducing wasted time searching for misplaced items.
To create an effective tool station hub, start by identifying the tools you use most frequently. Then, organize them in a logical and visually appealing way using pegboard accessories like hooks, bins, and baskets.
Consider grouping similar tools together or categorizing them by project type, such as DIY projects or automotive repairs.
Incorporate a Cord Organizer
You'll reduce clutter and tangles in your tool station hub by incorporating a cord organizer, which keeps power cords, hoses, and other lengthy accessories neatly wrapped and easily accessible. This simple hack will transform your workspace, making it more efficient and organized.
To maximize the benefits of a cord organizer, consider the following:
-
Install wall hooks for hanging cords, keeping them off the floor and out of the way.
-
Designate a charging station for your power tools, ensuring they're always fully charged and ready to go.
-
Implement cable management strategies, such as using zip ties or cord clips, to keep cords tidy and prevent tangles.
Frequently Asked Questions
Can I Customize My Pegboard to Fit My Specific Tool Collection?
You can definitely customize your pegboard to fit your specific tool collection with custom pegboard designs, offering personalized tool storage solutions that cater to your unique needs and preferences.
Are Pegboards Suitable for Heavy Tools and Machinery?
You think pegboards are only for tiny tools, but surprisingly, they can handle the big guns! Look for pegboards with a high weight capacity and durable materials, and follow installation tips to guarantee a sturdy hold, making maintenance a breeze.
How Do I Organize Tools That Don't Have Pegboard Hooks?
You'll find tools without pegboard hooks fit perfectly in alternative storage solutions like baskets, bins, or repurposed containers. Get creative with DIY tool organization ideas, like magnetic strips or 3D-printed holders, to keep them tidy and within reach.
Can I Transfer My Pegboard to a New Garage or Location?
Like a nomad with a prized possession, you're wondering if you can transfer your trusty pegboard to a new garage or location. Fortunately, pegboard portability is a reality; simply follow installation tips for a seamless move, and utilize space-saving storage solutions to keep it organized on-the-go.
Are Pegboards Worth the Investment for a Small Garage Space?
You're wondering if pegboards are worth the investment for your small garage space. Absolutely! They're a budget-friendly storage solution, providing clever organization ideas that maximize space, keeping your tools within easy reach without breaking the bank.
Related Posts
-

Key Features of a Garage Wall Hanging System
You're looking for a garage wall hanging system that's built to last and adapts to your needs. Look for systems made ...
-

How to Maximize Storage Space With Parts Storage Bins
To maximize storage space with parts storage bins, start by evaluating your available storage space and examining you...
-

Must-Try Bike Storage Ideas in Small Spaces
You're tired of sacrificing precious living space to store your bike, especially in small homes where every square fo...


